Setup Guide
Here’s how to integrate a Chatbase chatbot into your Zendesk website:Step 1: Access and Configure Your Chatbase Chatbot
These steps assume that you have already created a Chatbase account and that you have a Chatbase chatbot already available for use. If you haven’t yet, create a Chatbase account and build your first AI chatbot. For example, you can create a company FAQ chatbot to handle common employee questions or build a recruiting assistant to screen candidates and schedule interviews. Get your chatbot ready before moving to the integration. Read More: A step-by-step guide to creating a Chatbase chatbot in just a few minutes.Step 2: Connect the Zendesk Integration
1. Once you have a Chatbase account and a chatbot set up, head over to your dashboard. On your dashboard, you’ll find a list of all the chatbots you have created. Locate and click on the chatbot you wish to integrate with Zendesk.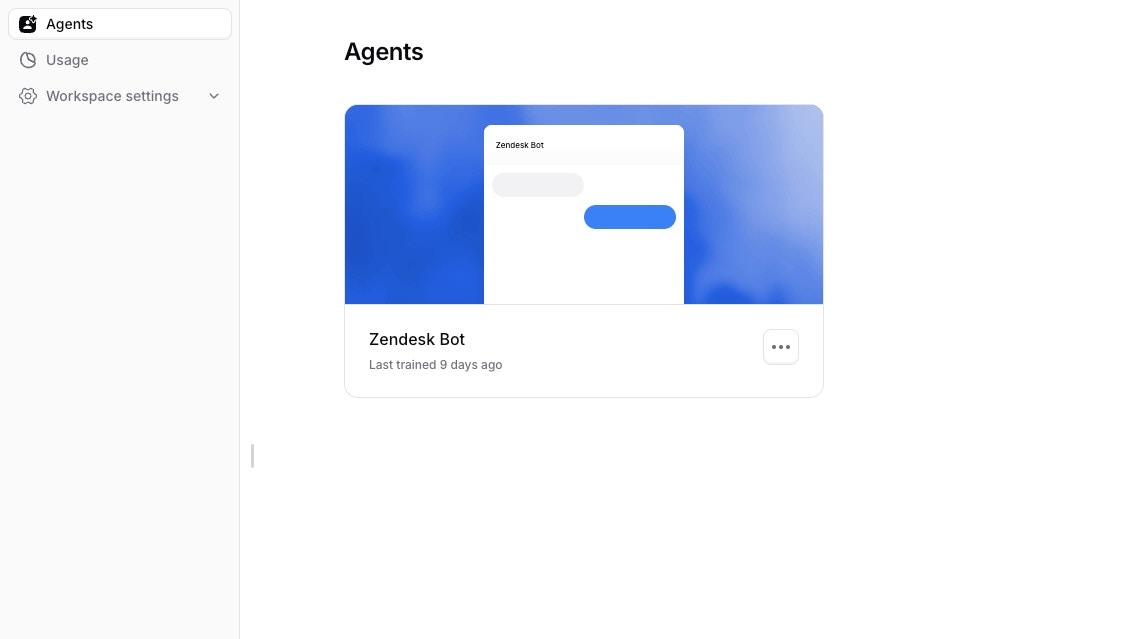
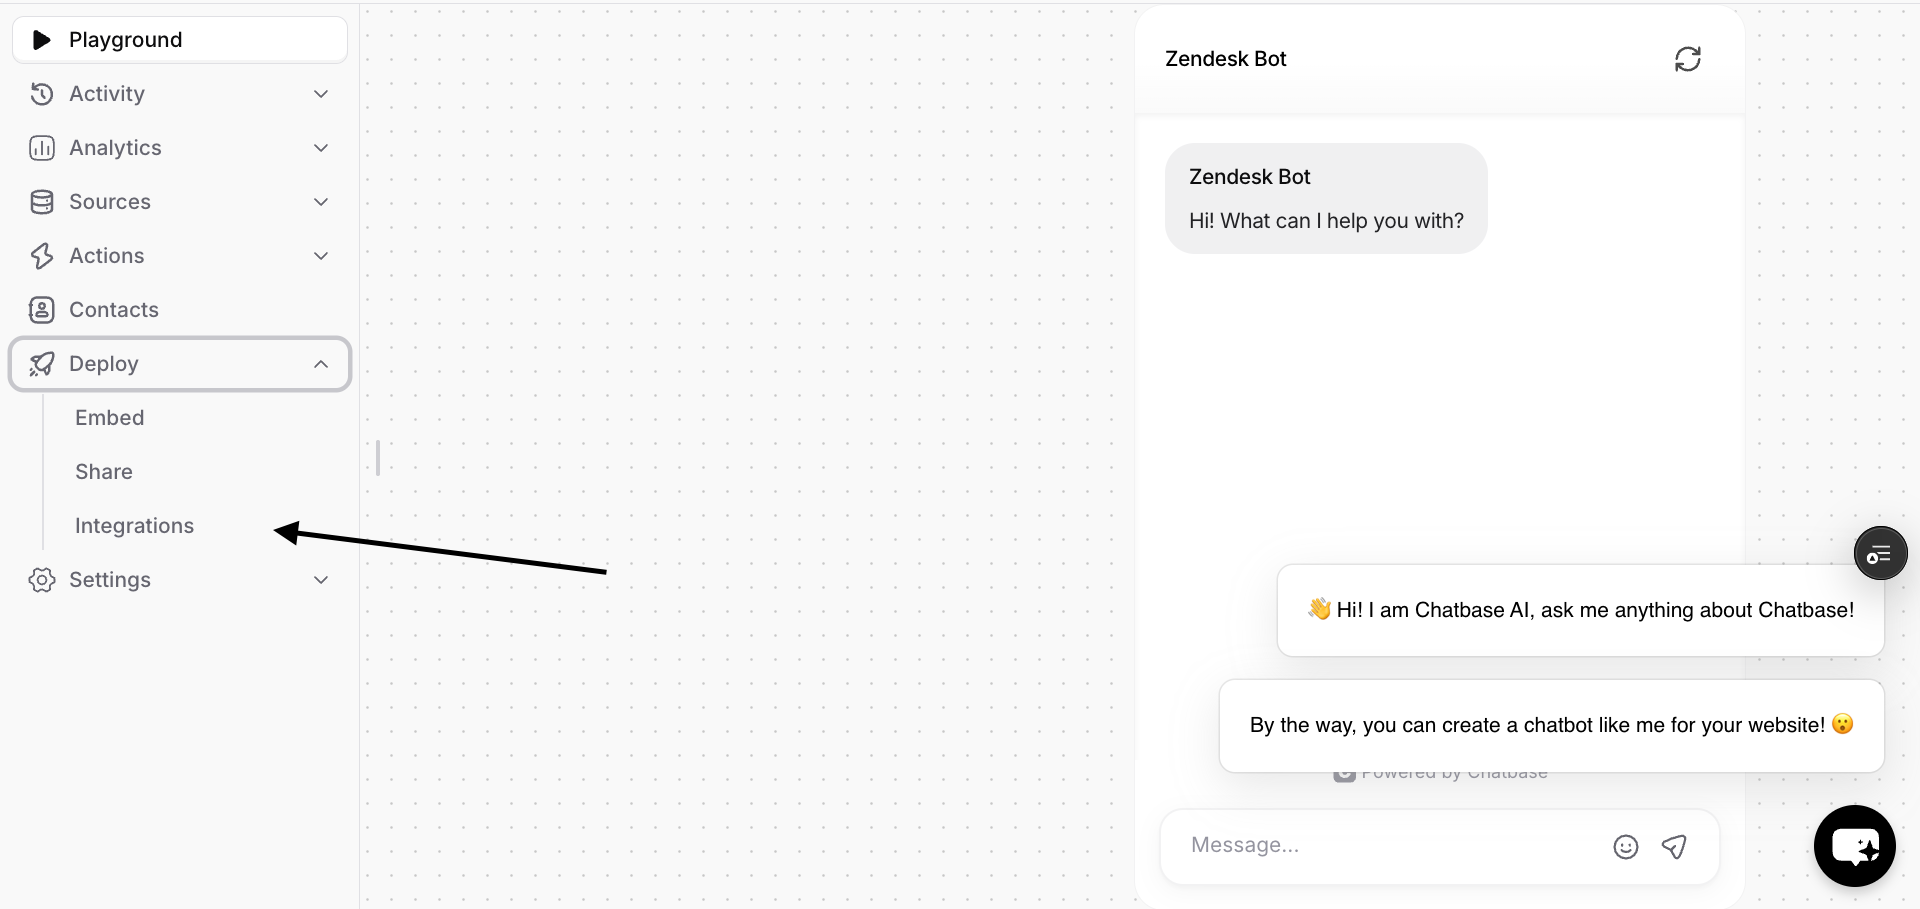
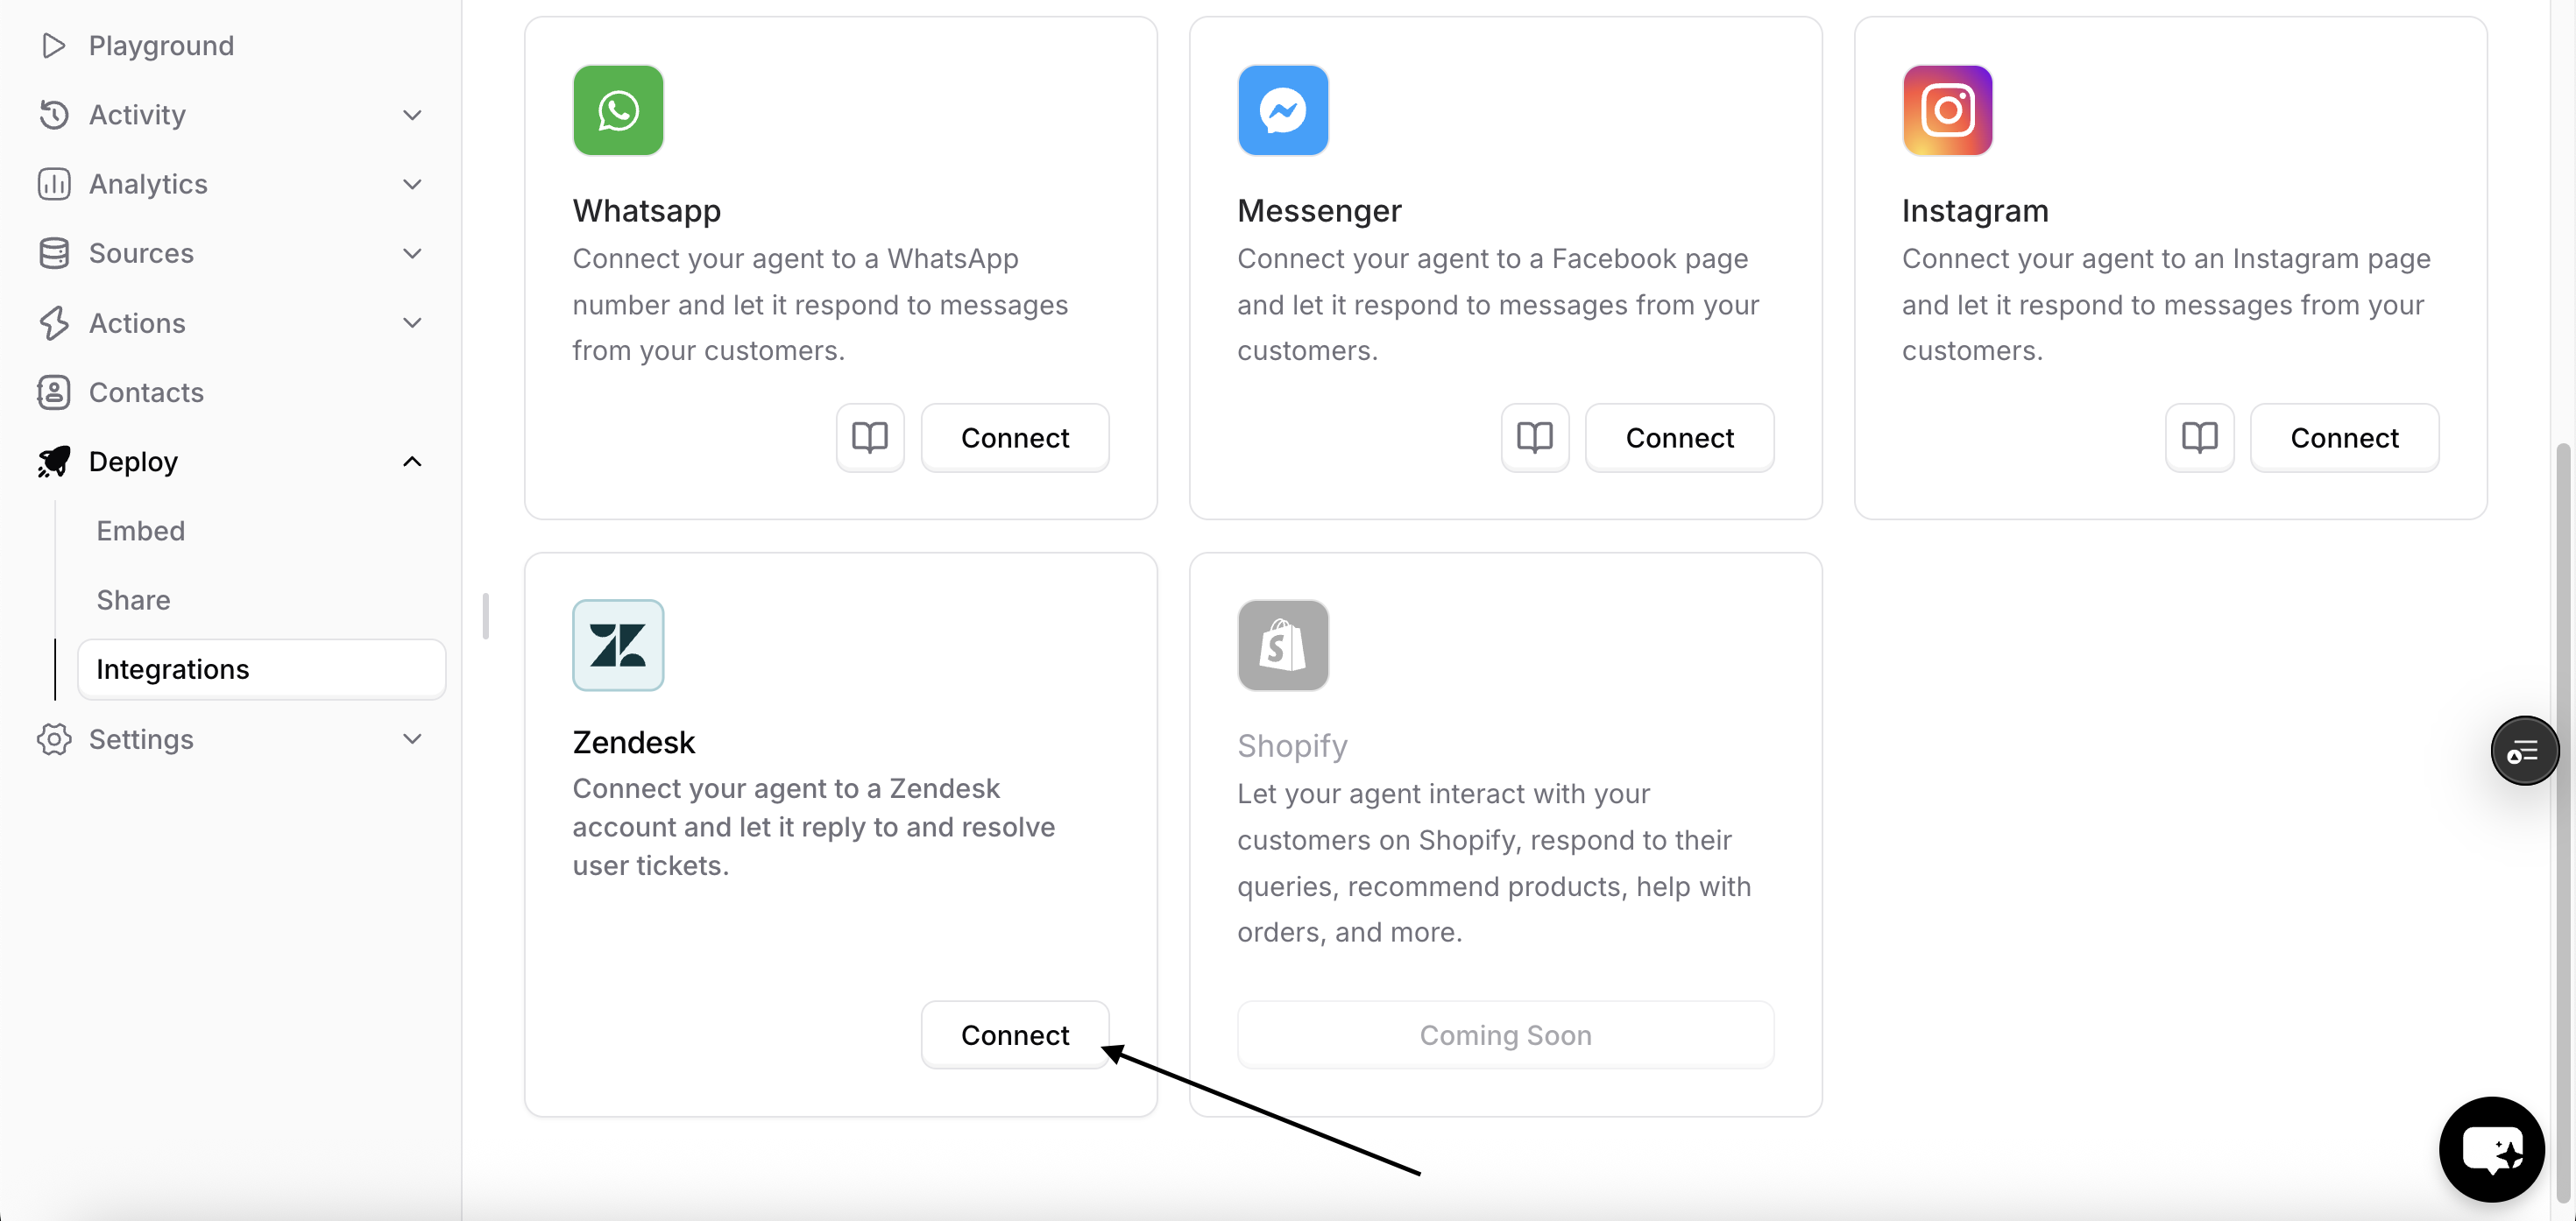
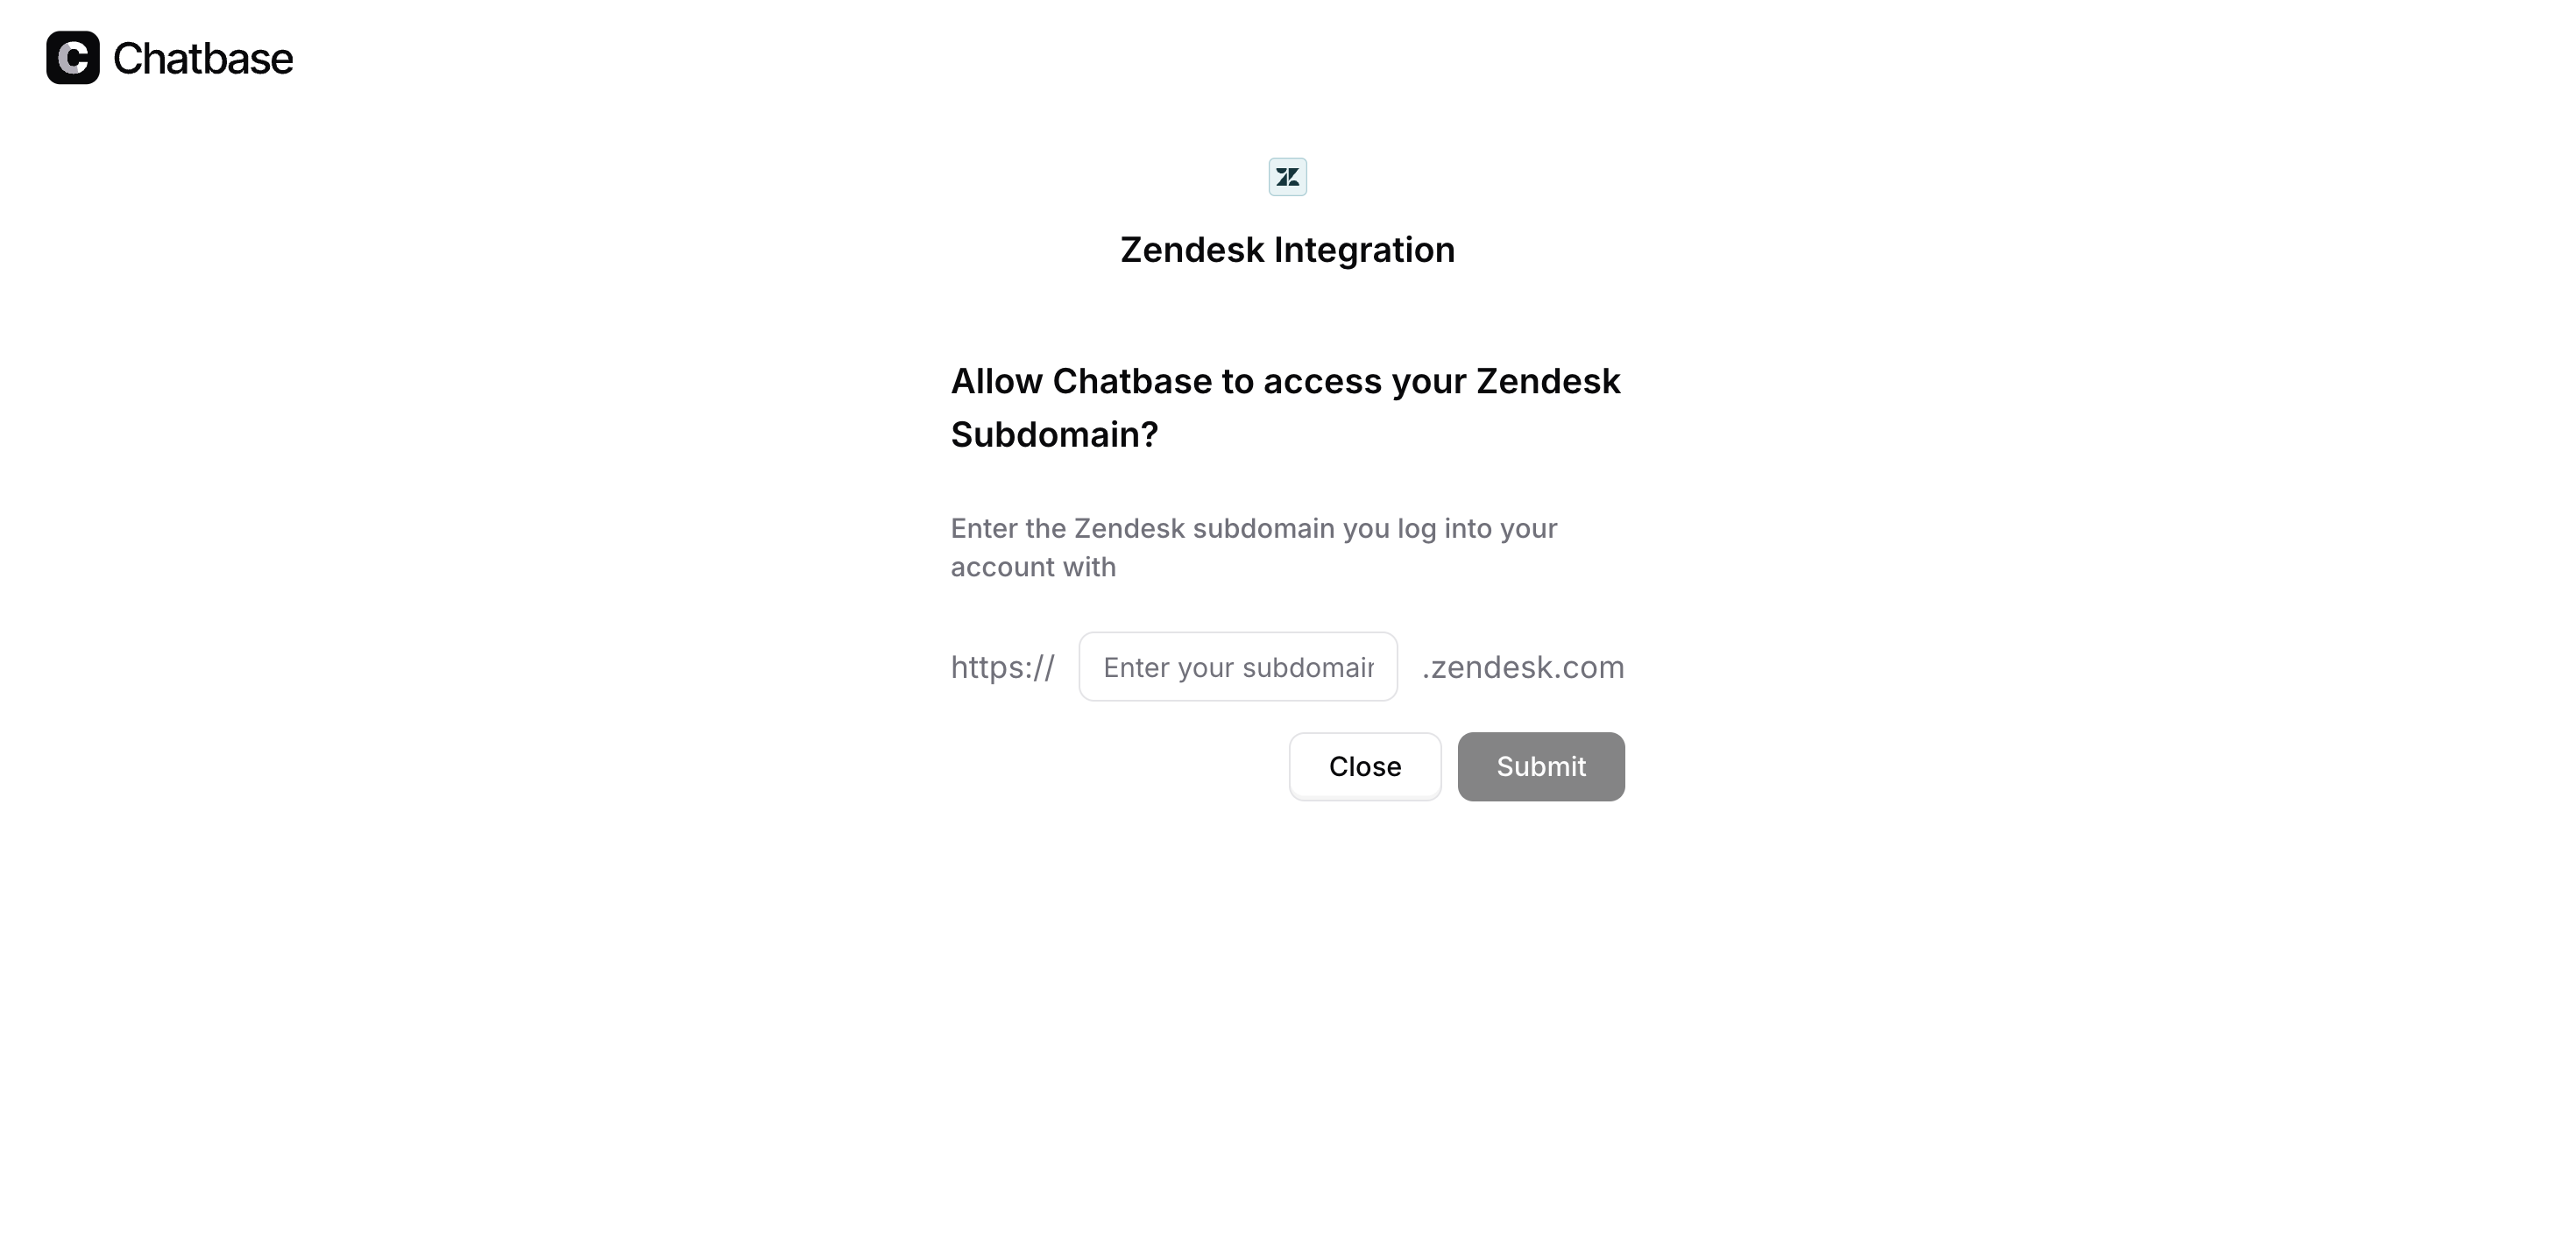
Step 3: Configure the Zendesk Integration
1. Once you have authorized the integration, click Manage to configure the integration.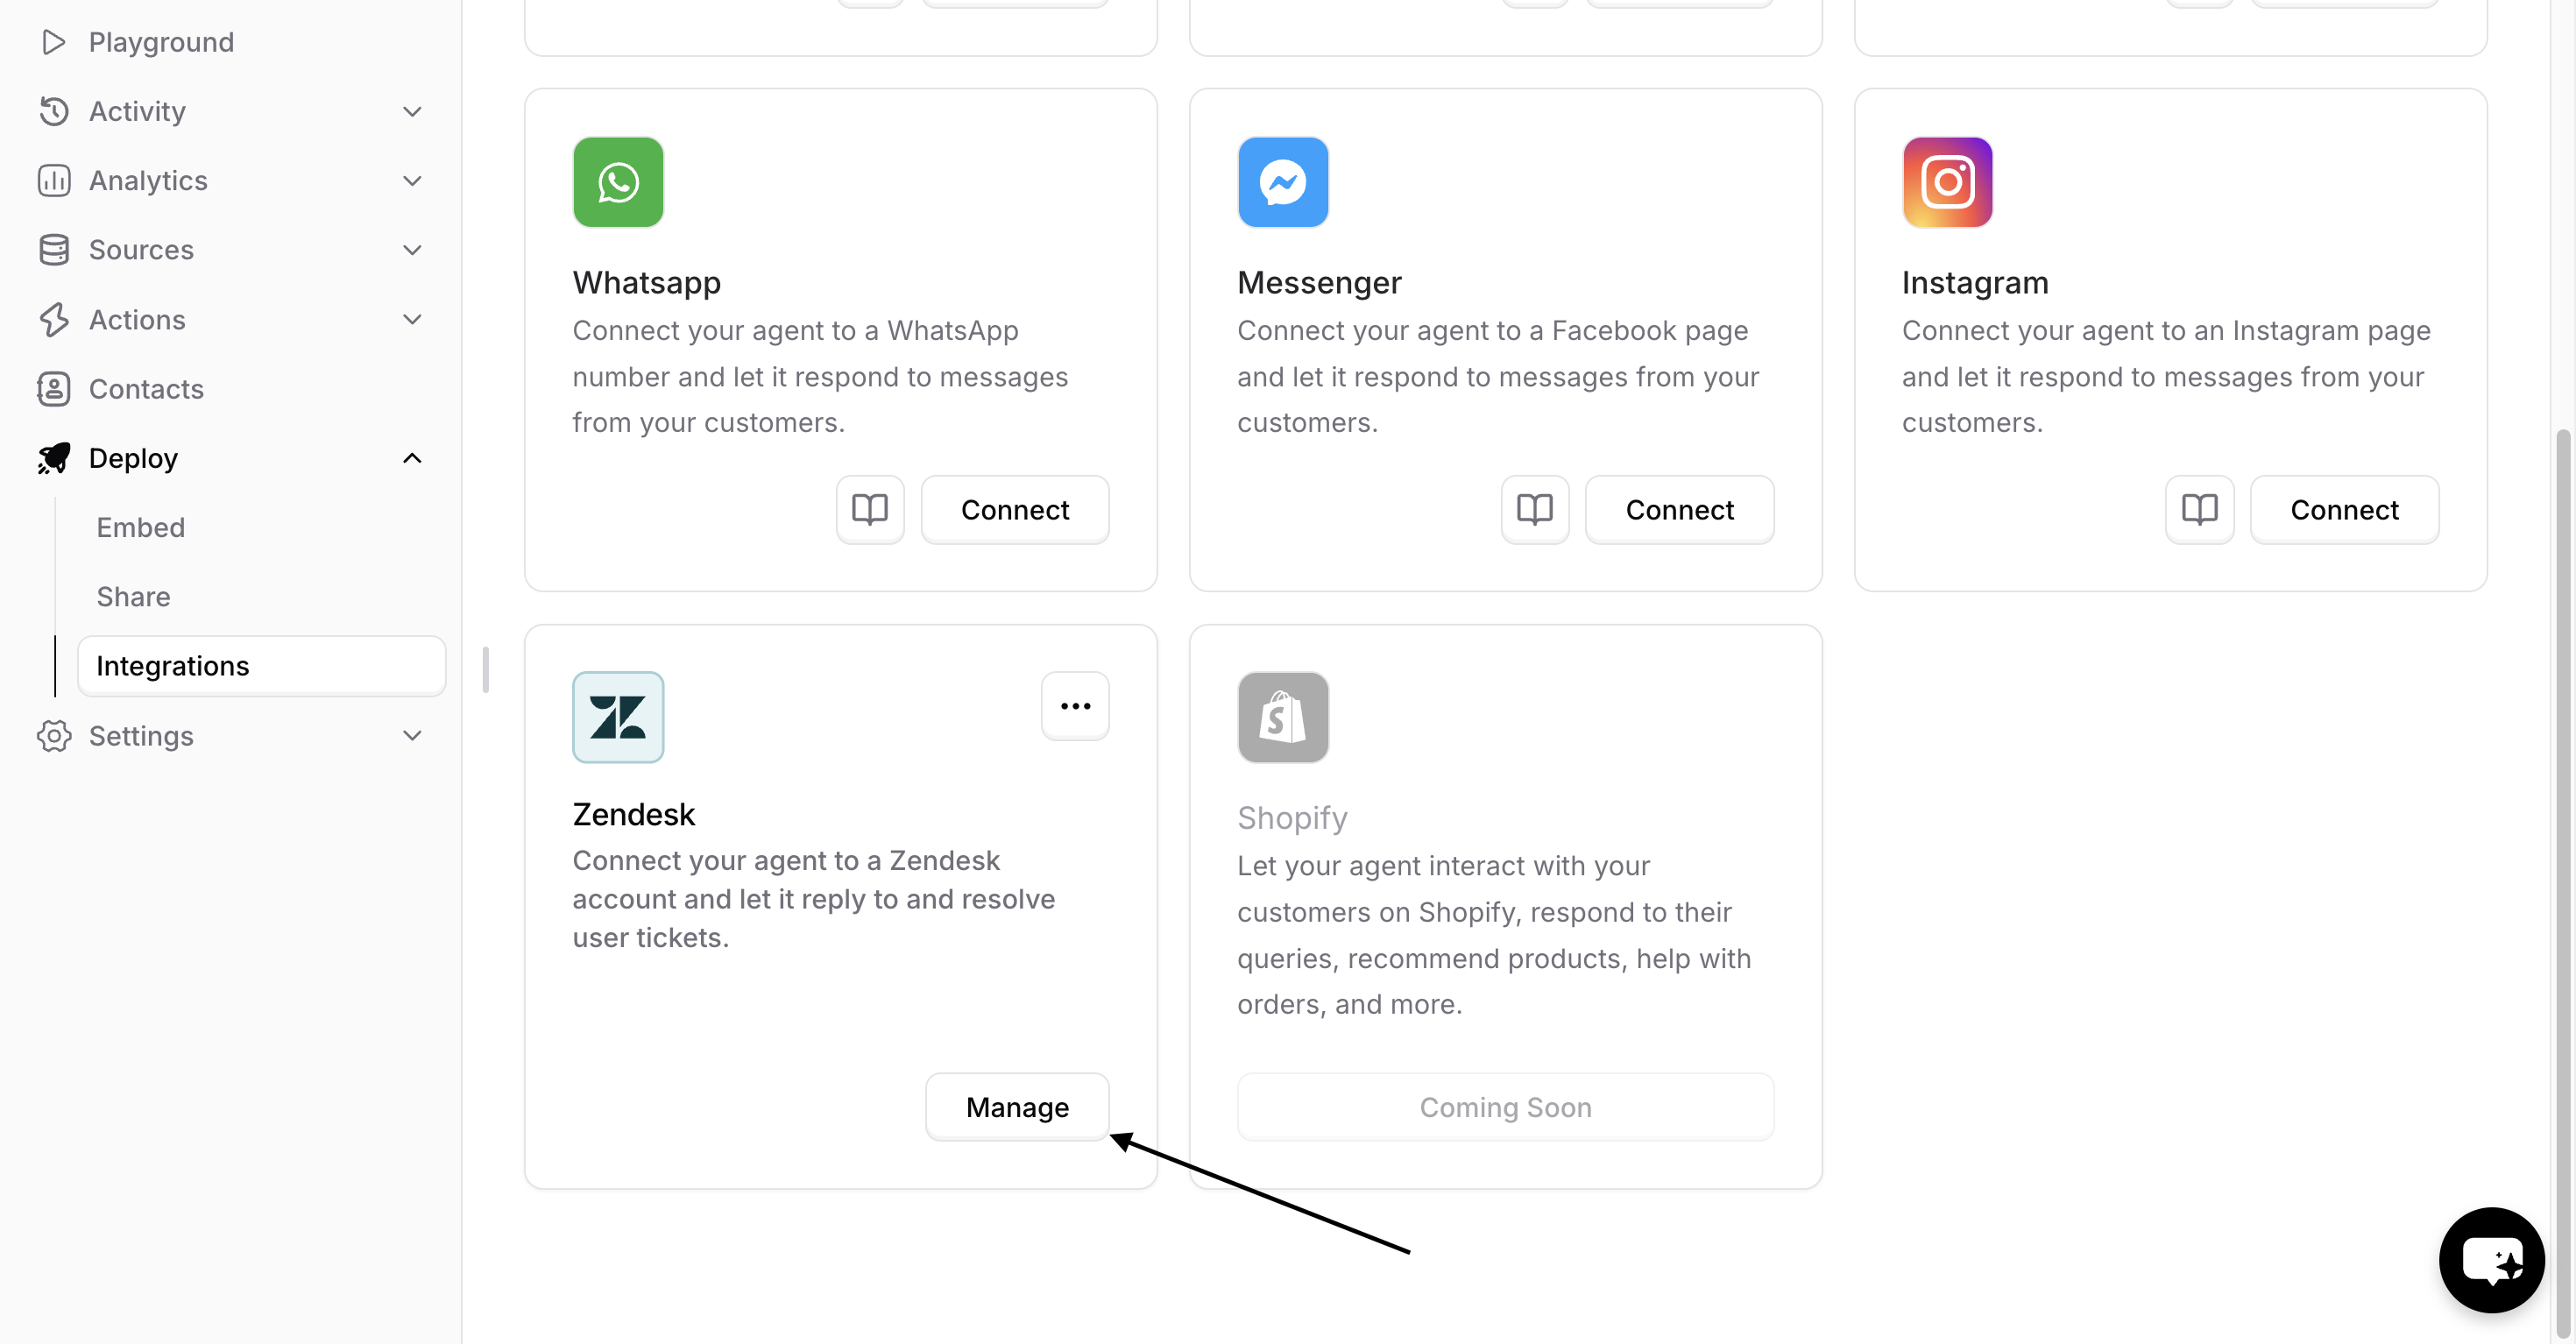
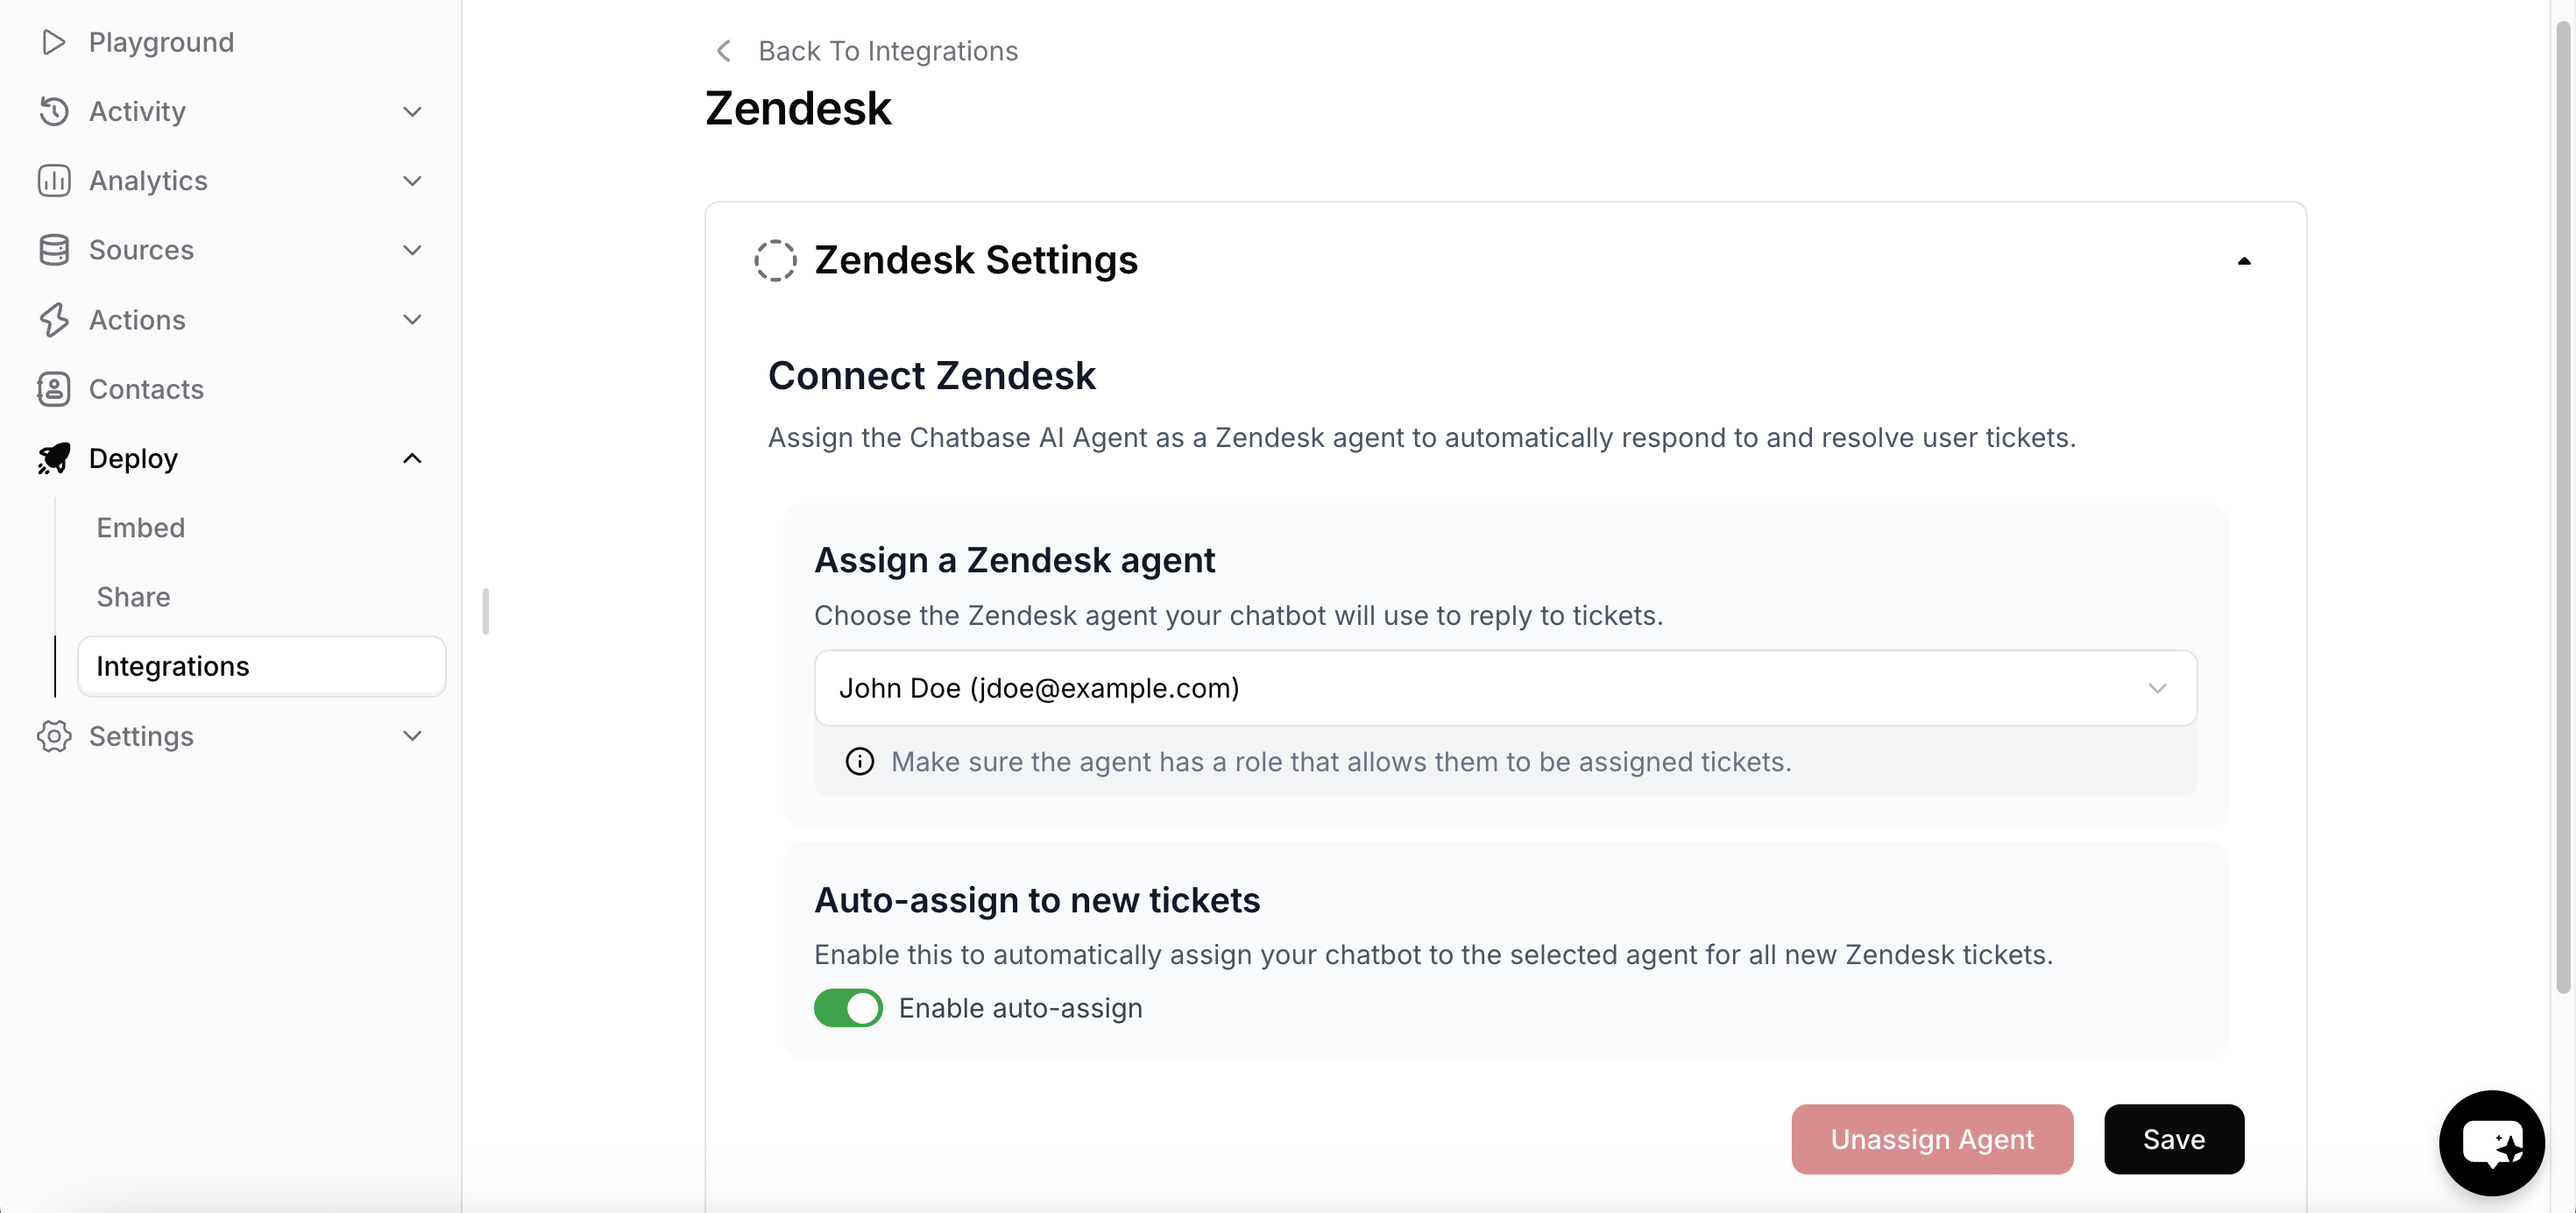
- The Zendesk agent that the bot will reply as.
- Determine if tickets should be automatically assigned to the chatbot.
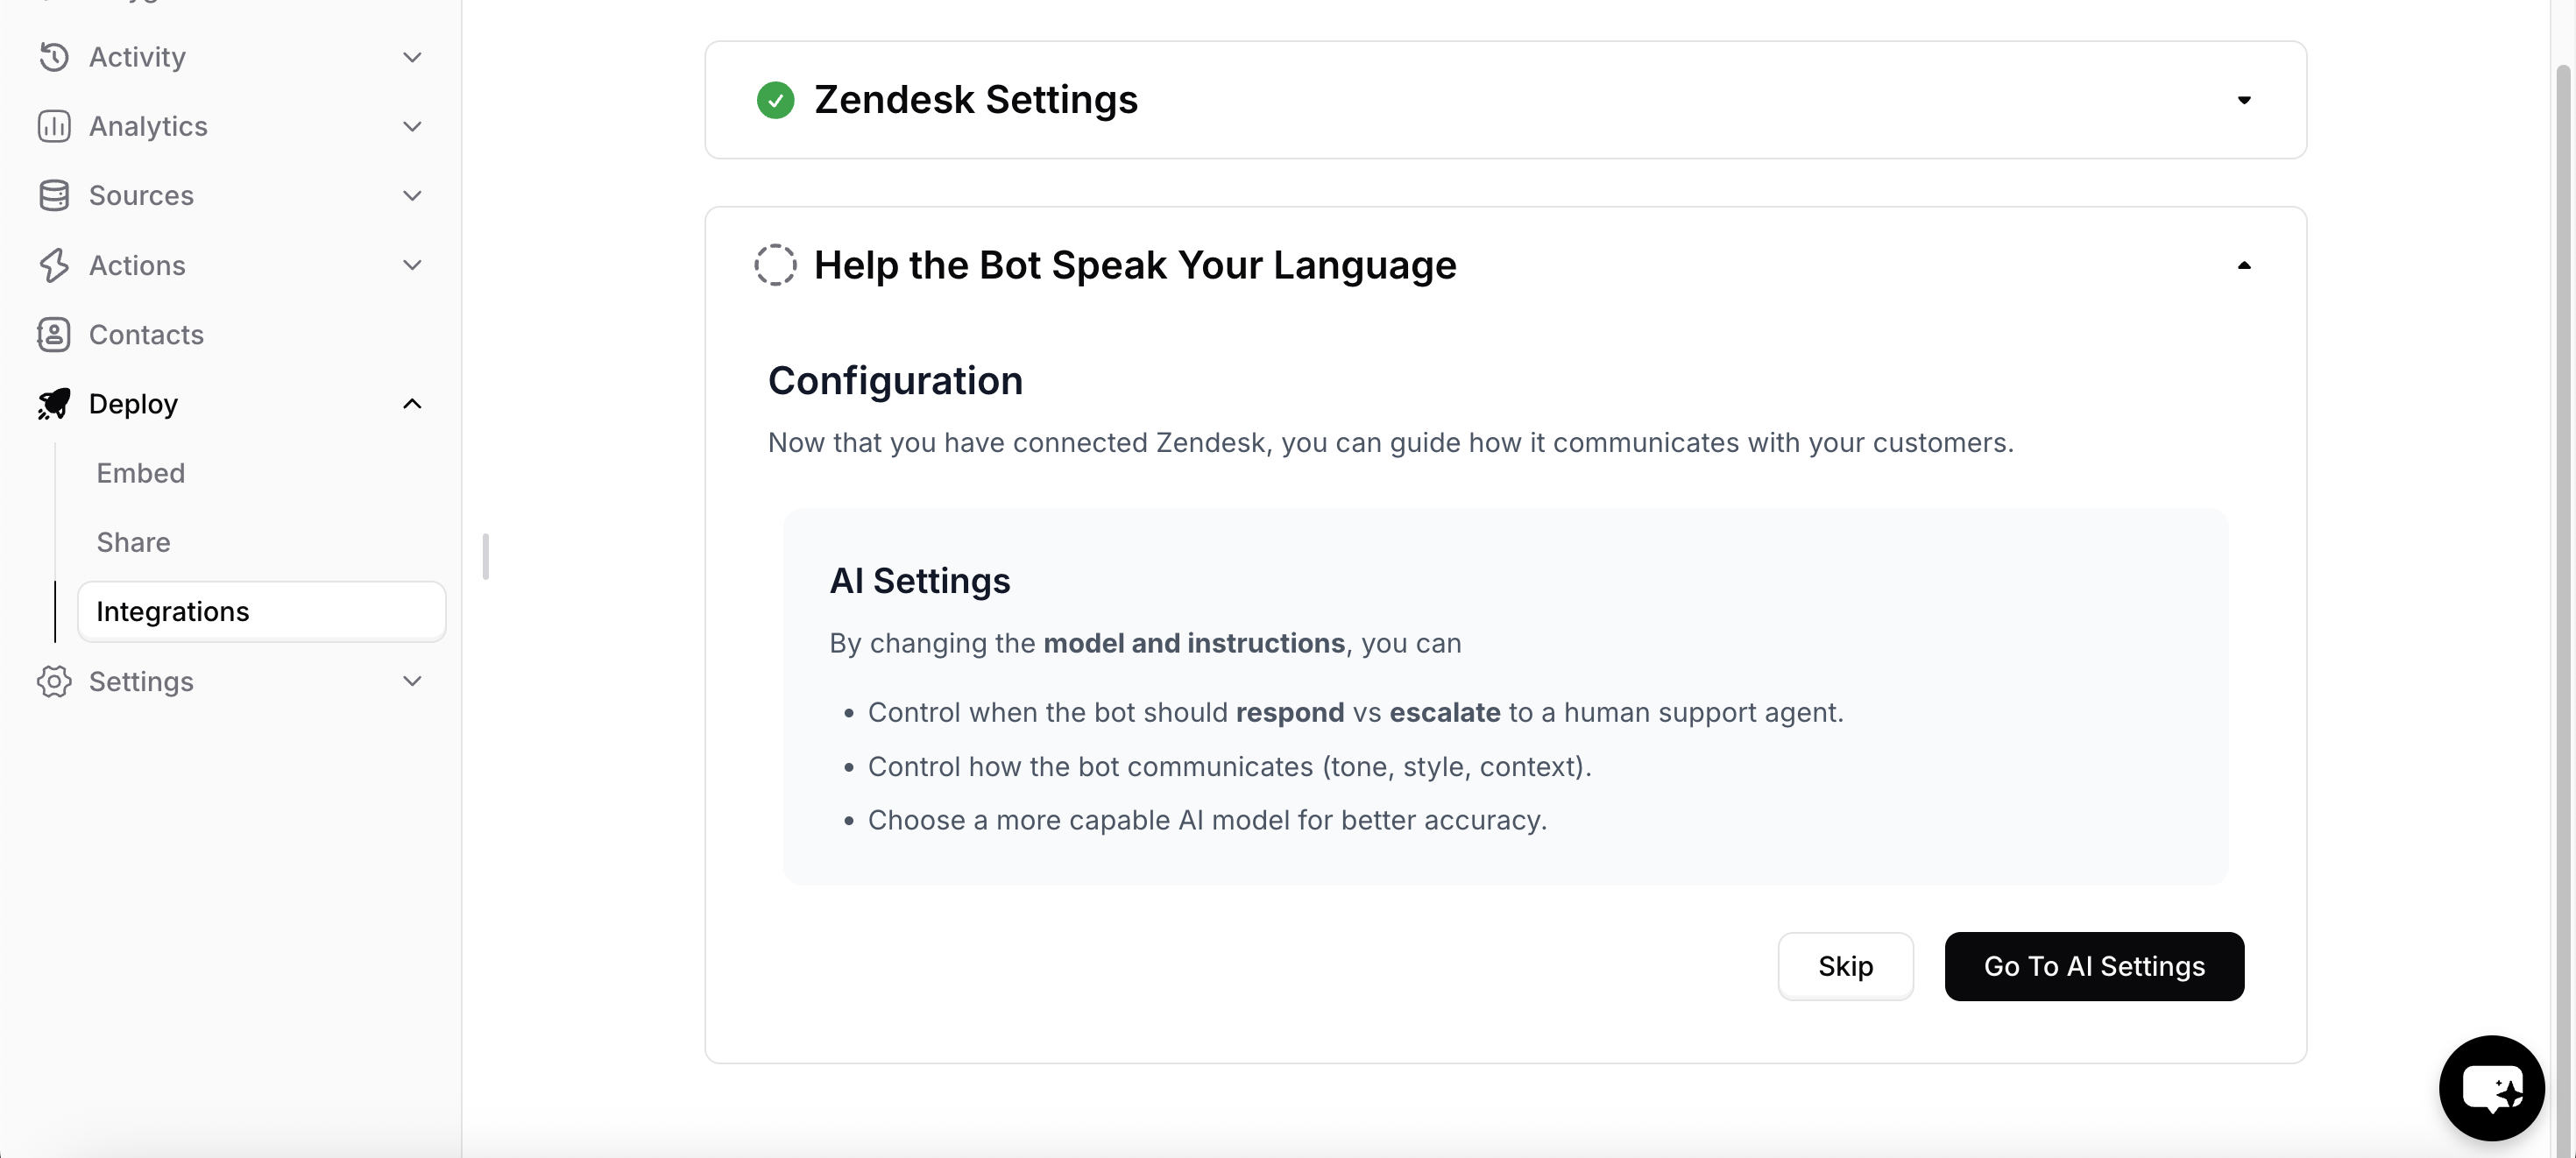
Tag Management System
You can use the tags that are assigned to the tickets by the chatbot to track its performance.chatbase-involved: This tag is applied to all tickets that chatbase replied to.chatbase-routed-to-team: This tag is applied to tickets that the chatbot couldn’t resolve or was instructed to route to the team.chatbase-soft-resolved: This tag is applied to tickets that the chatbot thinks it is resolved, but the user hasn’t yet confirmed the solution.chatbase-hard-resolved: This tag is applied to tickets where the user has confirmed that the problem is resolved.chatbase-no-ai: This tag is applied to tickets to stop the bot from auto-assigning itself or replying to the ticket.