Key Automation Ideas
- Lead Generation: Automatically capture leads through form submissions and add them to your CRM (e.g., HubSpot, Salesforce) for follow-up.
- Customer Support: Set up an automation to trigger support tickets in systems like Zendesk or Freshdesk when your Agent receives a customer inquiry.
- Email Campaigns: Automatically add contacts from Agent to your email marketing platforms like Mailchimp or ActiveCampaign, then send personalized follow-up emails.
- Multi-Platform Support: Deploy AI agents across various platforms, including websites, mobile apps, and messaging services, to reach users wherever they are.
- Social Media Management: Trigger social media updates or create posts based on user interactions with your Agent.
- E-commerce Notifications: Automate stock updates, order confirmations, or promotional notifications to customers based on their interactions with your Agent.
Integrate your Agent with viaSocket
Learn how to receive leads from your Agent, process them, and automatically add them to a Google Docs document using viaSocket.Step 1: Set Up a Trigger in viaSocket
- Sign in to your viaSocket account.
- Click on Create New Flow on the top left corner of the viaSocket app homepage.
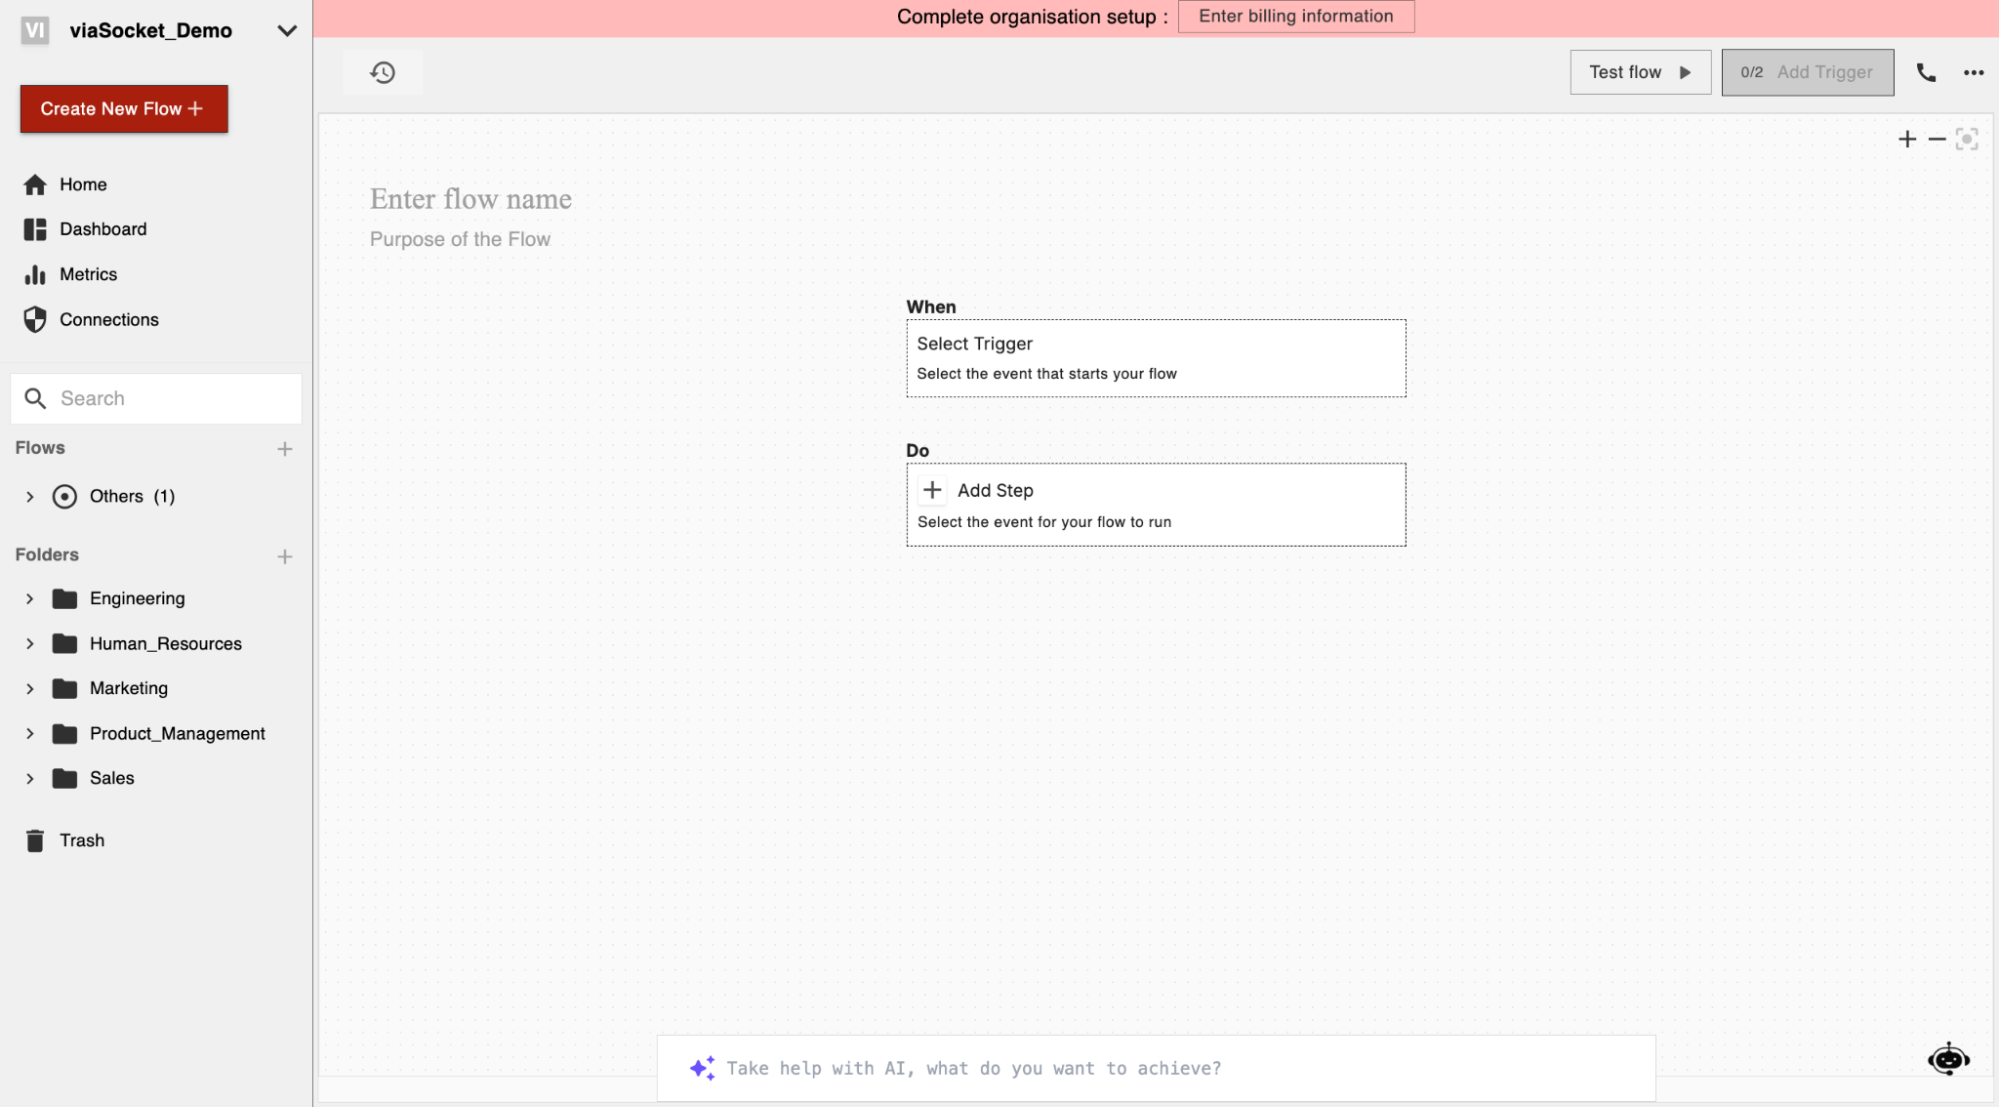
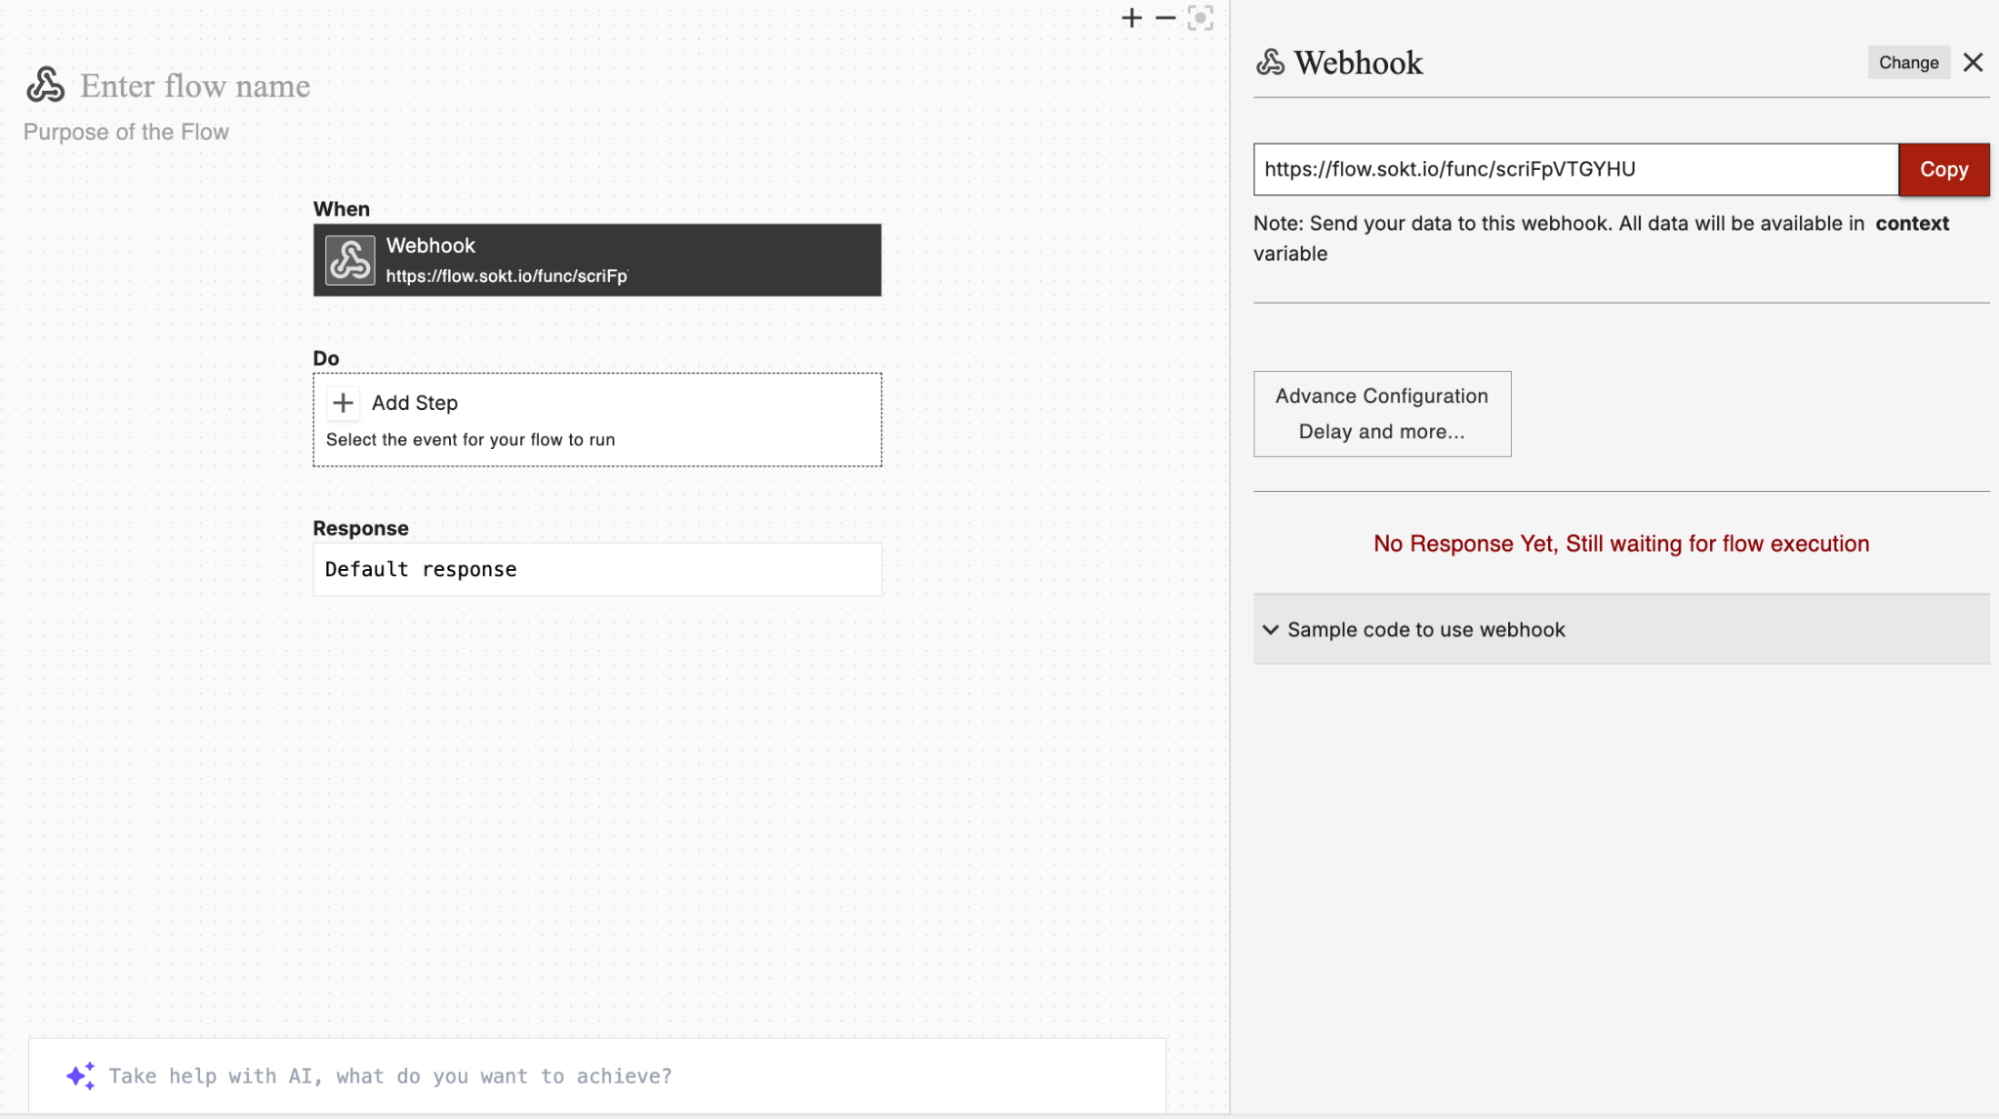
- In the Flow editor, click on Select Trigger.

- Select Webhook as the trigger then copy the generated Webhook URL.
Step 2: Configure the Trigger in Chatbase
- Go to the dashboard of your Chatbase account.
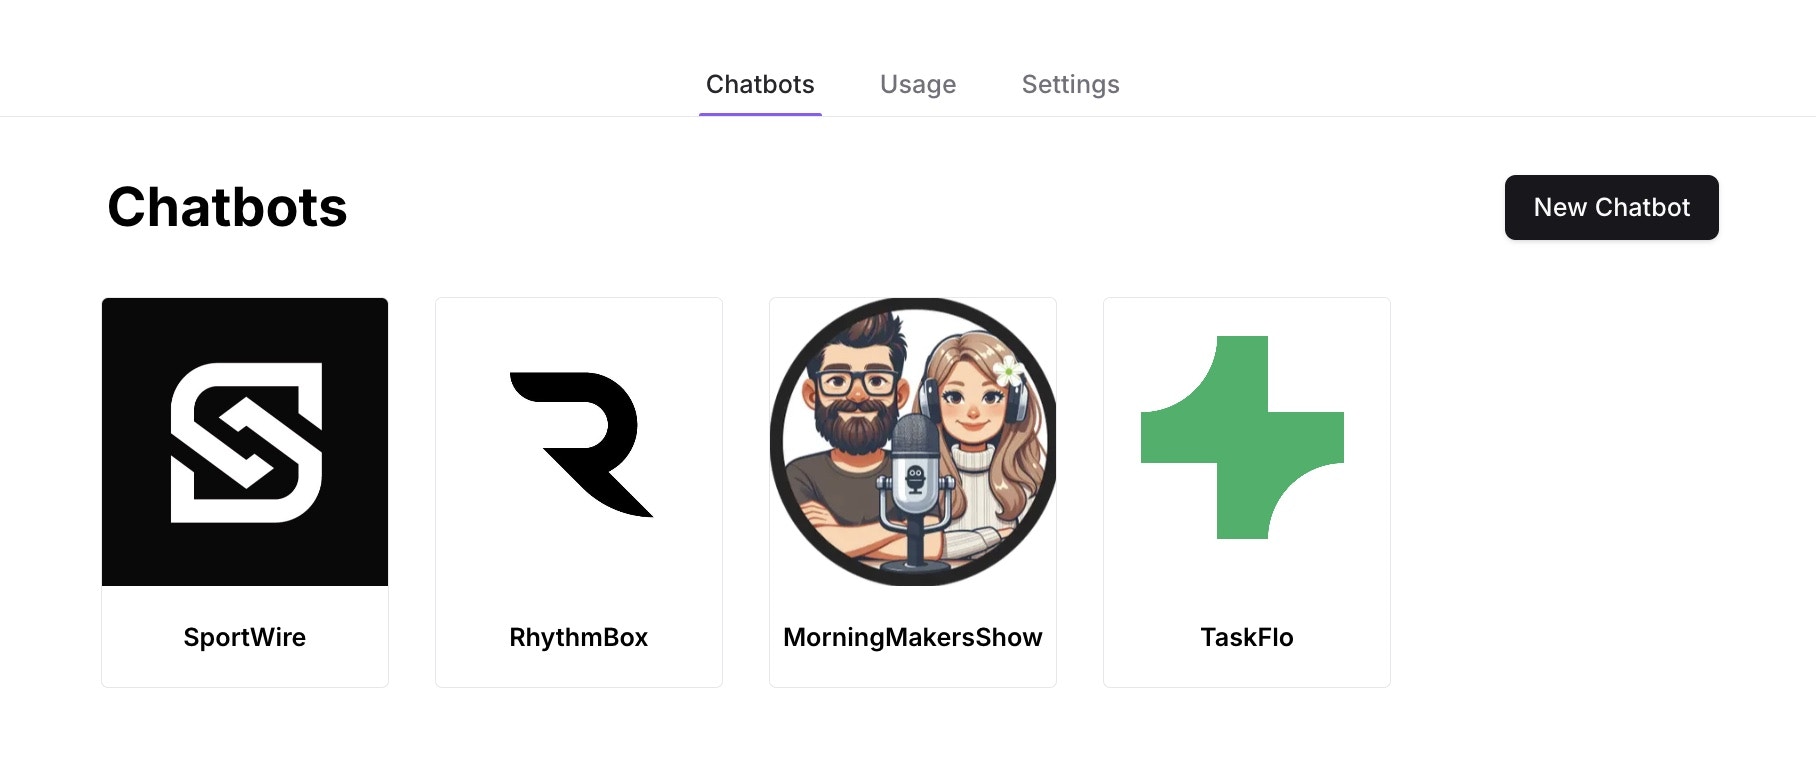
- You should see a list of Agents, click the Agent you wish to integrate with viaSocket.
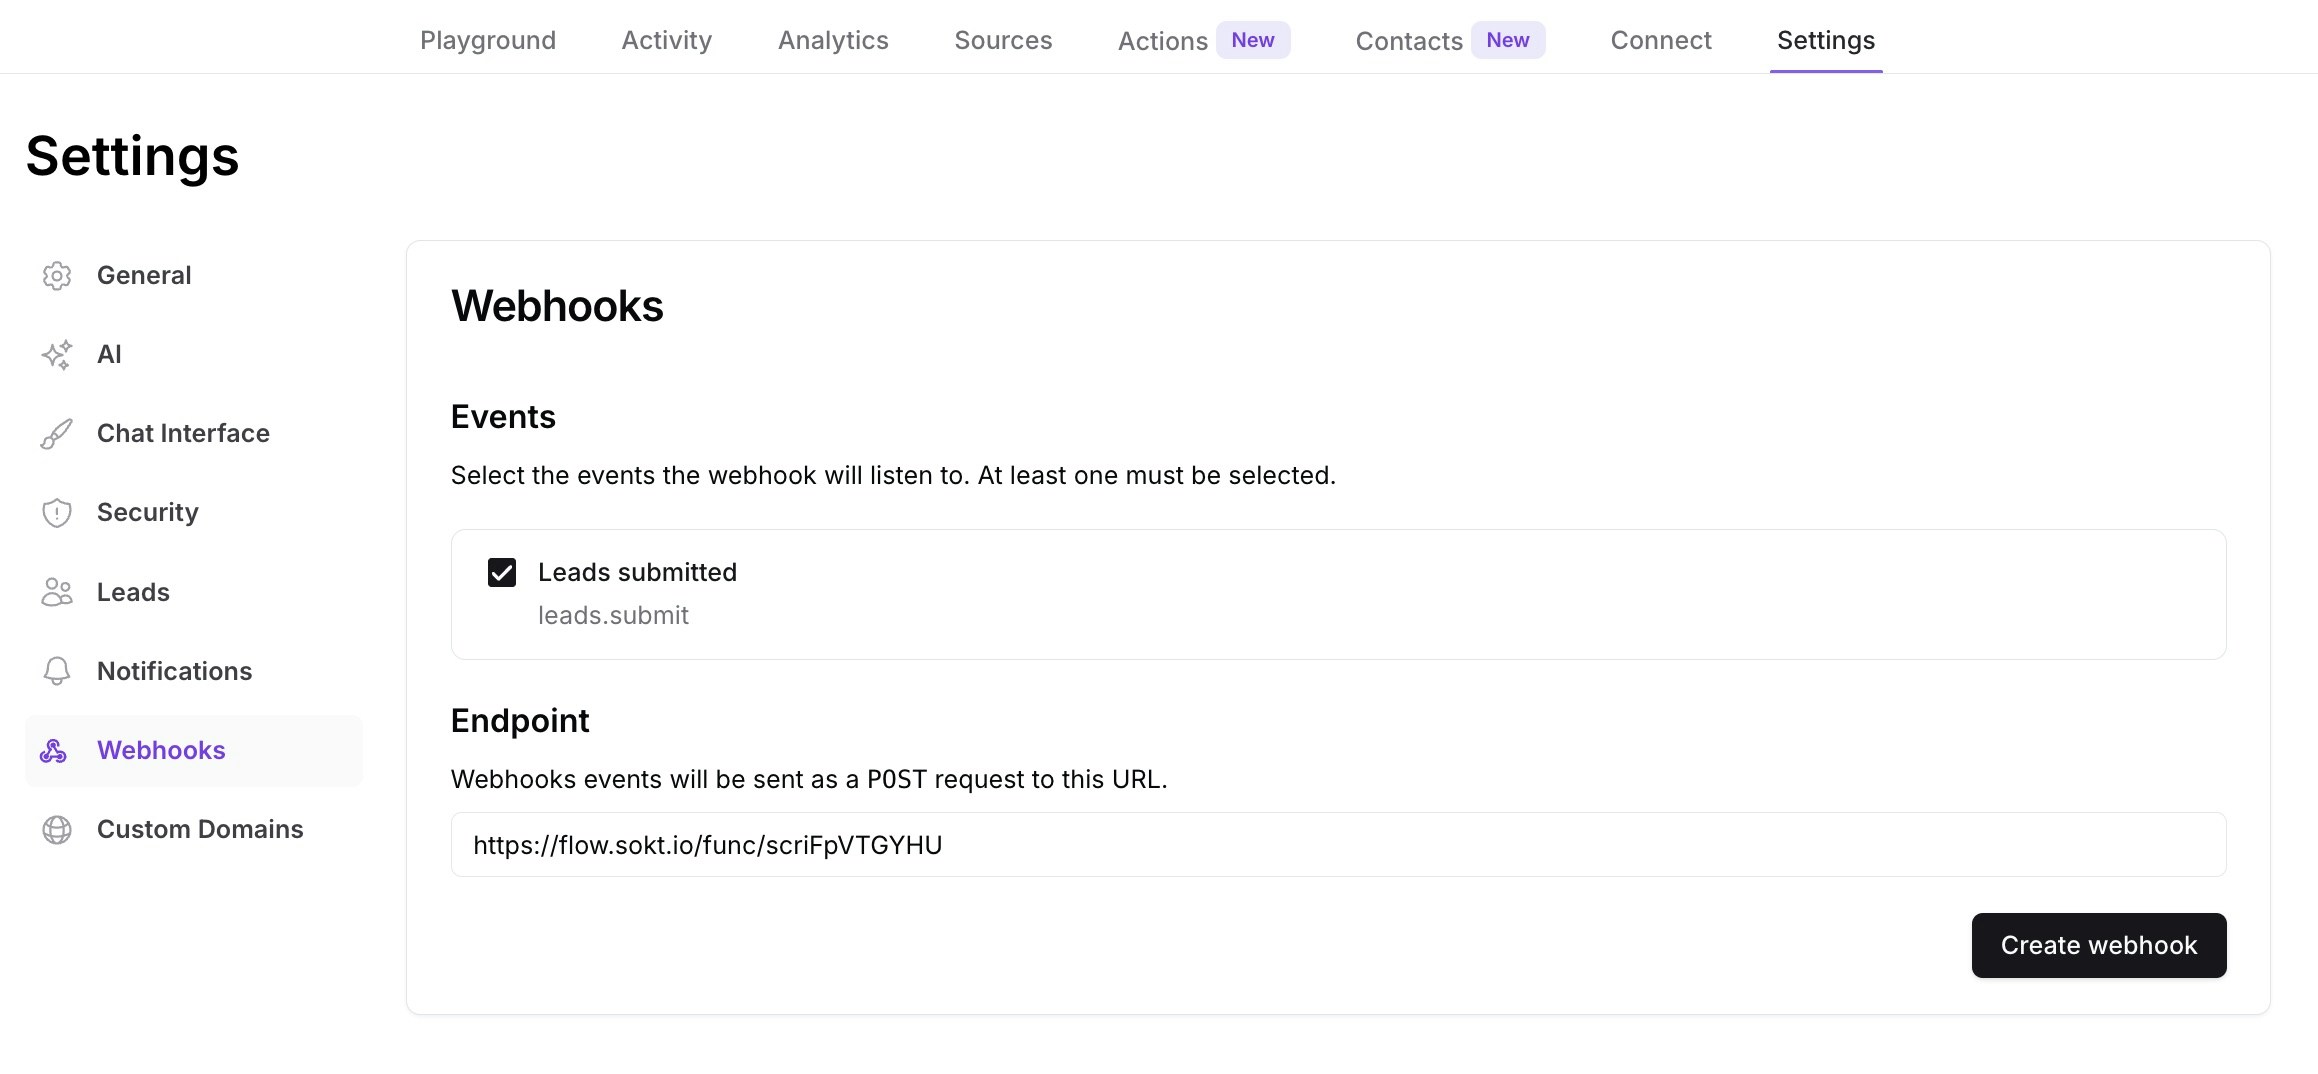
- Click Settings and select Webhooks.
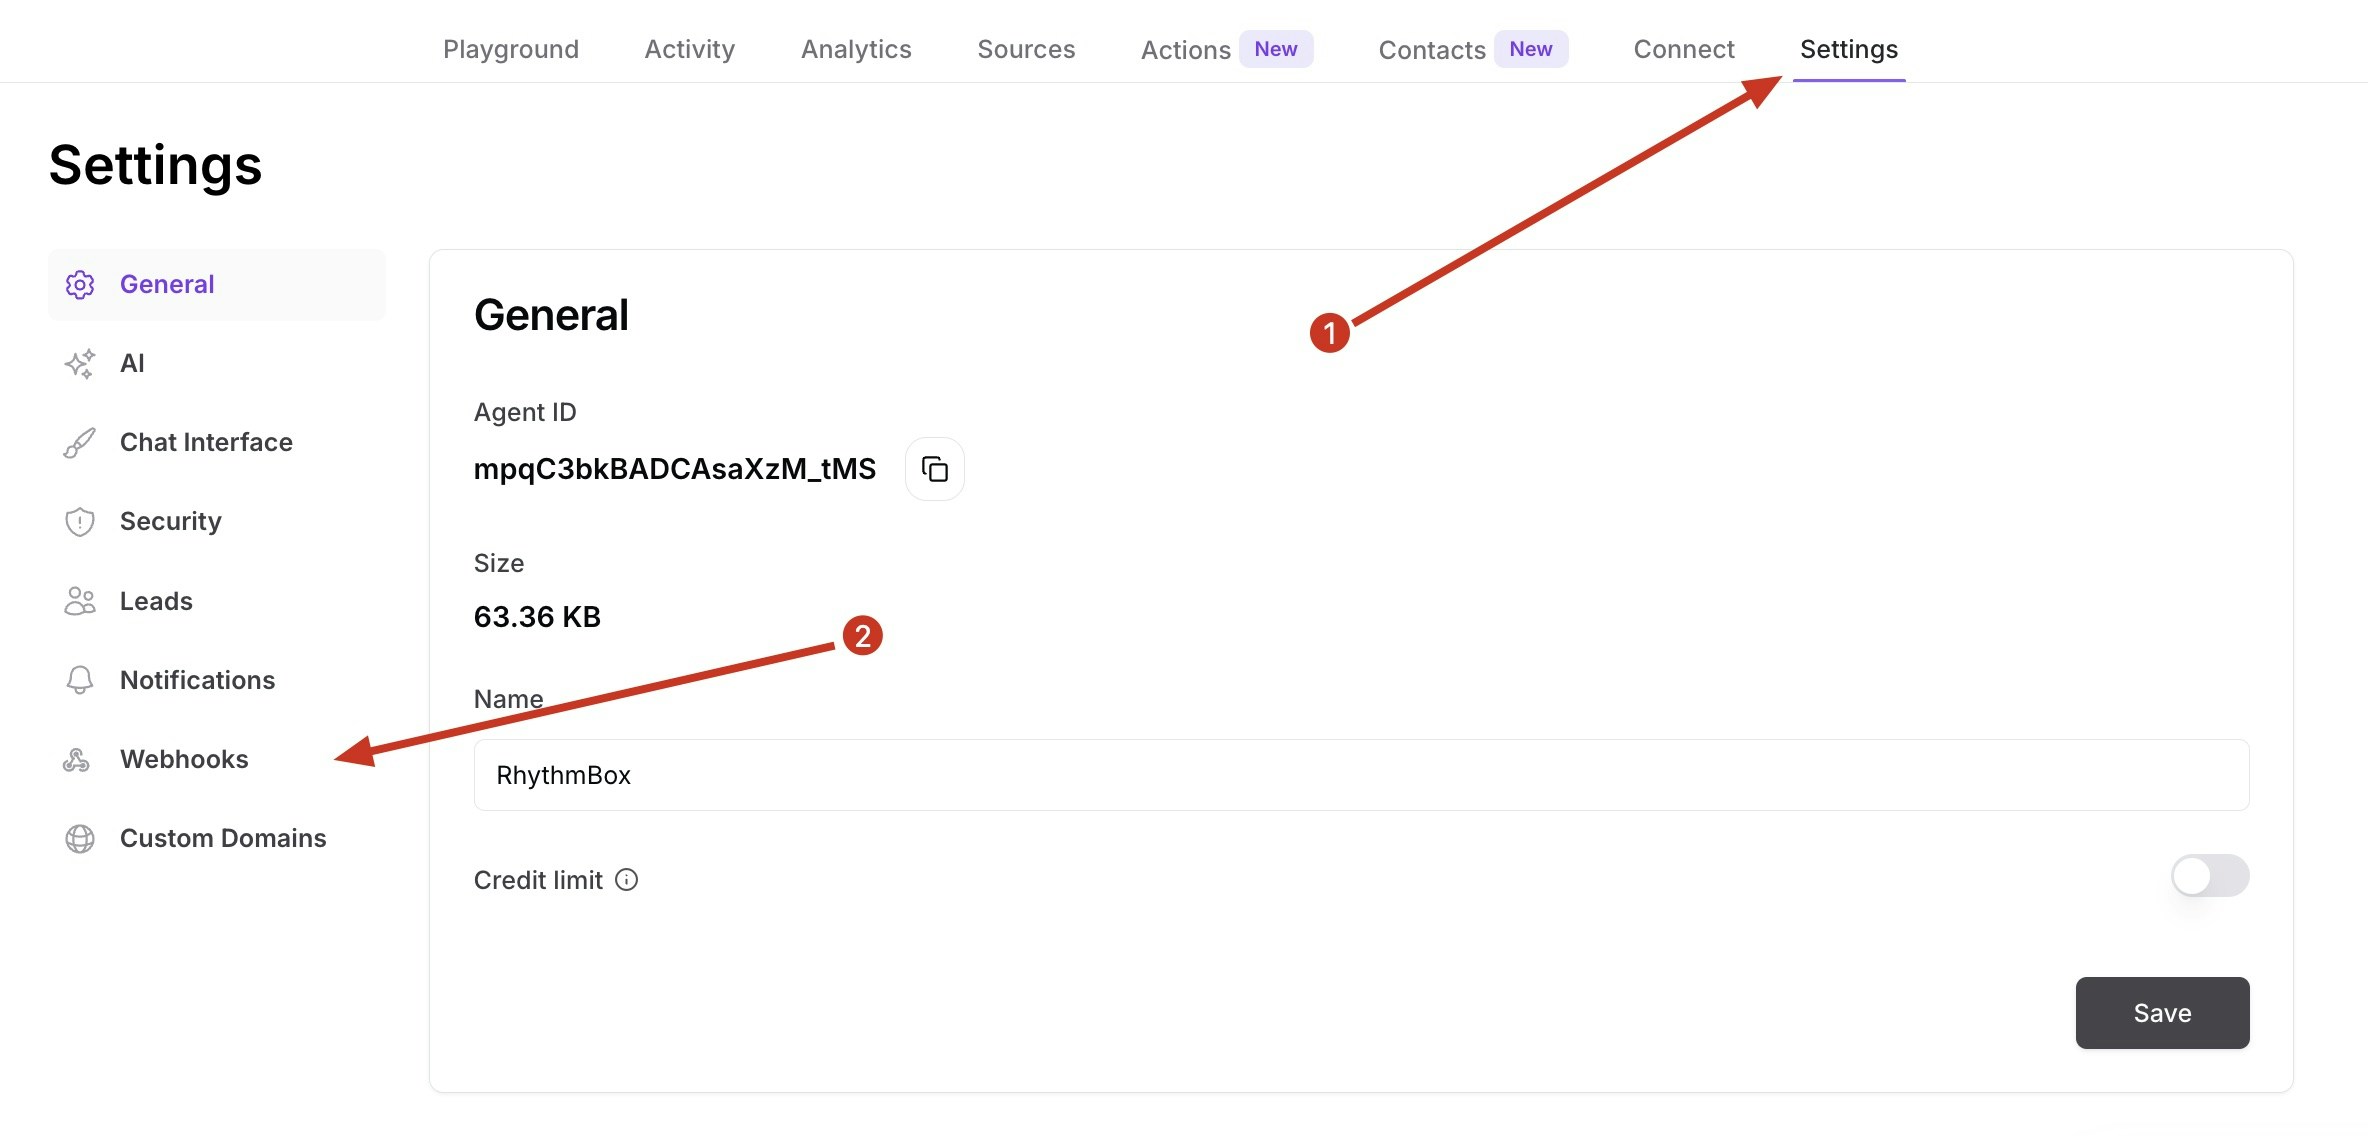
- Select the events you want to trigger, then paste the copied Webhook URL into the Endpoint field, then Create Webhook.
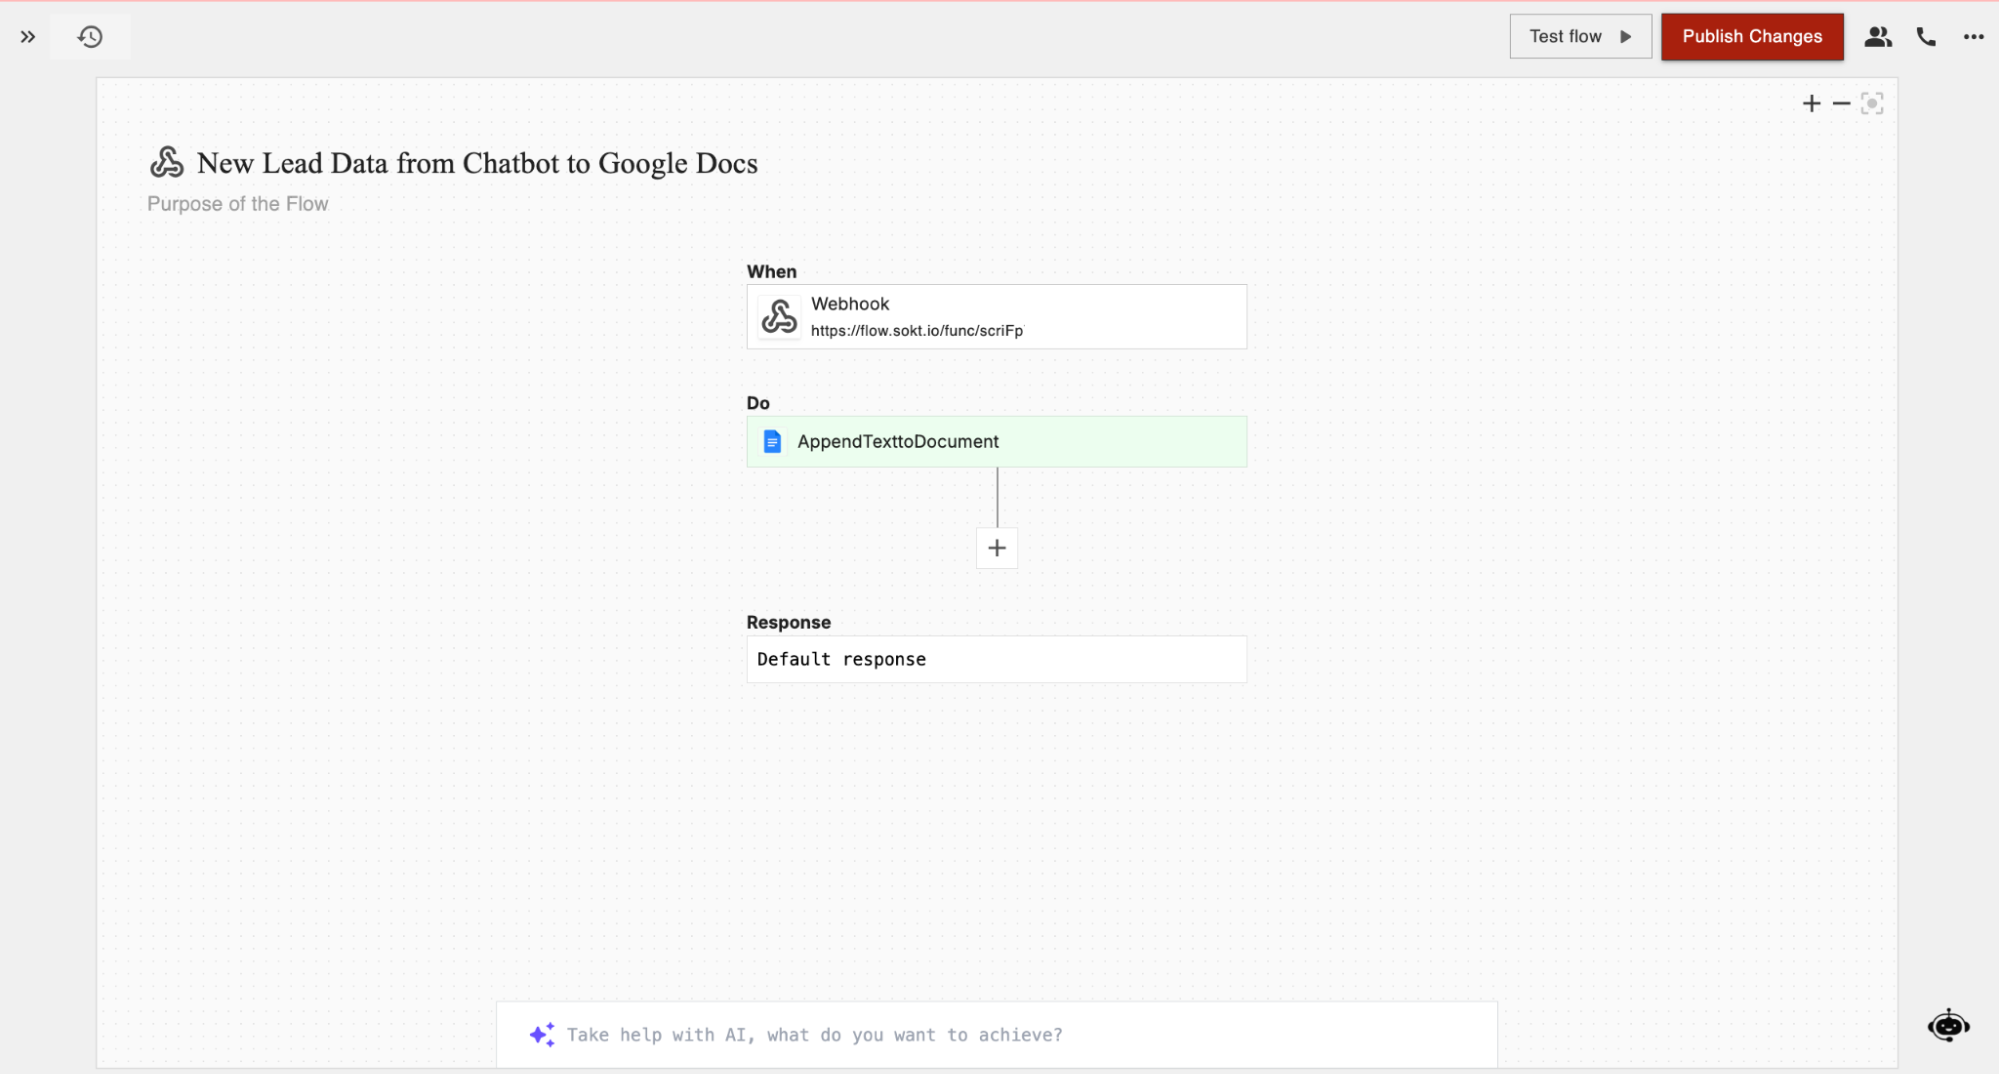
Step 3: Set Up an Action to Automate Tasks
- Go back to the viaSocket Flow Builder and click on Select Action.
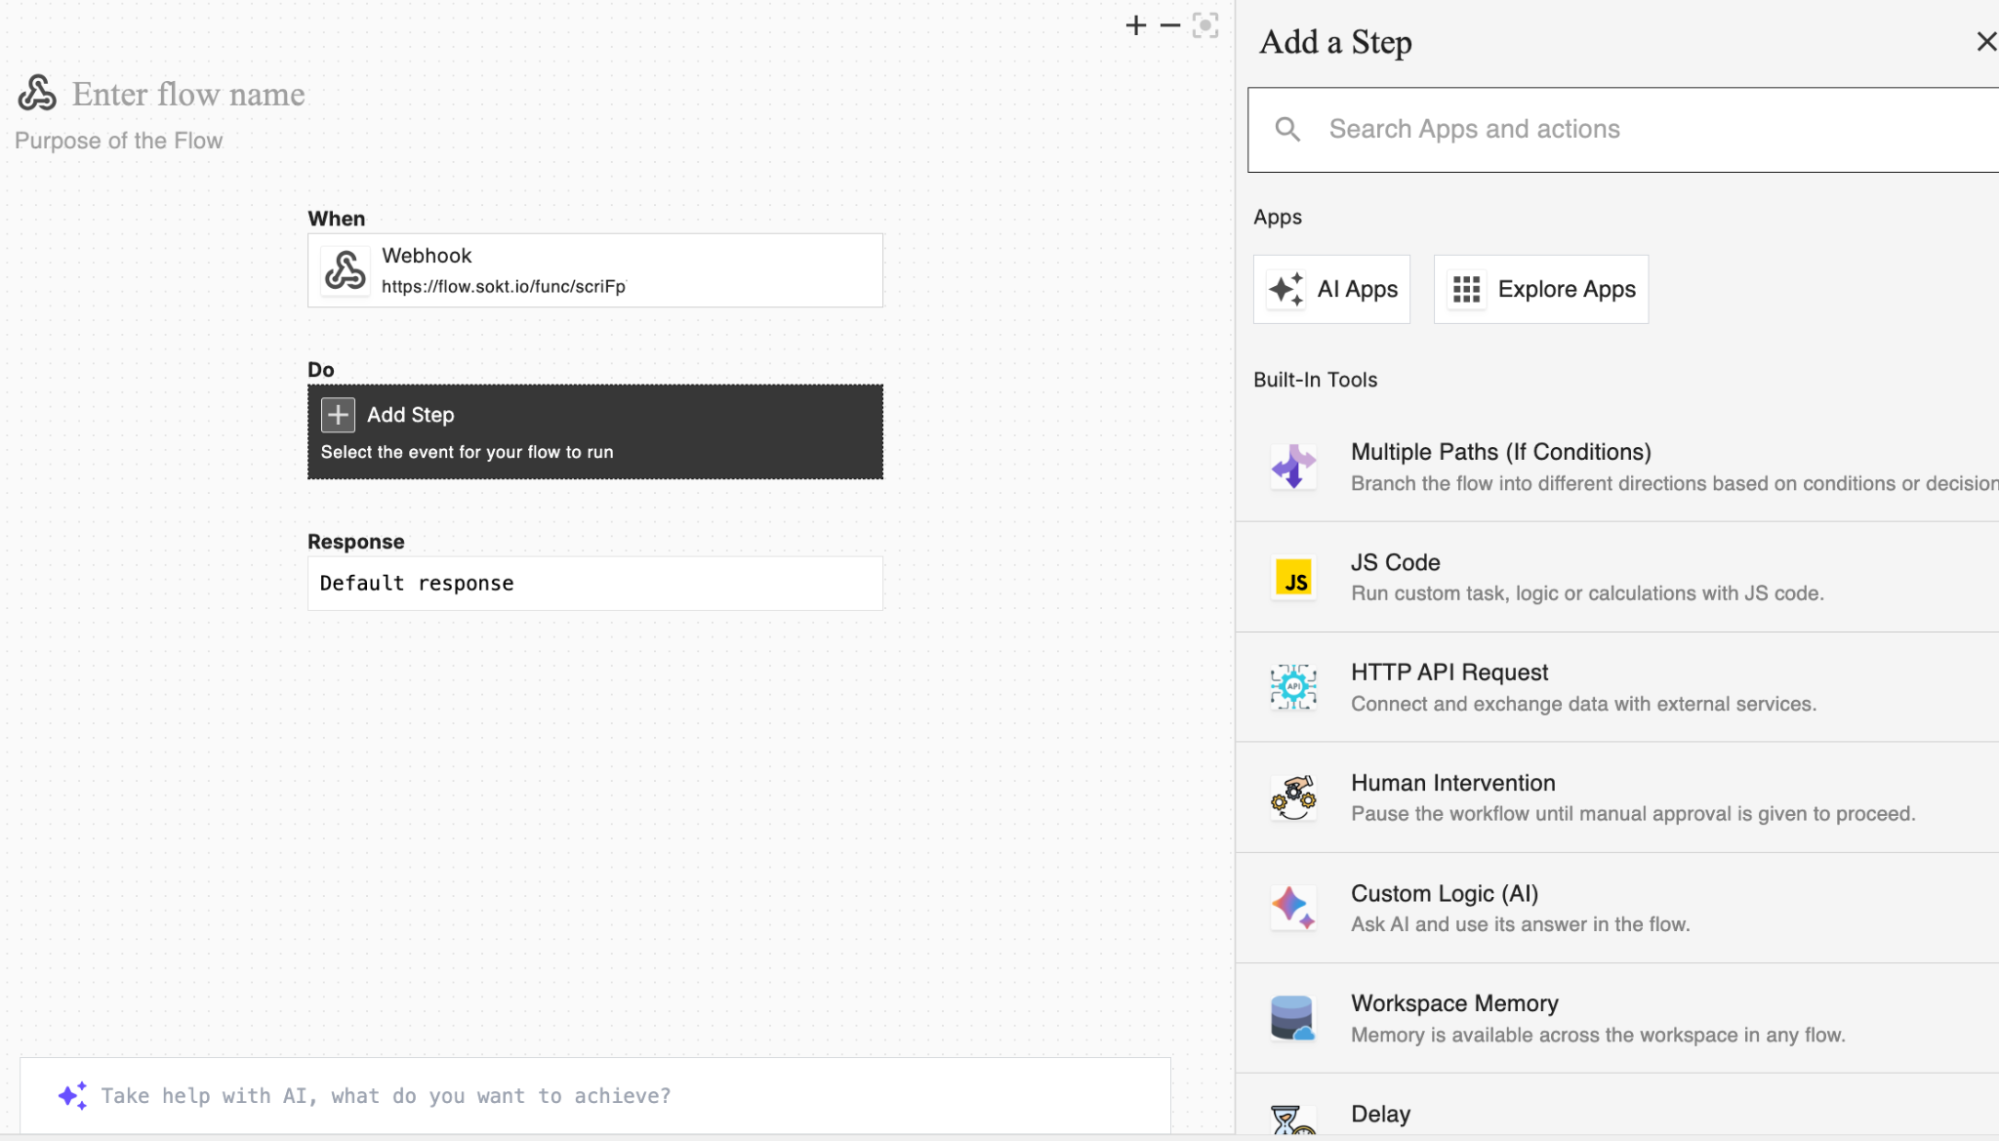
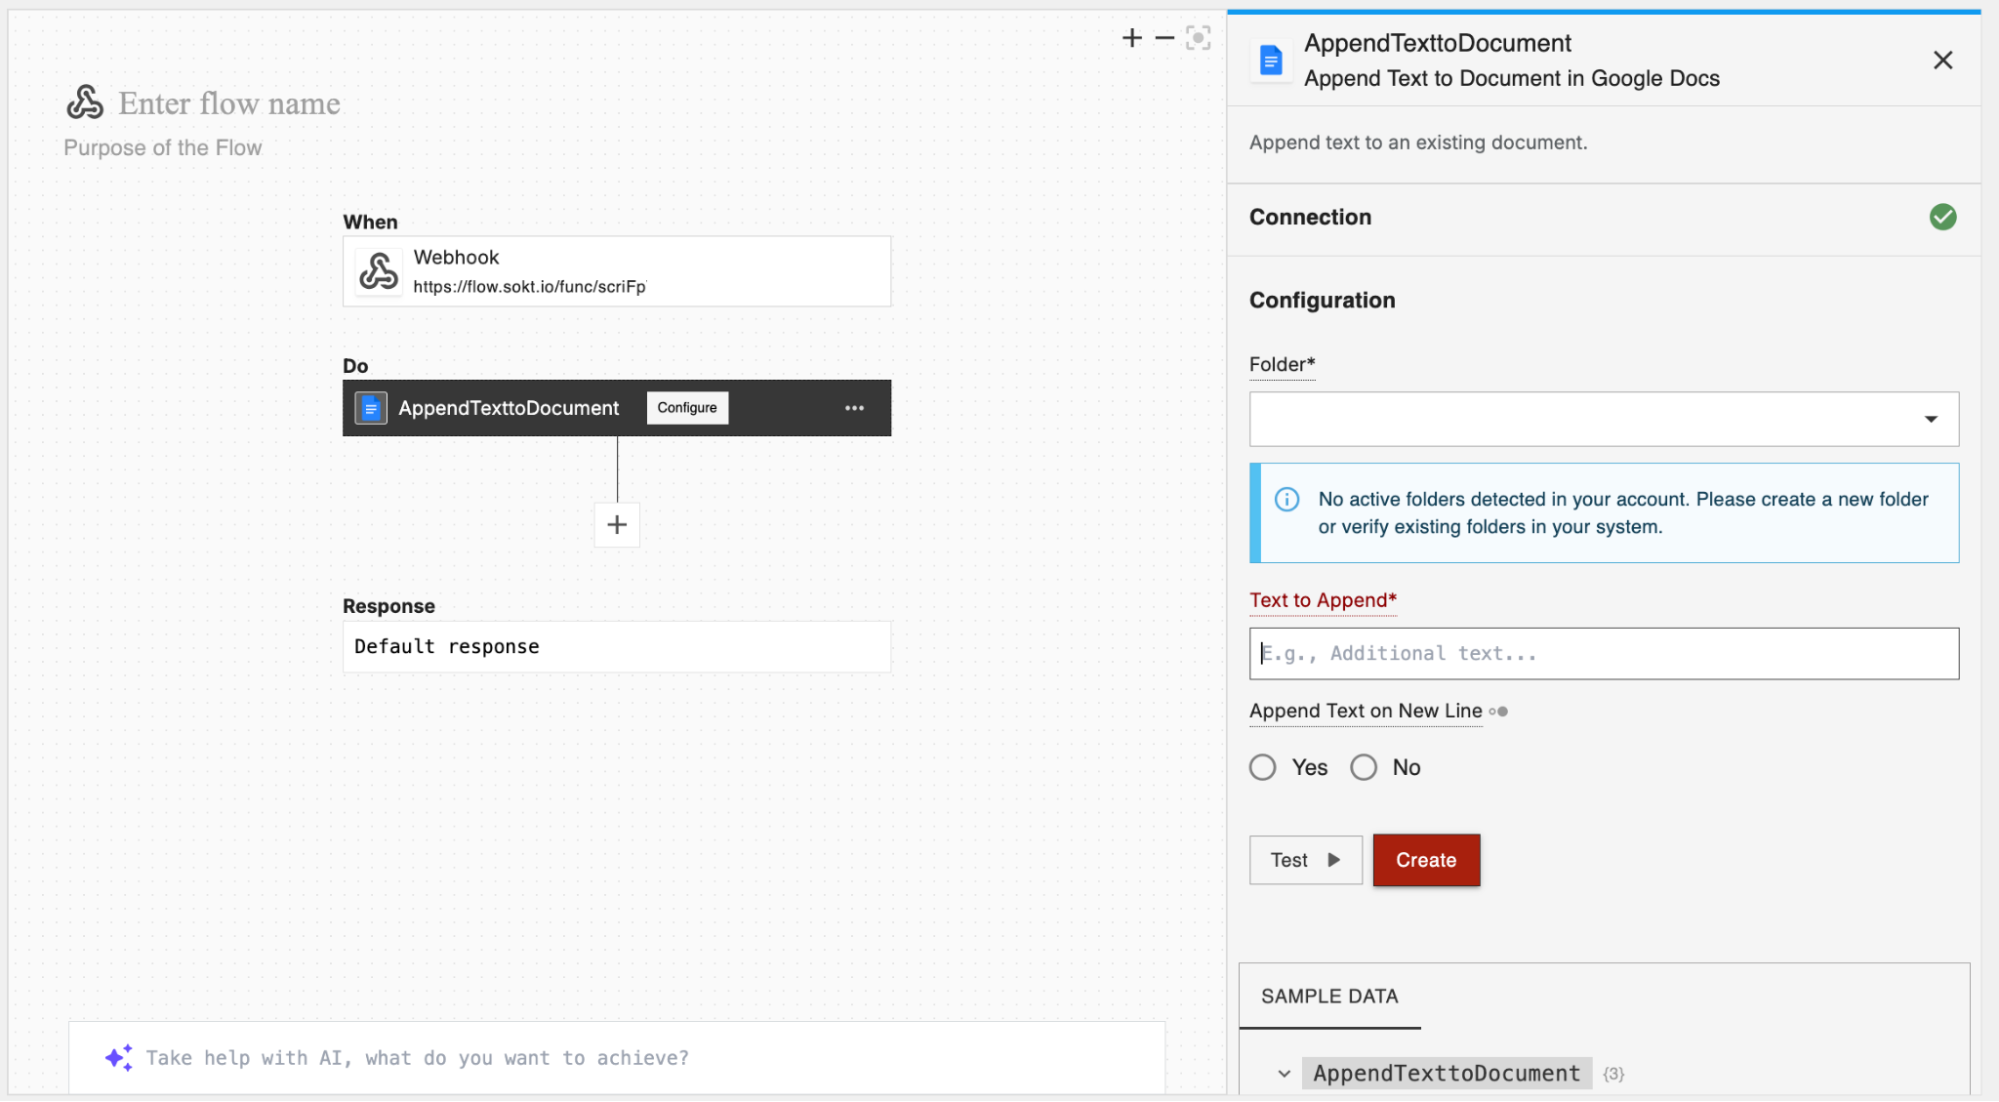
- Choose the Google Docs action: Append Text to Document.

- Establish a connection and configure your action with the required details.
Step 4: Test and Publish the Flow