

Overview
Integrating Messenger with Chatbase lets your AI agent communicate directly with customers through your Facebook pages. You can also take over any conversation yourself and reply through Messenger, so routine inquiries are automated but you keep the freedom to step in whenever you want.What you can do:
Answer Messenger inquiries automatically, take over a conversation the moment you want to handle it yourself, and run different AI agents on different pages.
Attachments are supported, so your AI agent can process them and respond based on their content. See Attachments.
You can connect more than one Facebook page: select multiple pages during setup, or add more later using Connect a new Facebook page in the Messenger dashboard.
Before you start
- A Chatbase account with an AI agent
- A Facebook page you administer
How to connect Messenger
1
Open the Messenger channel
Navigate to your dashboard, pick an AI agent, and go to Channels. Click Setup if this is your first time using the integration, or Manage if you’ve connected pages before.
2
Grant permission
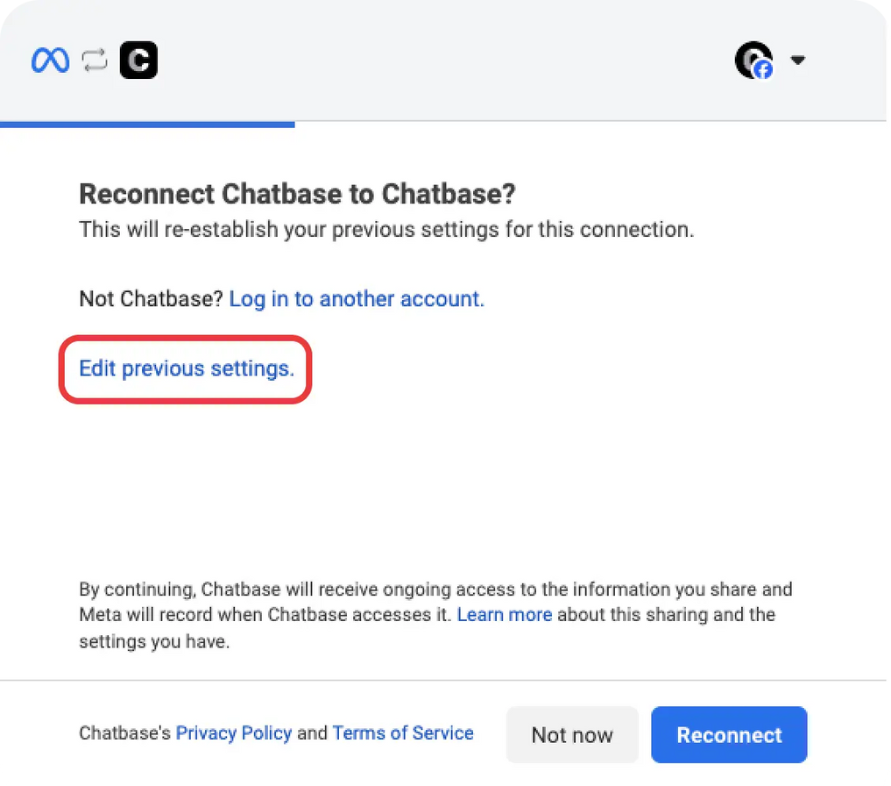
If this is the first time, you’ll be asked for permission to allow Chatbase to use your information.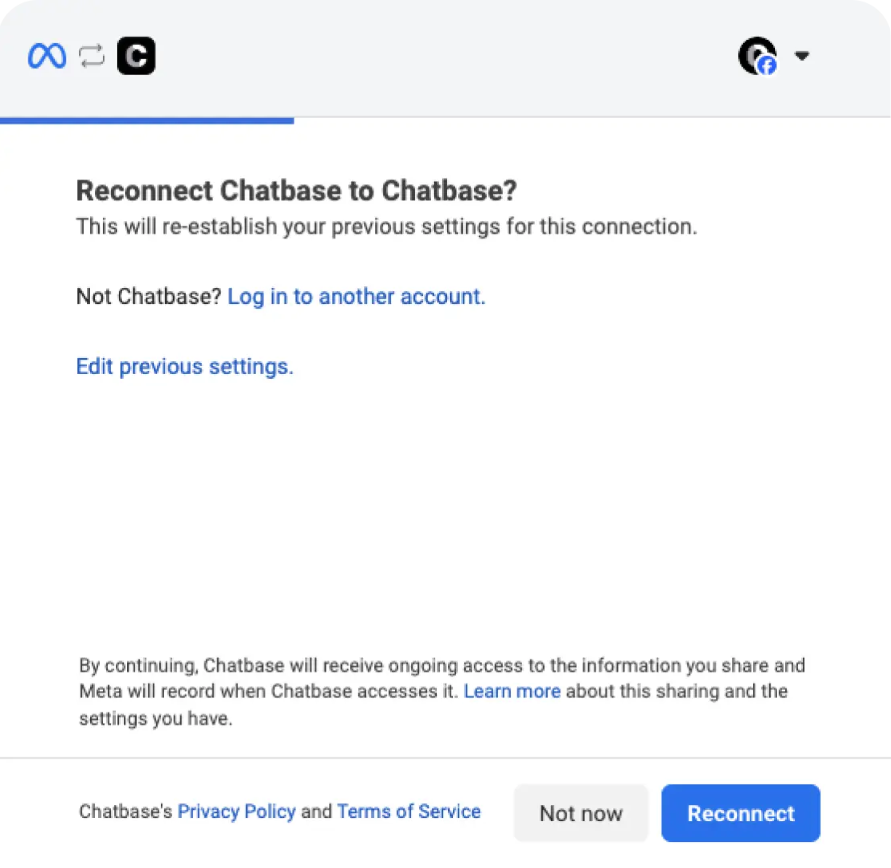
If you’ve already integrated some pages and want to modify your selection, pick the Edit Previous Settings option.
3
Choose your pages
Select Opt into current pages only to choose specific pages, or Opt all current pages to integrate every page on your account.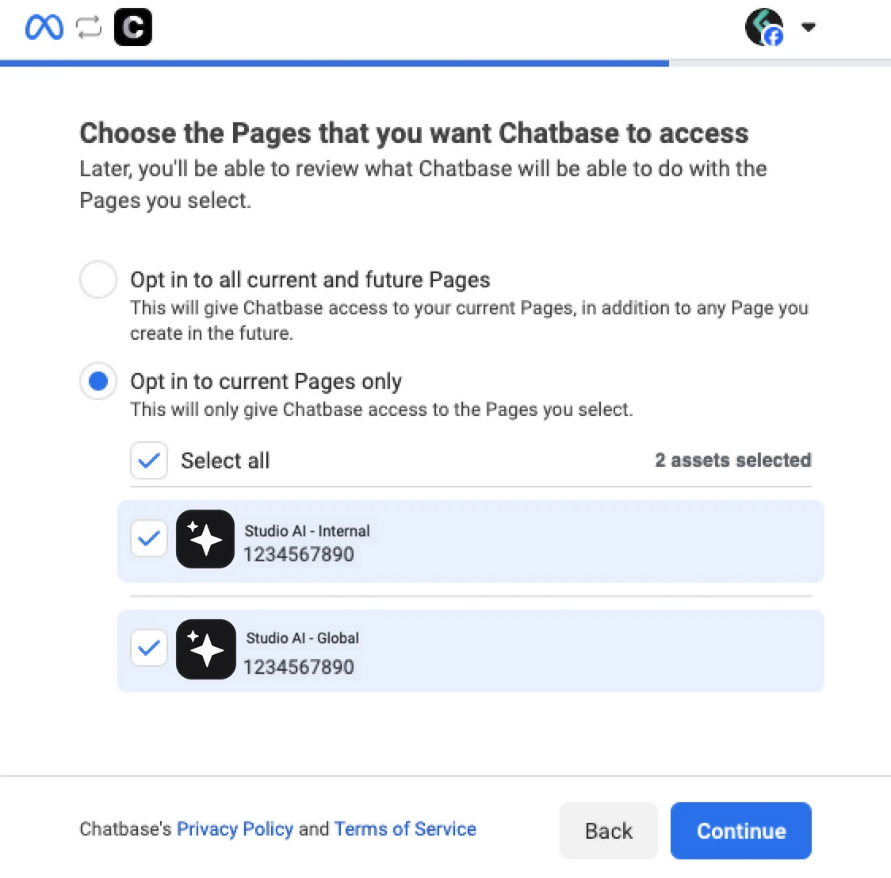
4
Review and save
Review the permissions and click Save.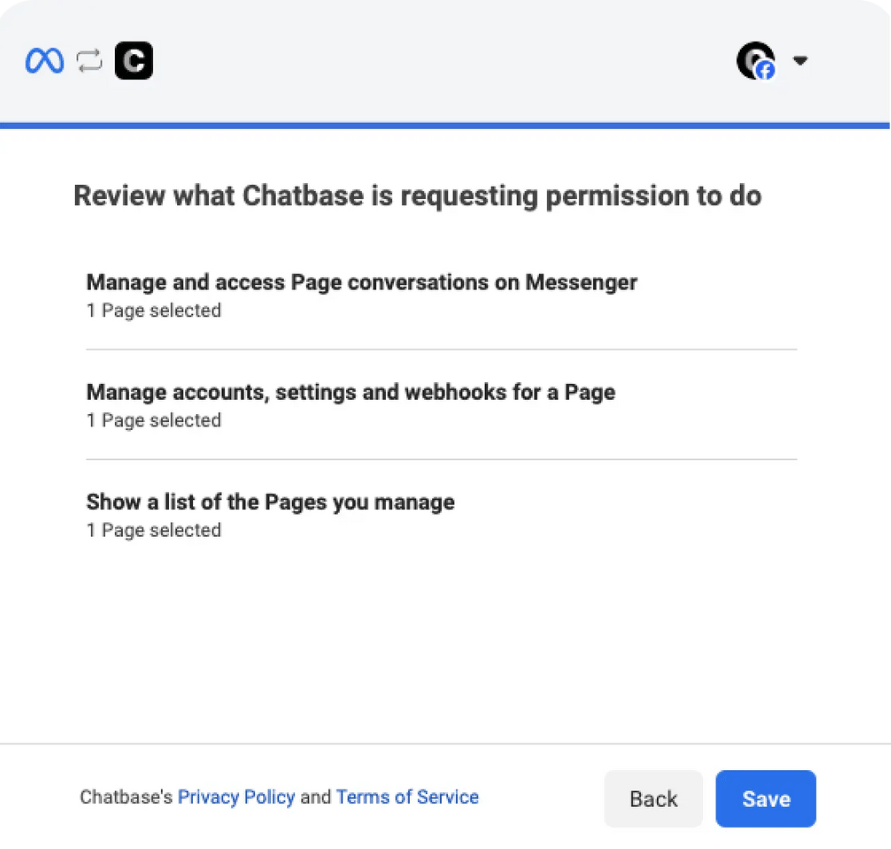
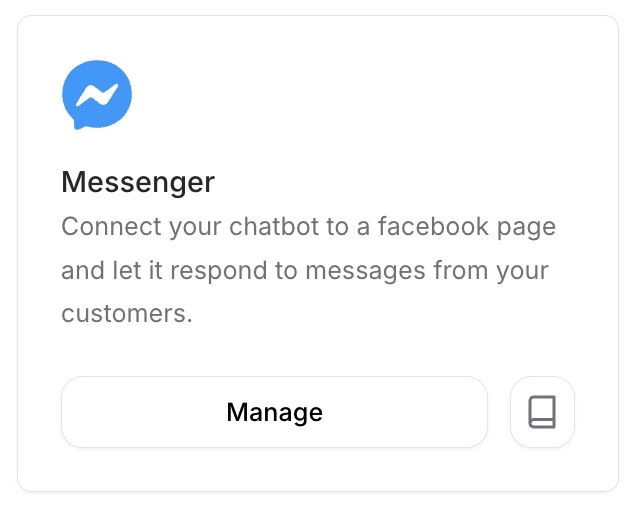
Send a message to your connected Facebook page and confirm your AI agent replies.
Human takeover
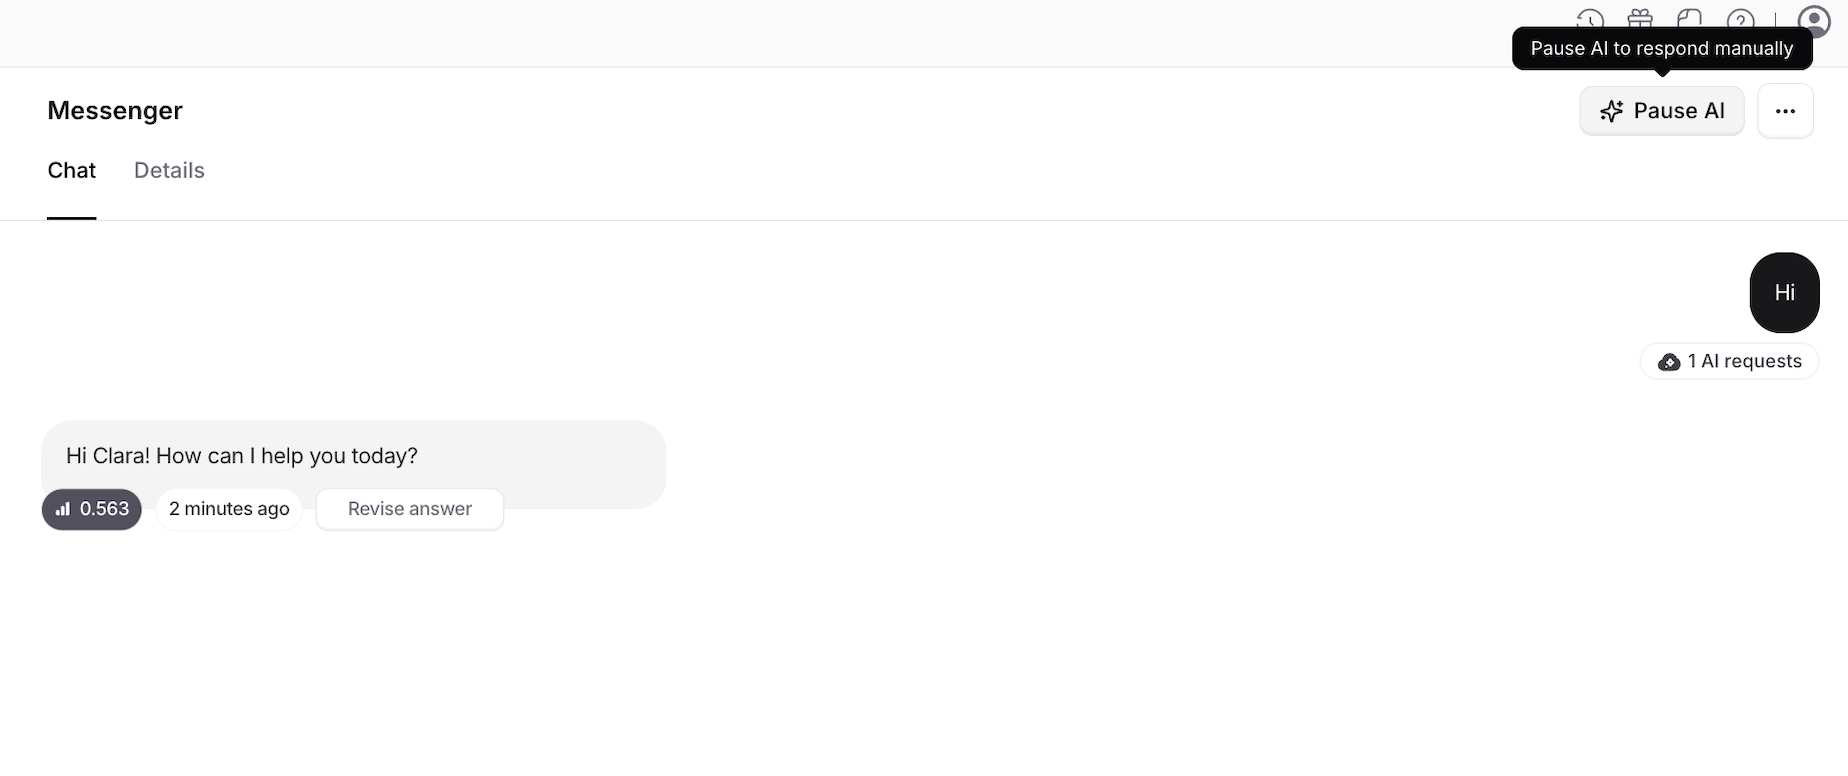
The human takeover feature lets you take over a chat whenever you want and reply to customers yourself. It works at the conversation level, so you can pick a specific conversation from the dashboard and stop the AI agent answering it.Enable human takeover for a conversation
- Navigate to Activity > Conversations in the left sidebar.
- In the Conversations section, filter to show only Messenger chats.
- Click the human takeover icon to the right of the source.
- Click the icon to enable human takeover.
Comment monitoring
Turn comments on your Facebook posts into Chatbase Helpdesk tickets, so your team can monitor and respond to customers directly from Chatbase. Comment monitoring is available from the channel settings for your Facebook accounts.1
Open your channel settings
Go to Channels and select your connected Facebook channel.
2
Open Comments
Select the Comments tab.
3
Enable comment monitoring
Turn on Comment monitoring and select the connected accounts you want to monitor.
4
Receive comments as tickets
When someone comments on a monitored Facebook post, Chatbase automatically creates a ticket in the Chatbase Helpdesk.The ticket includes information about the original post and the comment, giving your team the context needed to respond.
5
Reply from the Chatbase Helpdesk
Open the ticket in the Chatbase Helpdesk and reply directly to the comment.Replies sent from Chatbase are posted as replies to the original Facebook comment.
Connecting different AI agents to different pages
You can connect different AI agents to different Facebook pages, so each page gets specialized interactions.1
Open the AI agent you want to connect
After connecting your first pages, you have access to the manage Facebook pages integrations page. Navigate to the AI agent you want to connect, then Channels > Manage.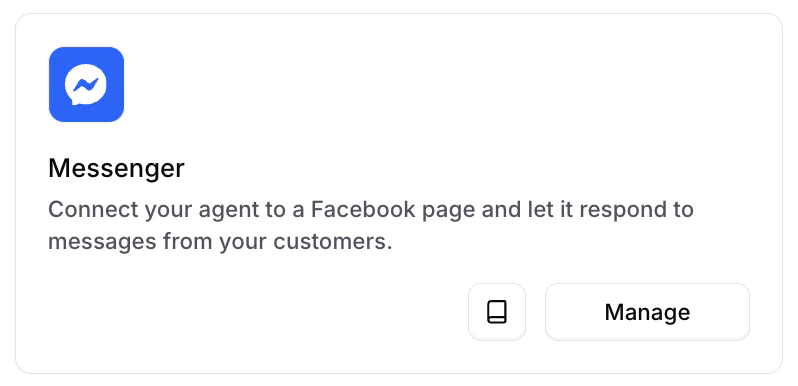
2
Connect a new page
You’ll see all the pages connected to this AI agent. Click Connect a new Facebook Page.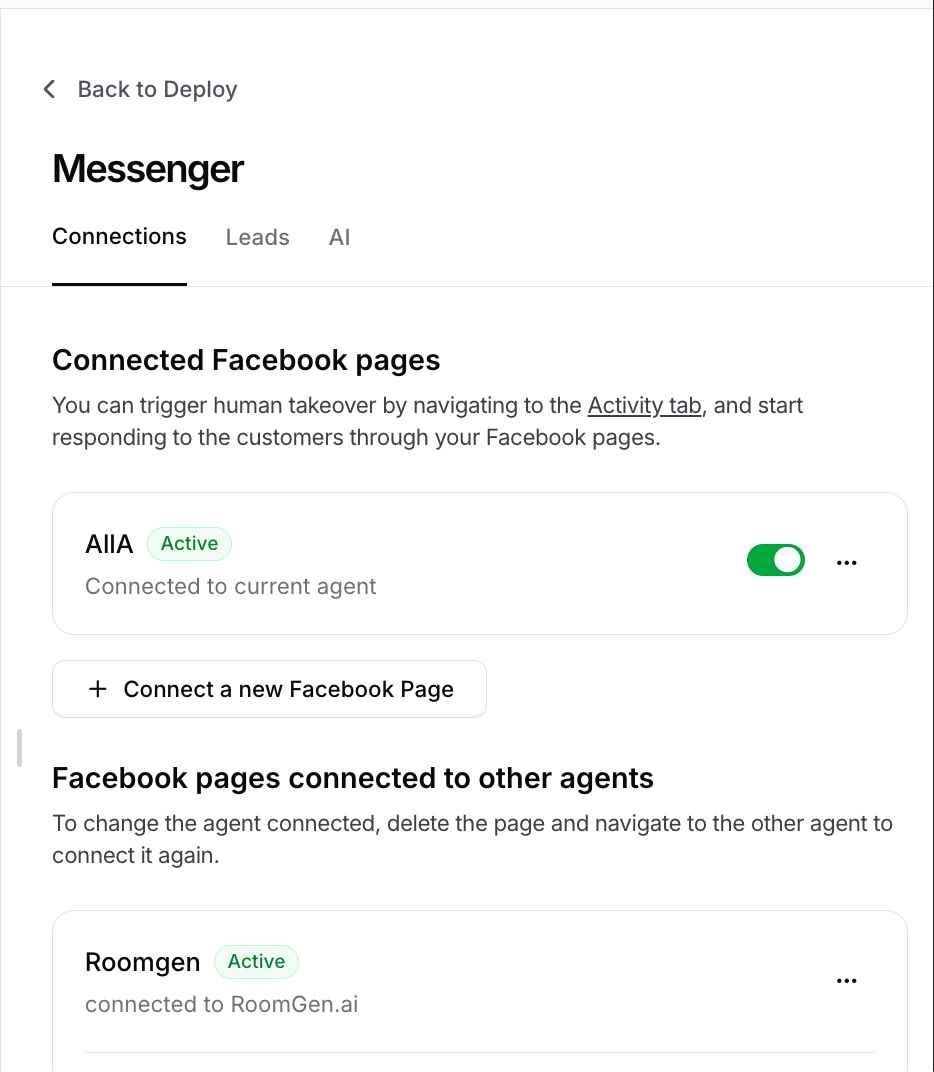
3
Keep your existing pages selected
A list of connected pages is displayed.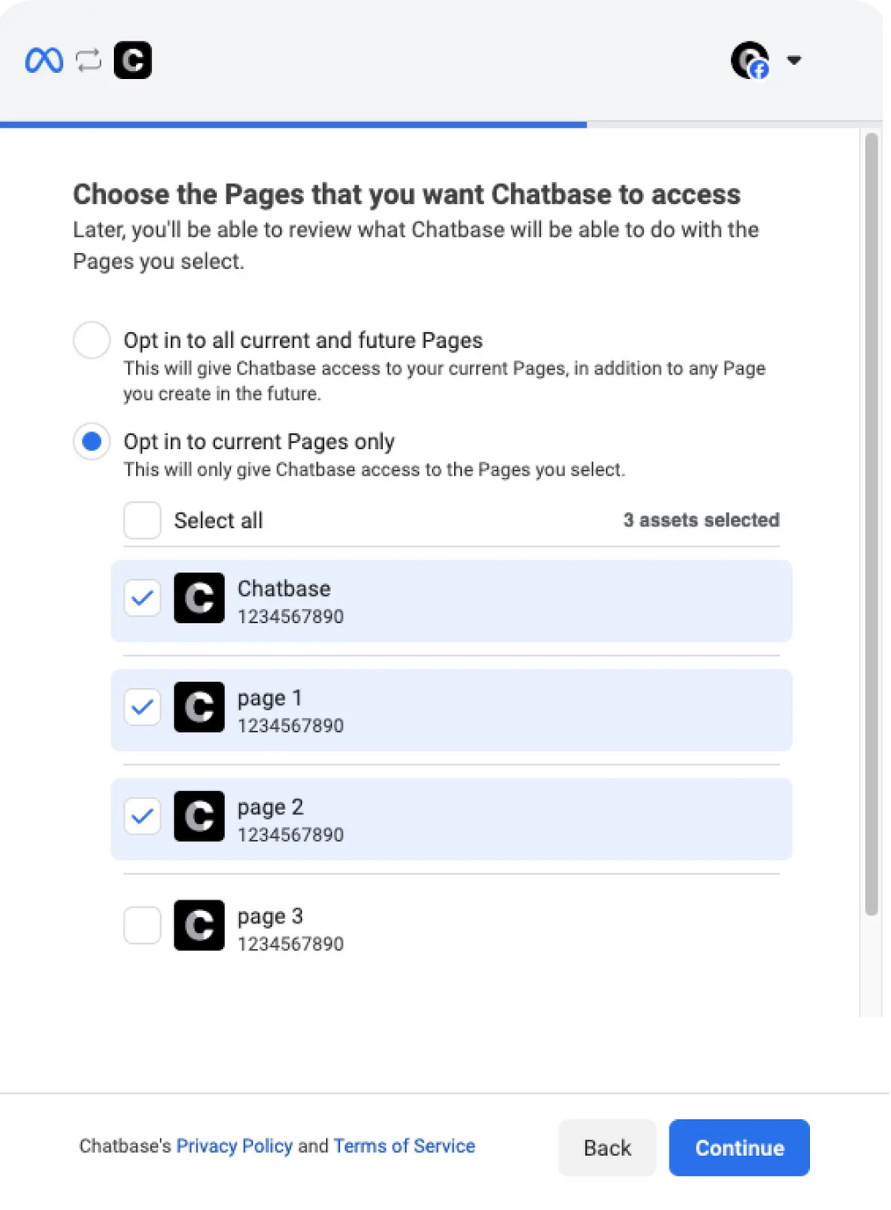
4
Select the new page and save
Select the page you want to add the new AI agent to and click Next. If the page was already selected, just click Next.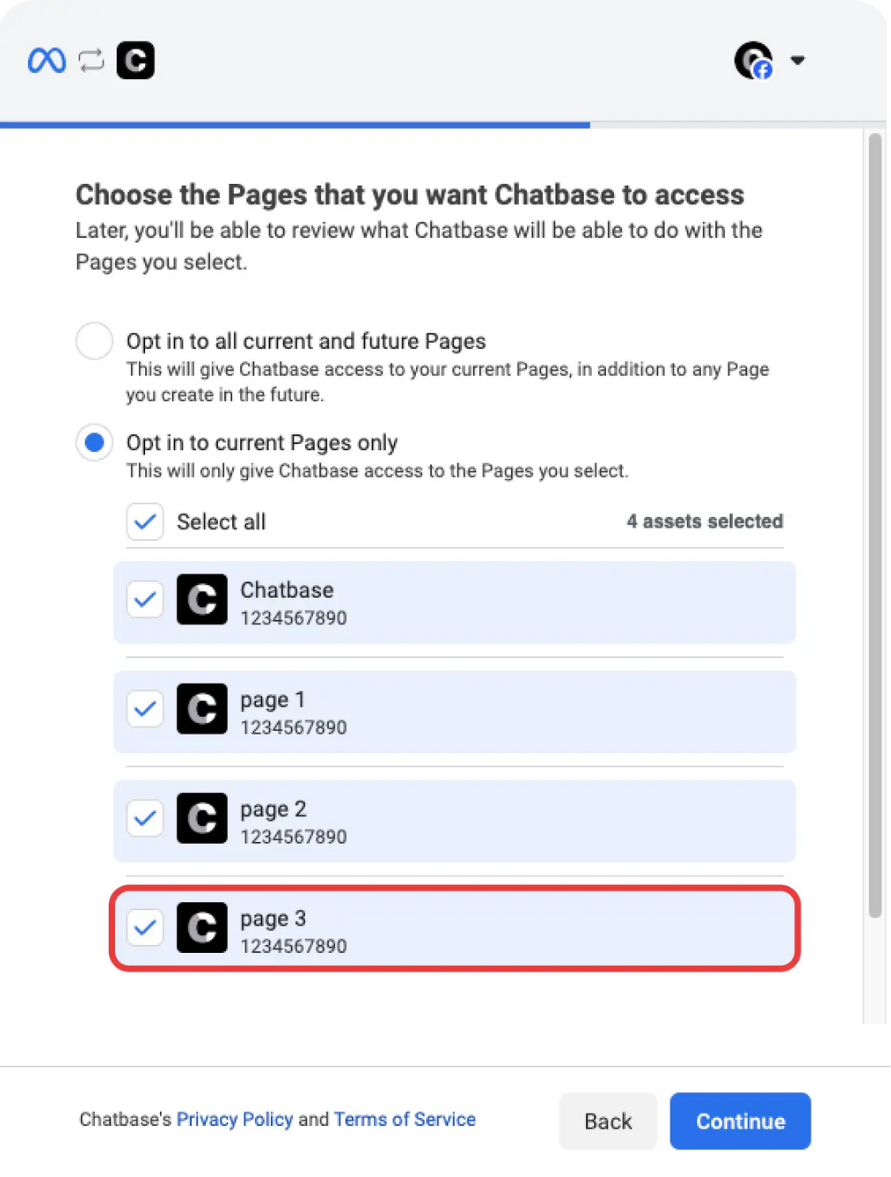
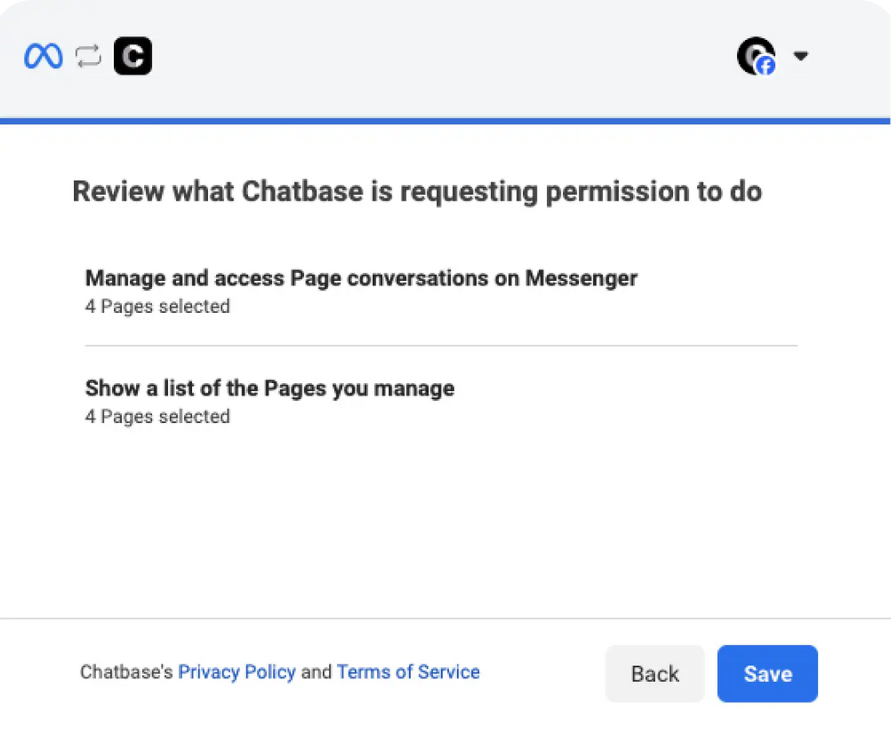
You can enable or disable the Messenger integration without disconnecting it. Disabling pauses messages while keeping your setup intact, and you can re-enable at any time. New chats still appear in your Chatbase dashboard chat logs.
Limitations
- Deleting a page removes takeover for its conversations. The chat logs remain, but the takeover icon disappears, and re-adding the page doesn’t restore it for old conversations.
- Deselecting a page during setup disables it for Chatbase, even if you only meant to change something else.
Next steps
Connect the Instagram accounts linked to your Facebook pages for the same treatment.