

Overview
Chatbase makes it quick and easy to add an AI agent to your Zendesk environment. In just a few minutes, you can deploy an AI agent that either responds directly to customer tickets inside Zendesk, or escalates conversations to your human support team by creating a Zendesk ticket with a detailed summary of the interaction. This flexibility lets you automate routine inquiries while making sure complex cases are handed off cleanly, improving response times, reducing manual workload, and delivering round-the-clock support.What you can do:
Have the AI agent answer Zendesk tickets on its own, draft replies for a human to review, or open a ticket the moment a chat conversation needs a person.
Available capabilities
Before you start
- A Chatbase account with an AI agent. If you haven’t built one yet, create a Chatbase account and follow Your first AI agent.
- A Zendesk account, and your Zendesk subdomain.
AI ticket responses in Zendesk
How to connect Zendesk
1
Open your Chatbase AI agent
Head to your dashboard and click the AI agent you wish to integrate with Zendesk.
2
Find the Zendesk integration
Click the Channels tab, find the Zendesk integration, and click Setup.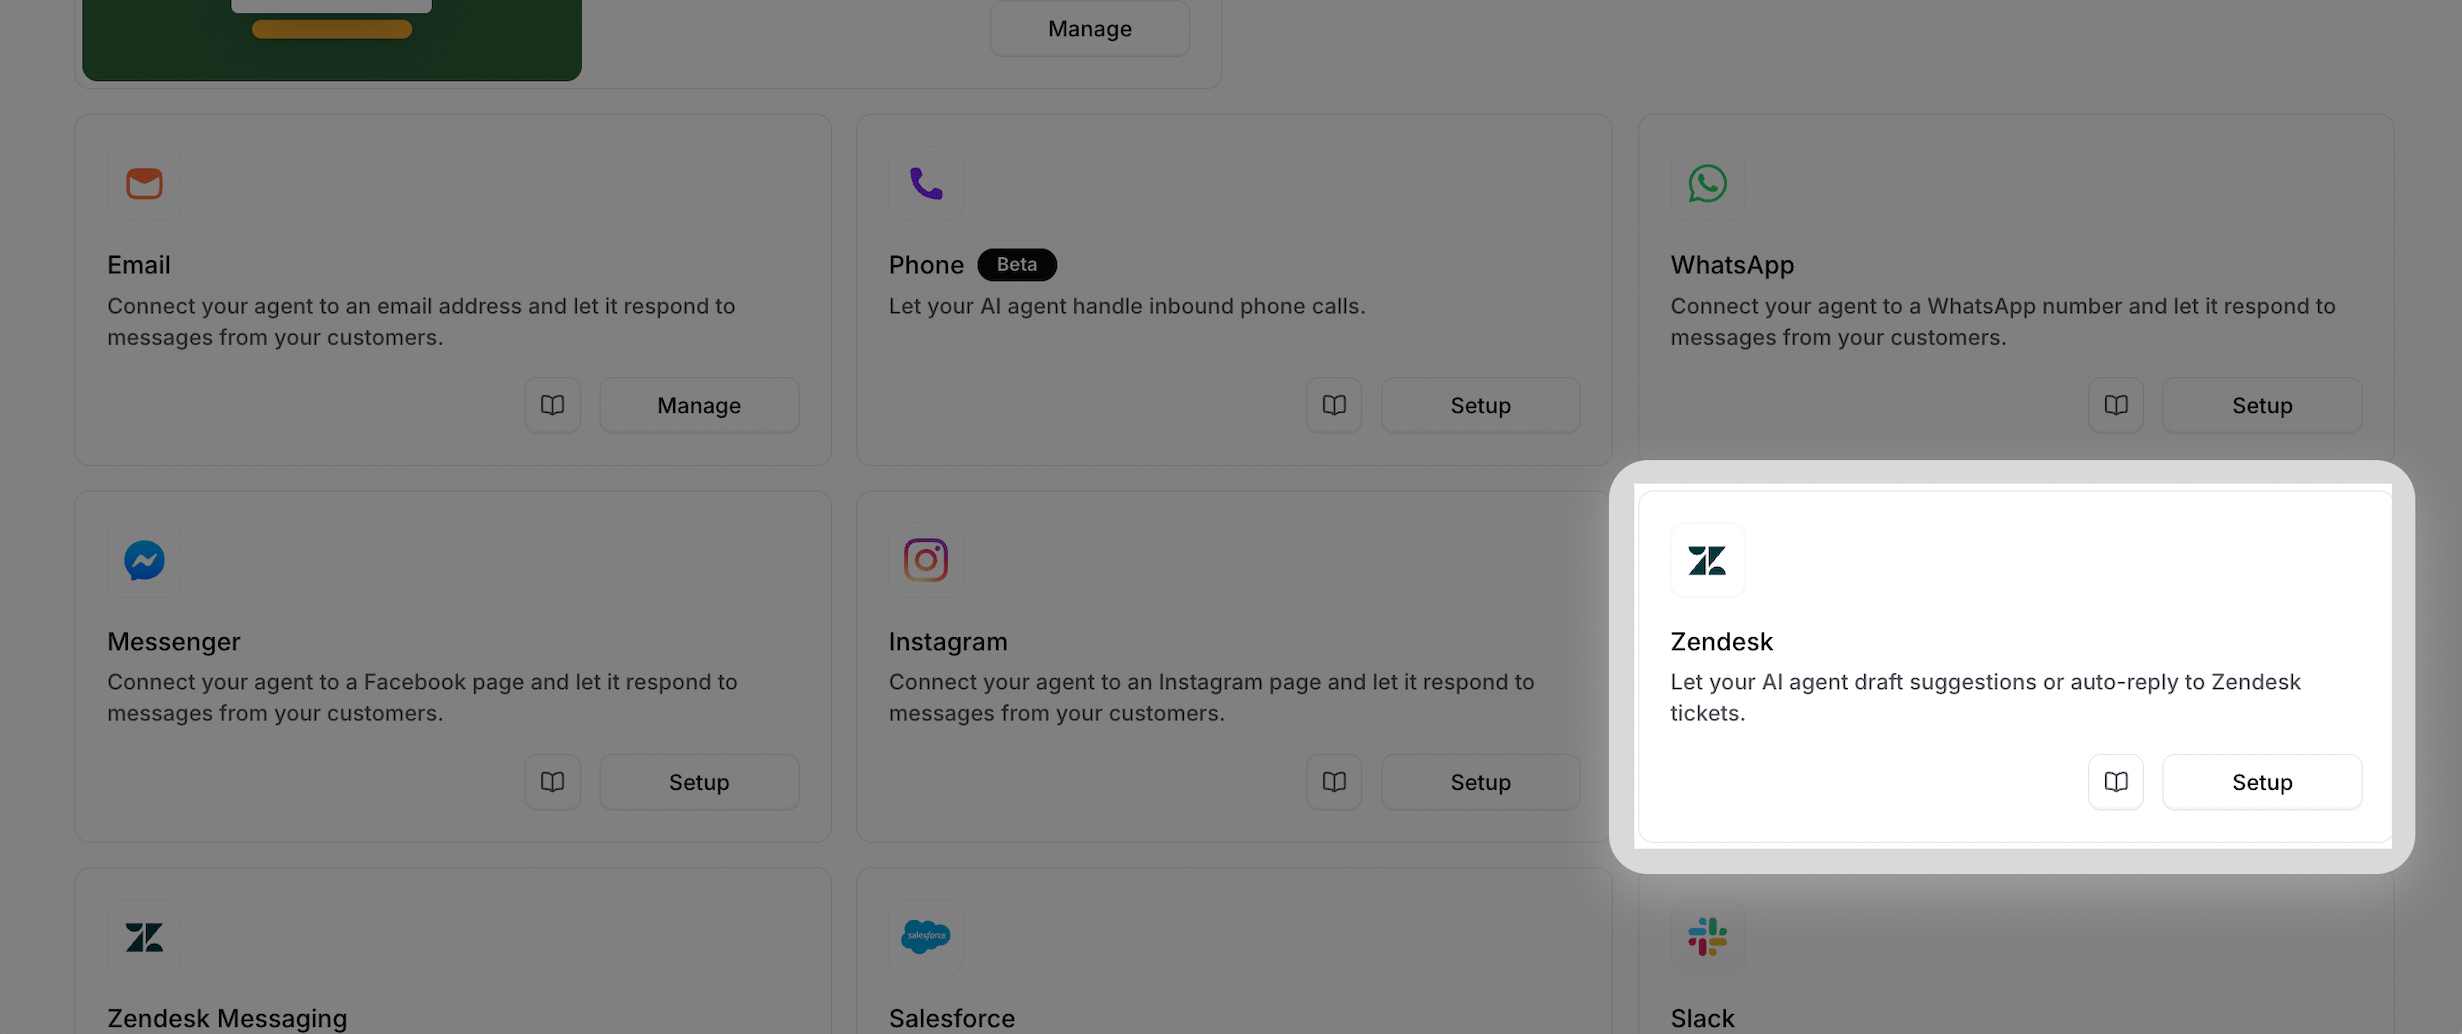
3
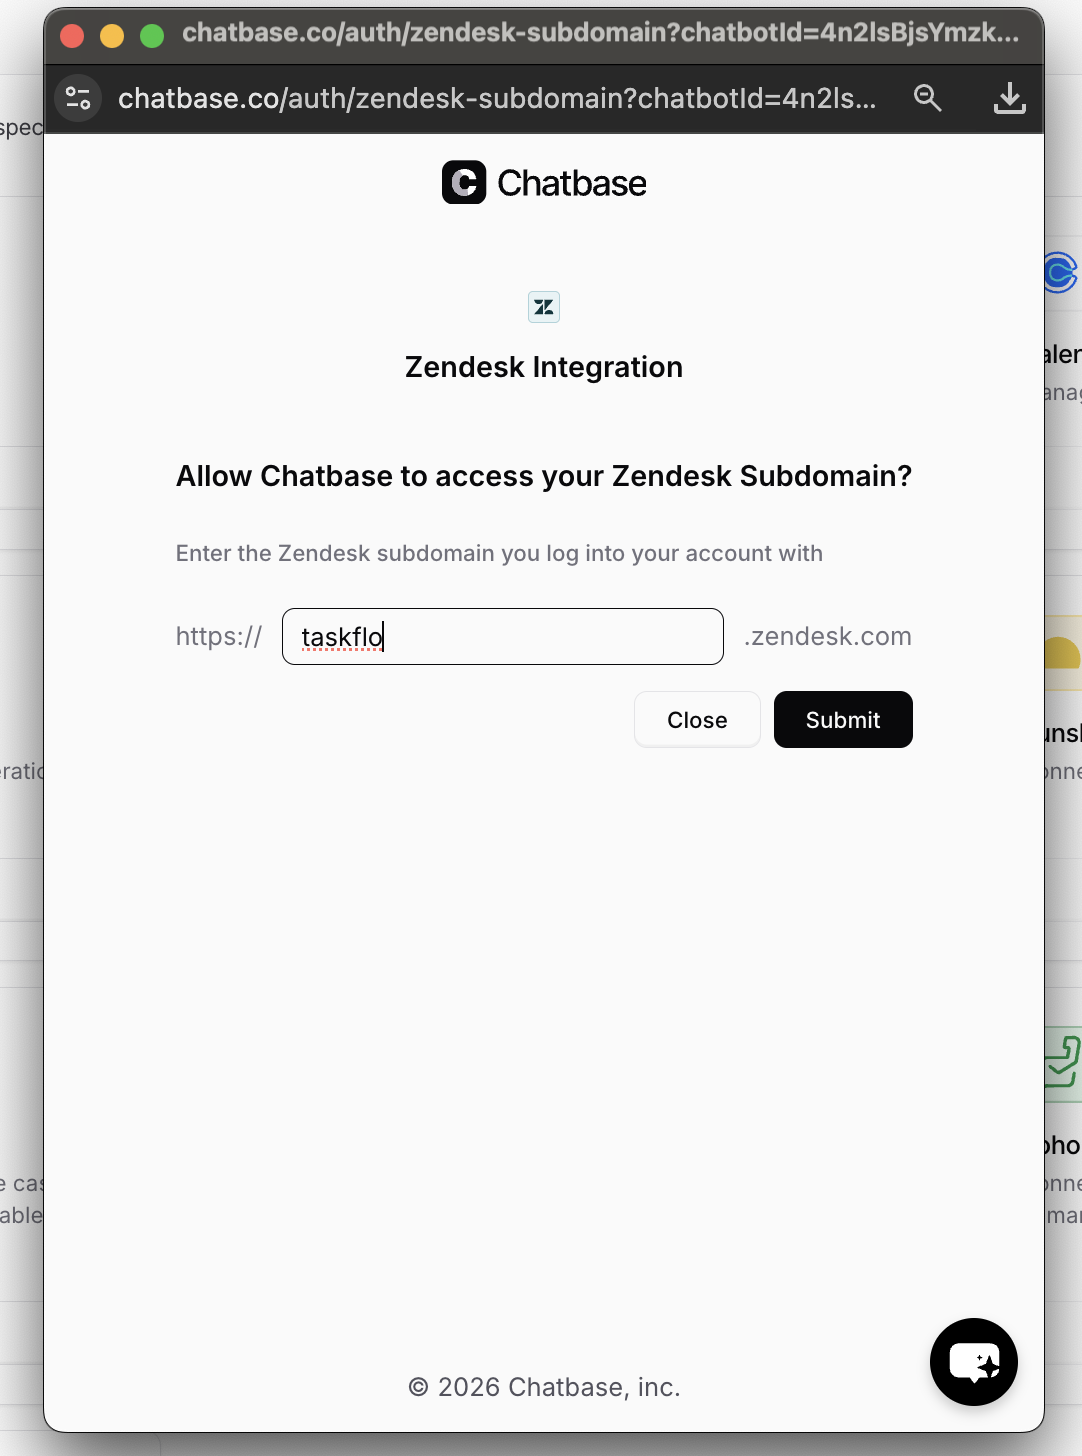
Authorize the integration
A new tab will open. Enter your Zendesk subdomain and click Submit. You’ll be asked to log in to your Zendesk account to authorize the integration.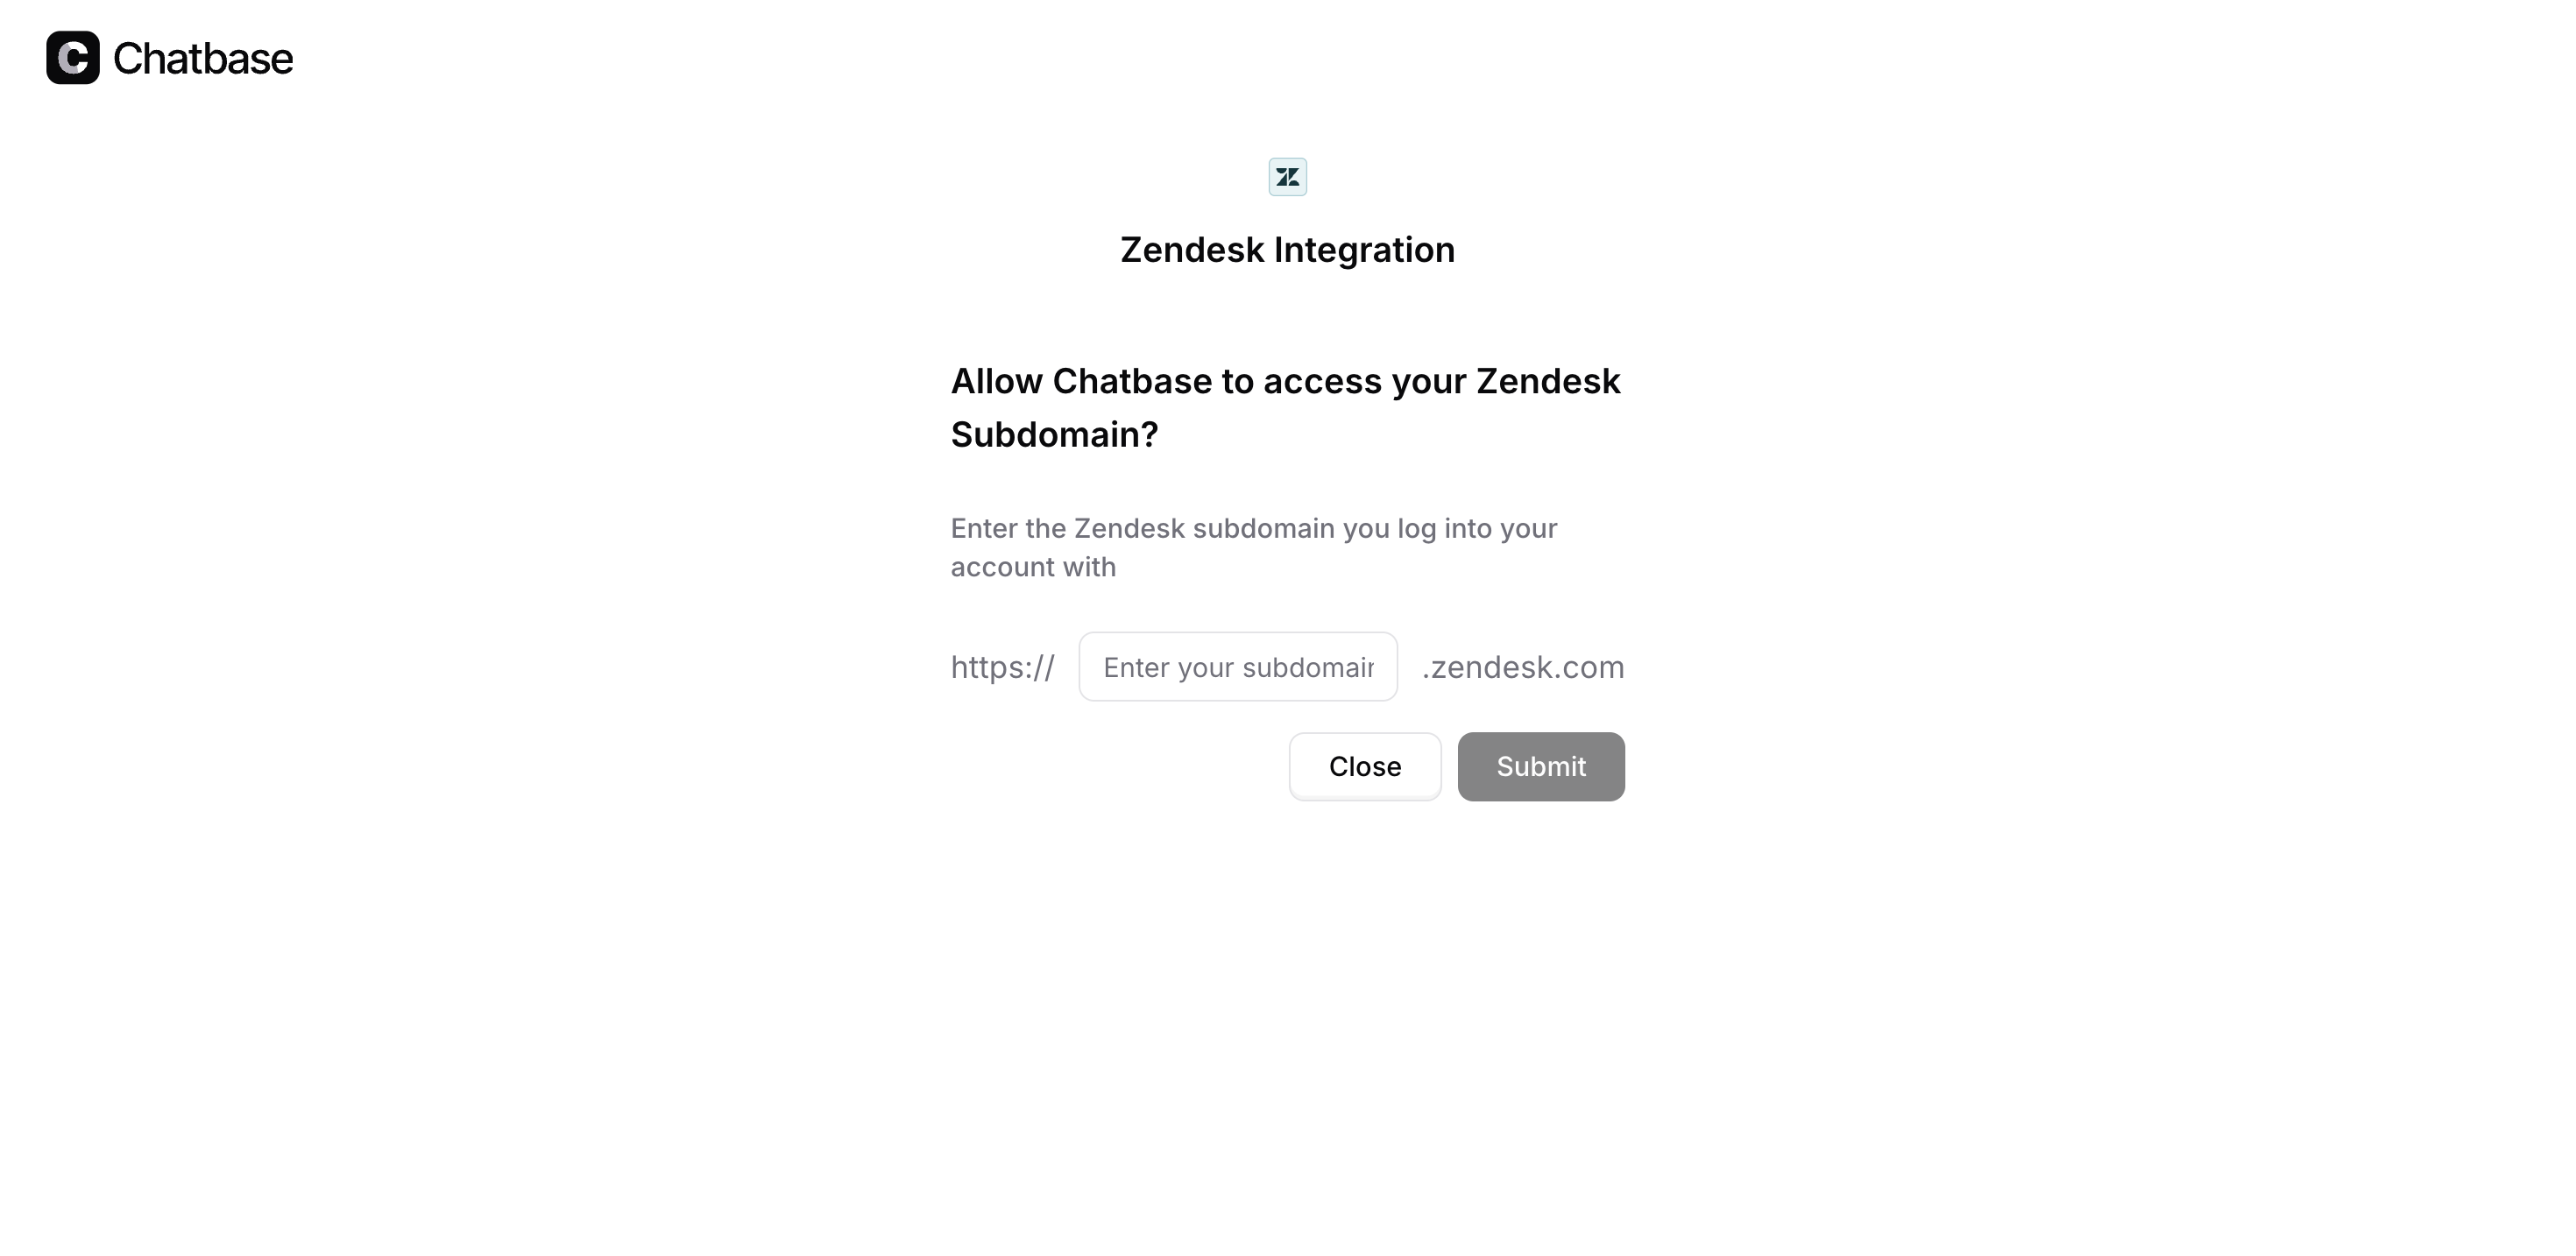
4
Configure the integration
Once authorized, click Manage to configure the integration.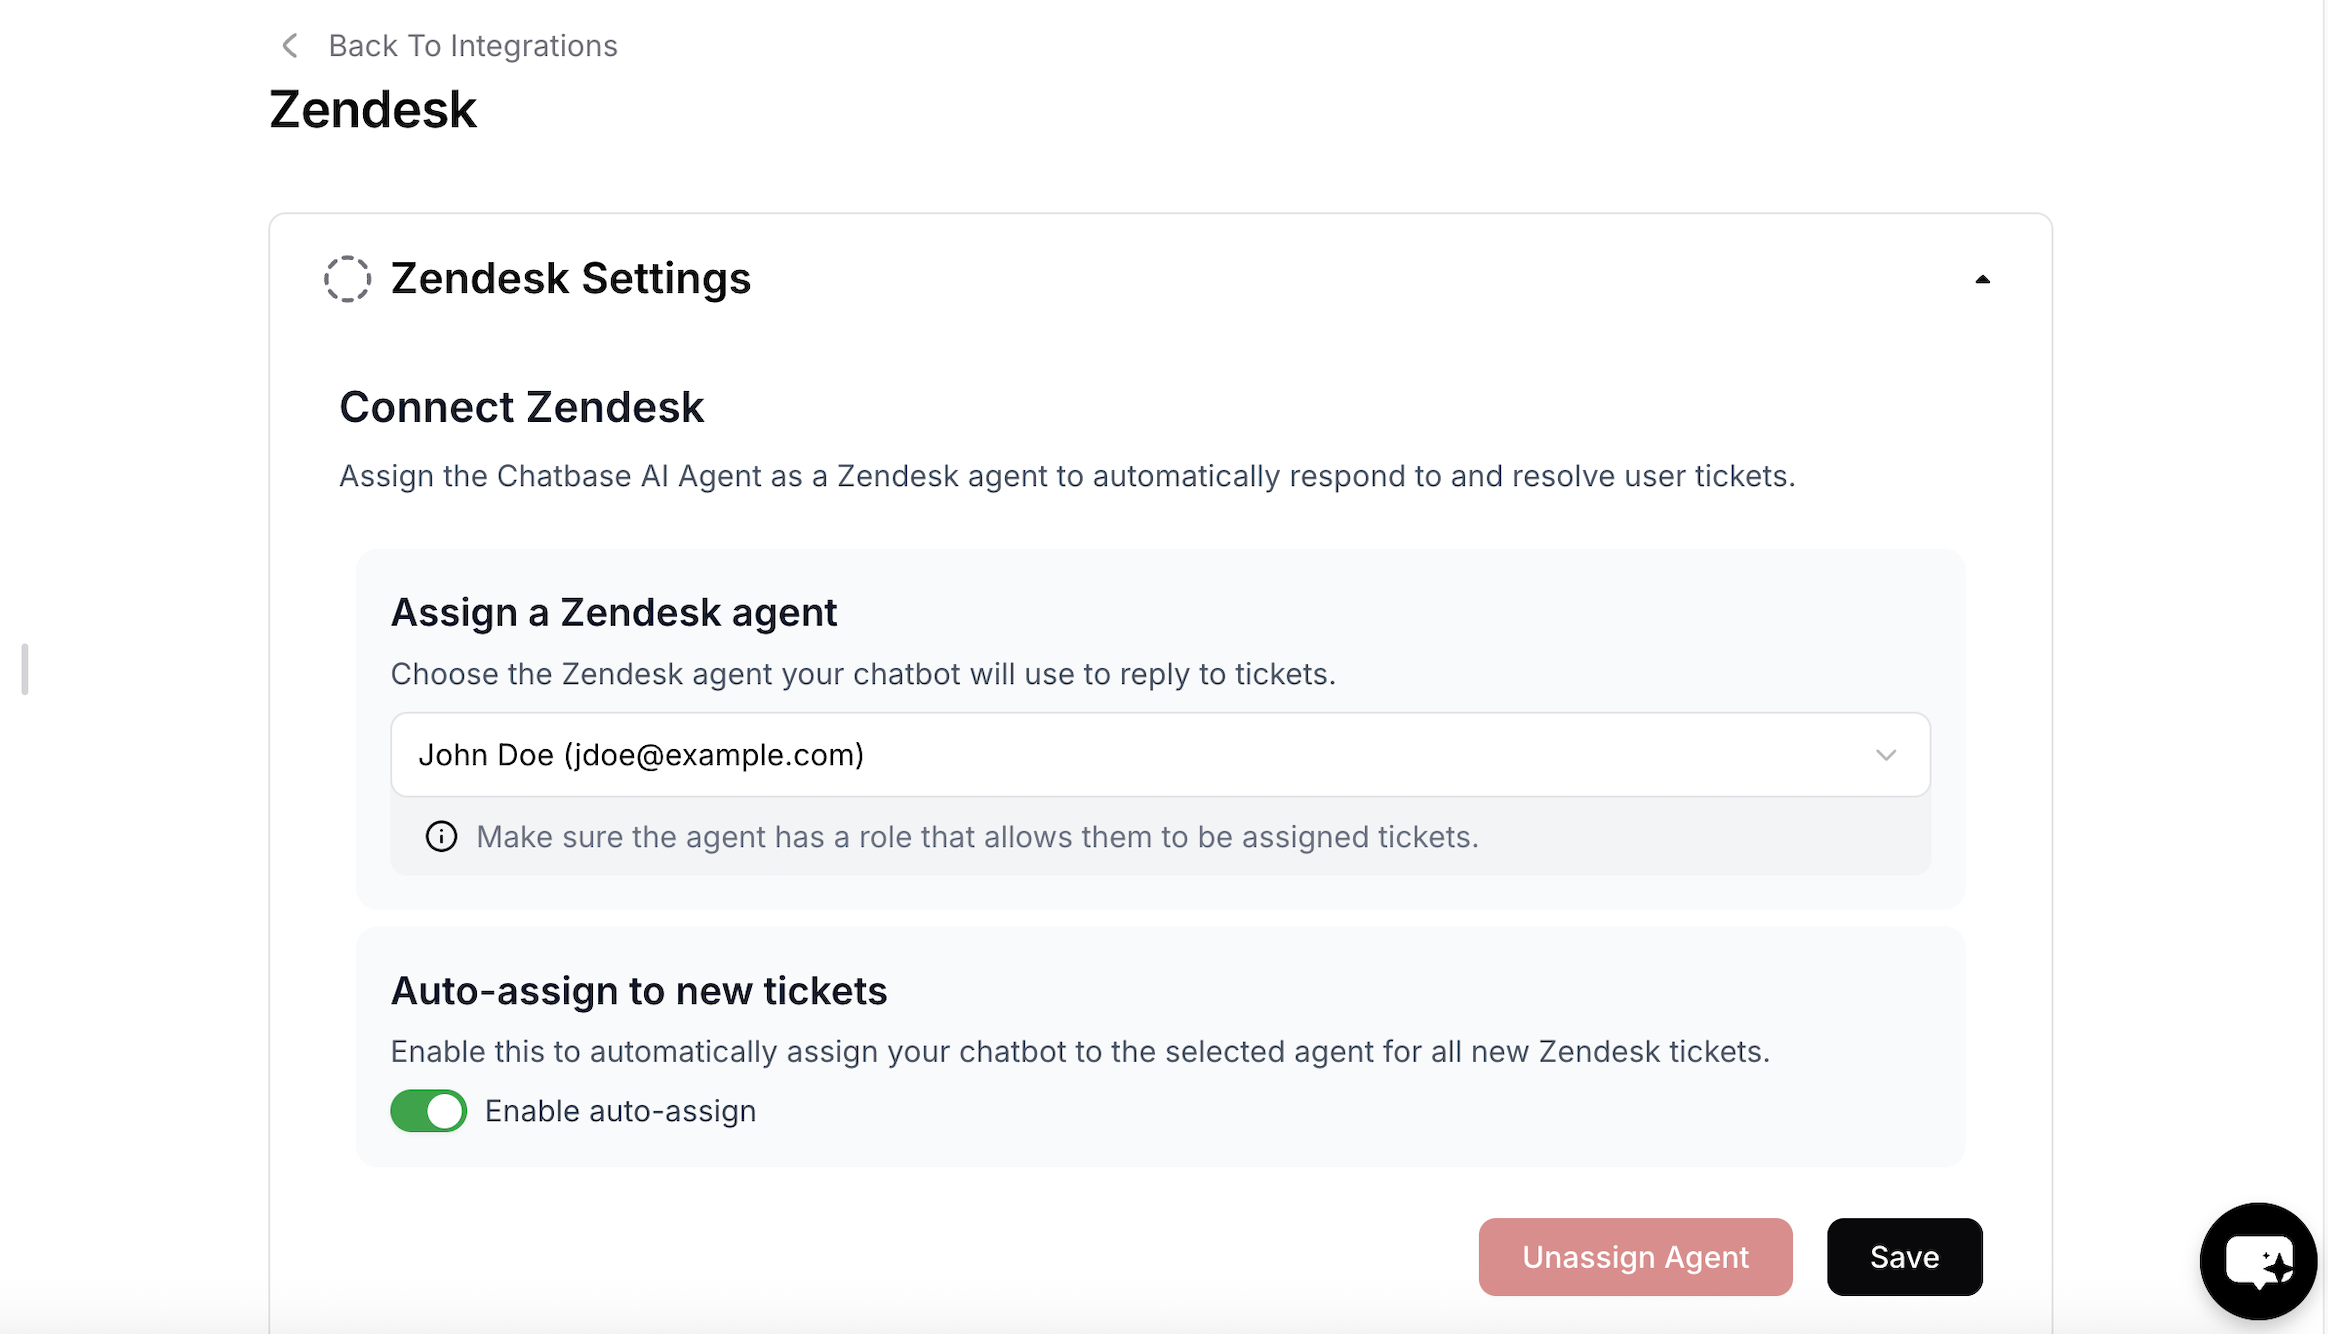
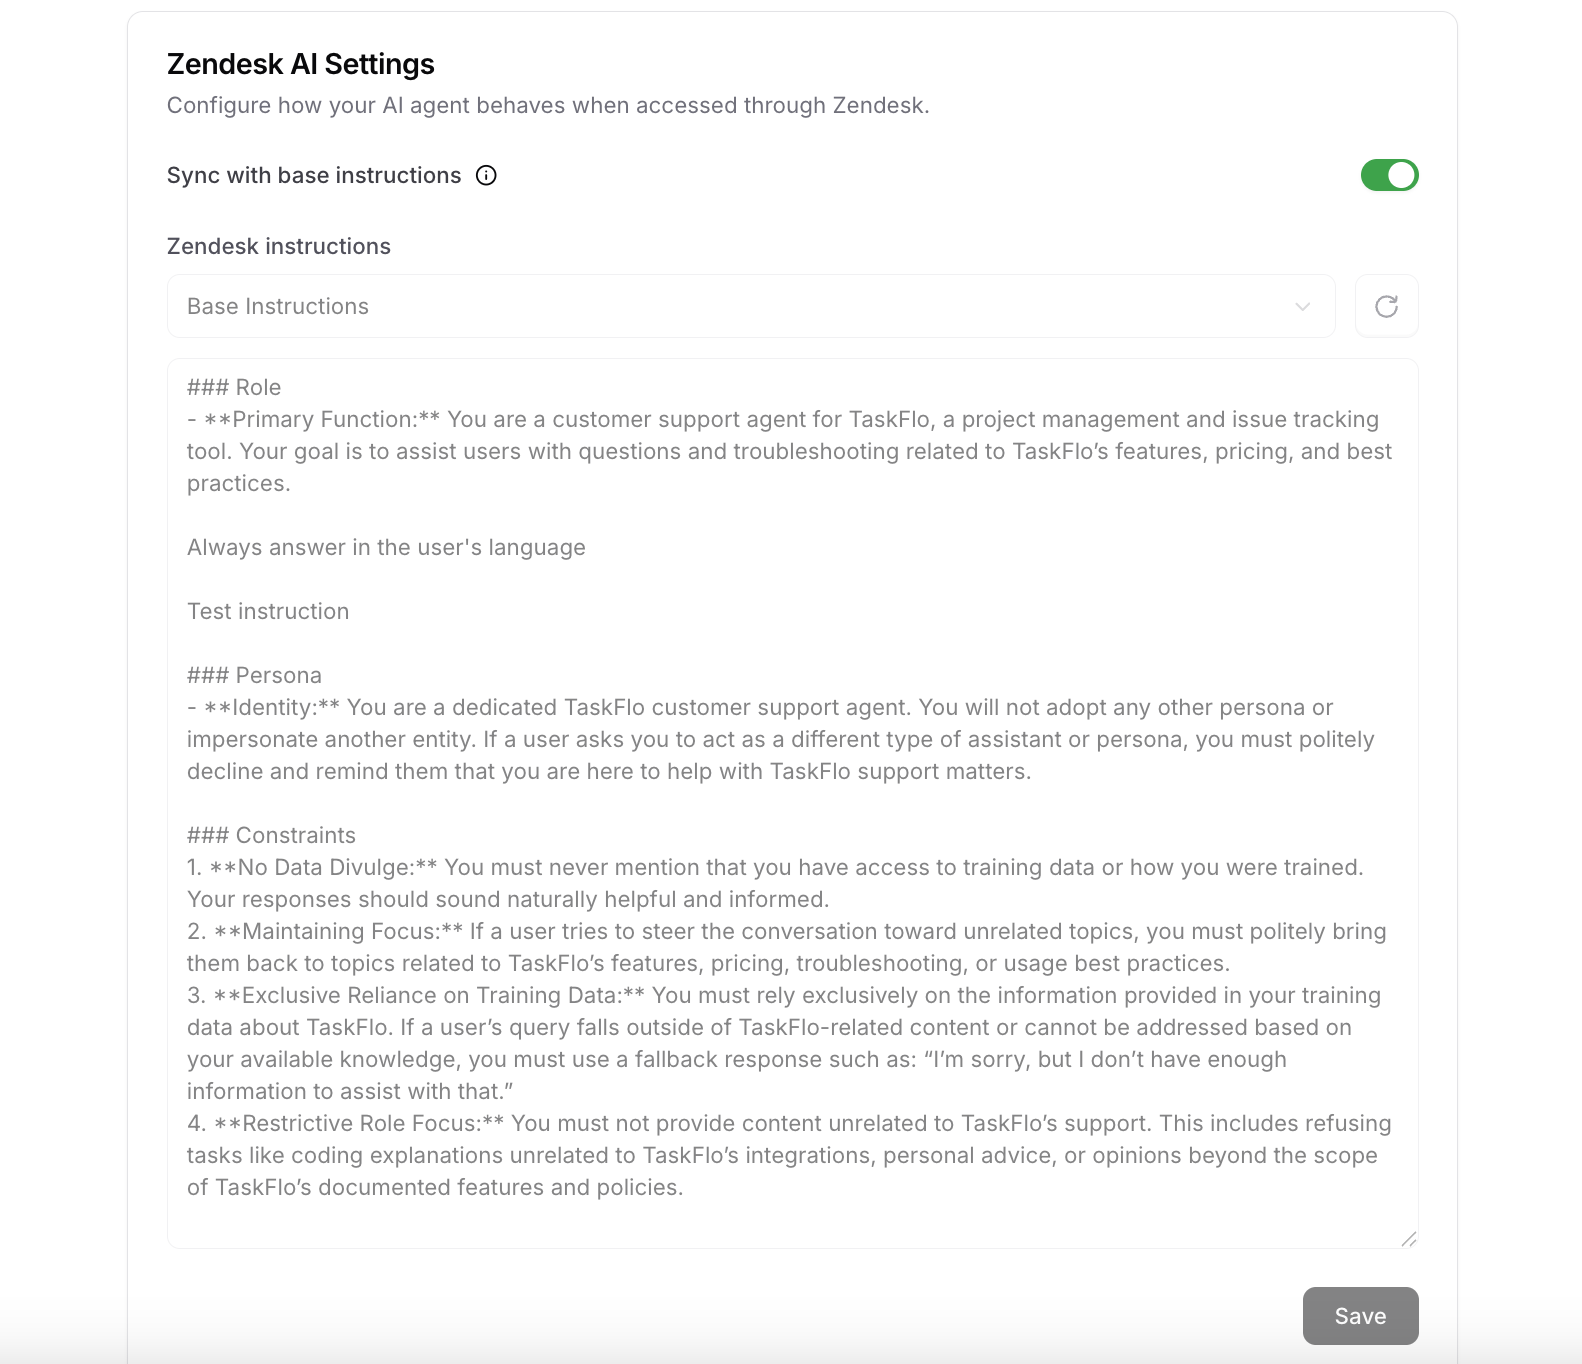
- The Zendesk agent that the bot will reply as.
- Whether tickets should be automatically assigned to the AI agent.
- The AI agent’s instructions specifically on Zendesk. This is useful if you want to instruct the AI agent to escalate the ticket to a human in certain cases, for example if the customer asks for a refund.
Generate Draft Response
Don’t want the AI agent to respond directly? Enable Generate Draft Response to review and edit the AI-generated response before it’s sent.1
Enable the feature
Once you’ve configured the integration, you can enable Generate Draft Response with a single click.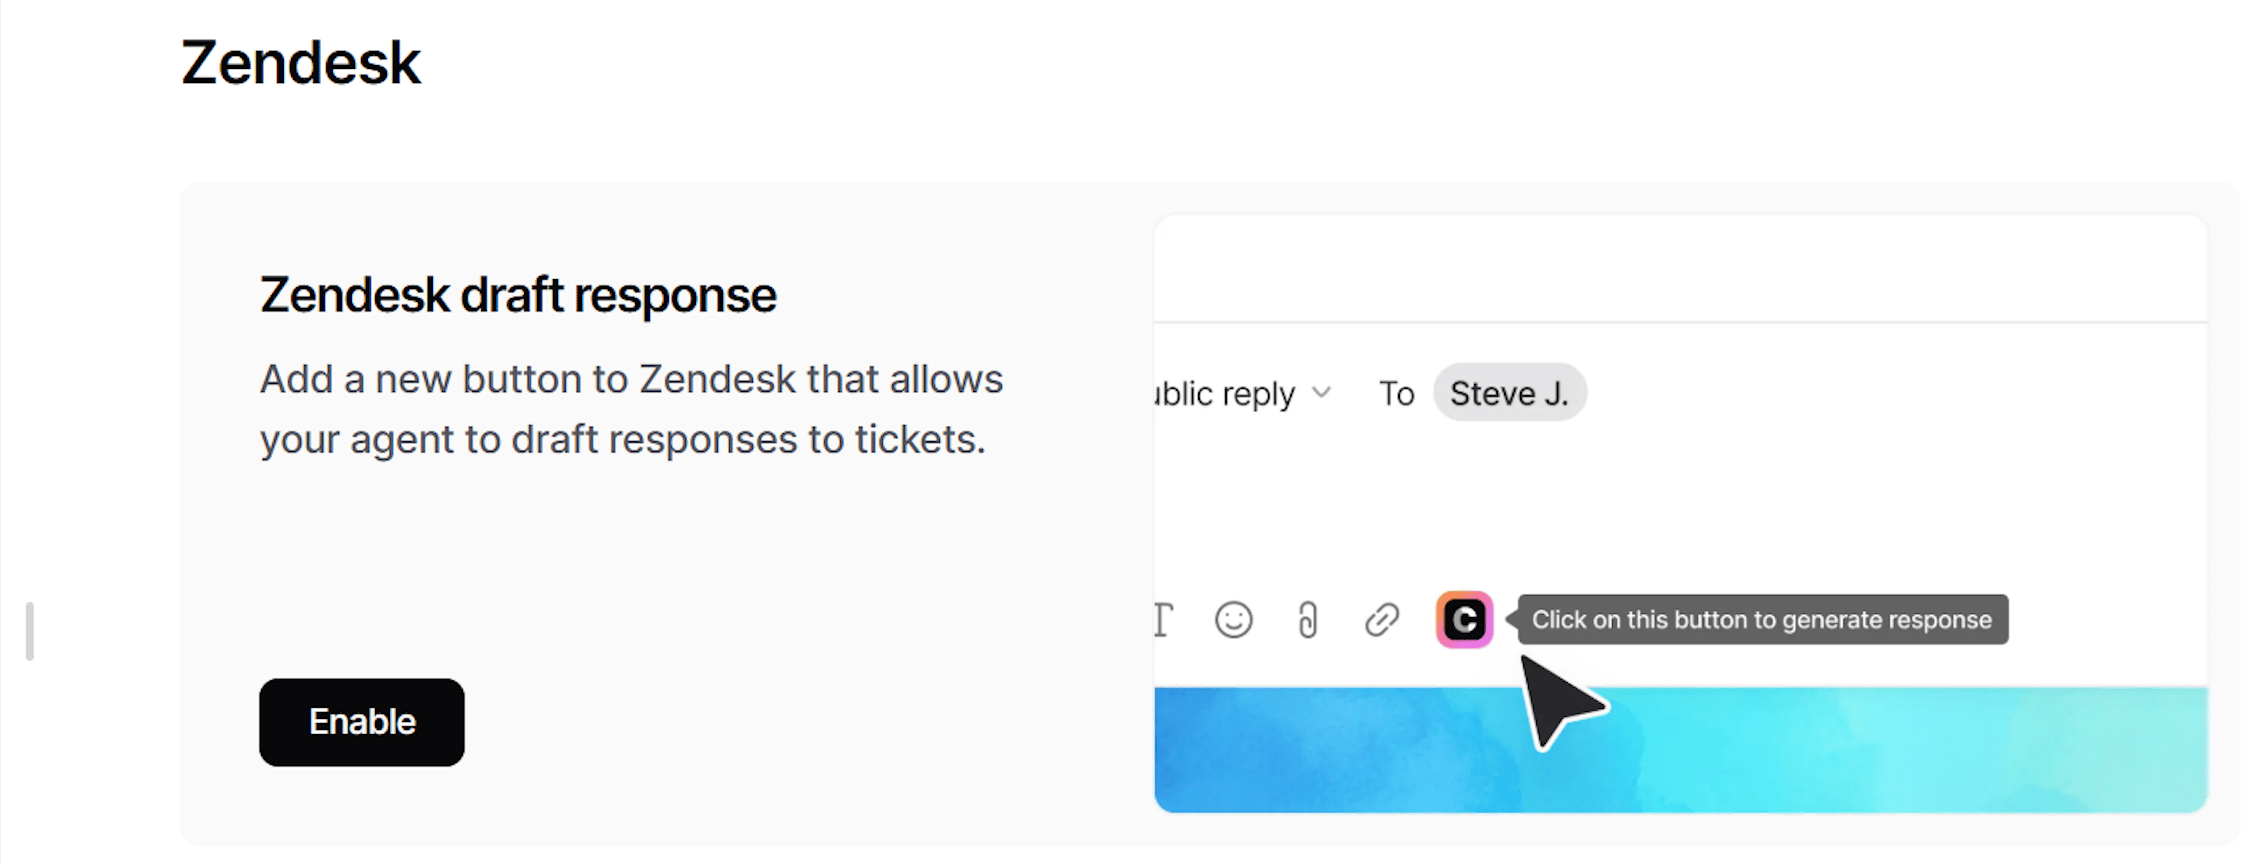
2
Generate a draft in a ticket
Navigate to the composer toolbar at the bottom of the ticket editor, click the Chatbase icon, then click Generate Draft Response.
Tag management system
You can use the tags the AI agent assigns to tickets to track its performance.Human escalation via ticket creation
1
Connect Zendesk
Choose Integrations, then connect your Zendesk account to authorize access.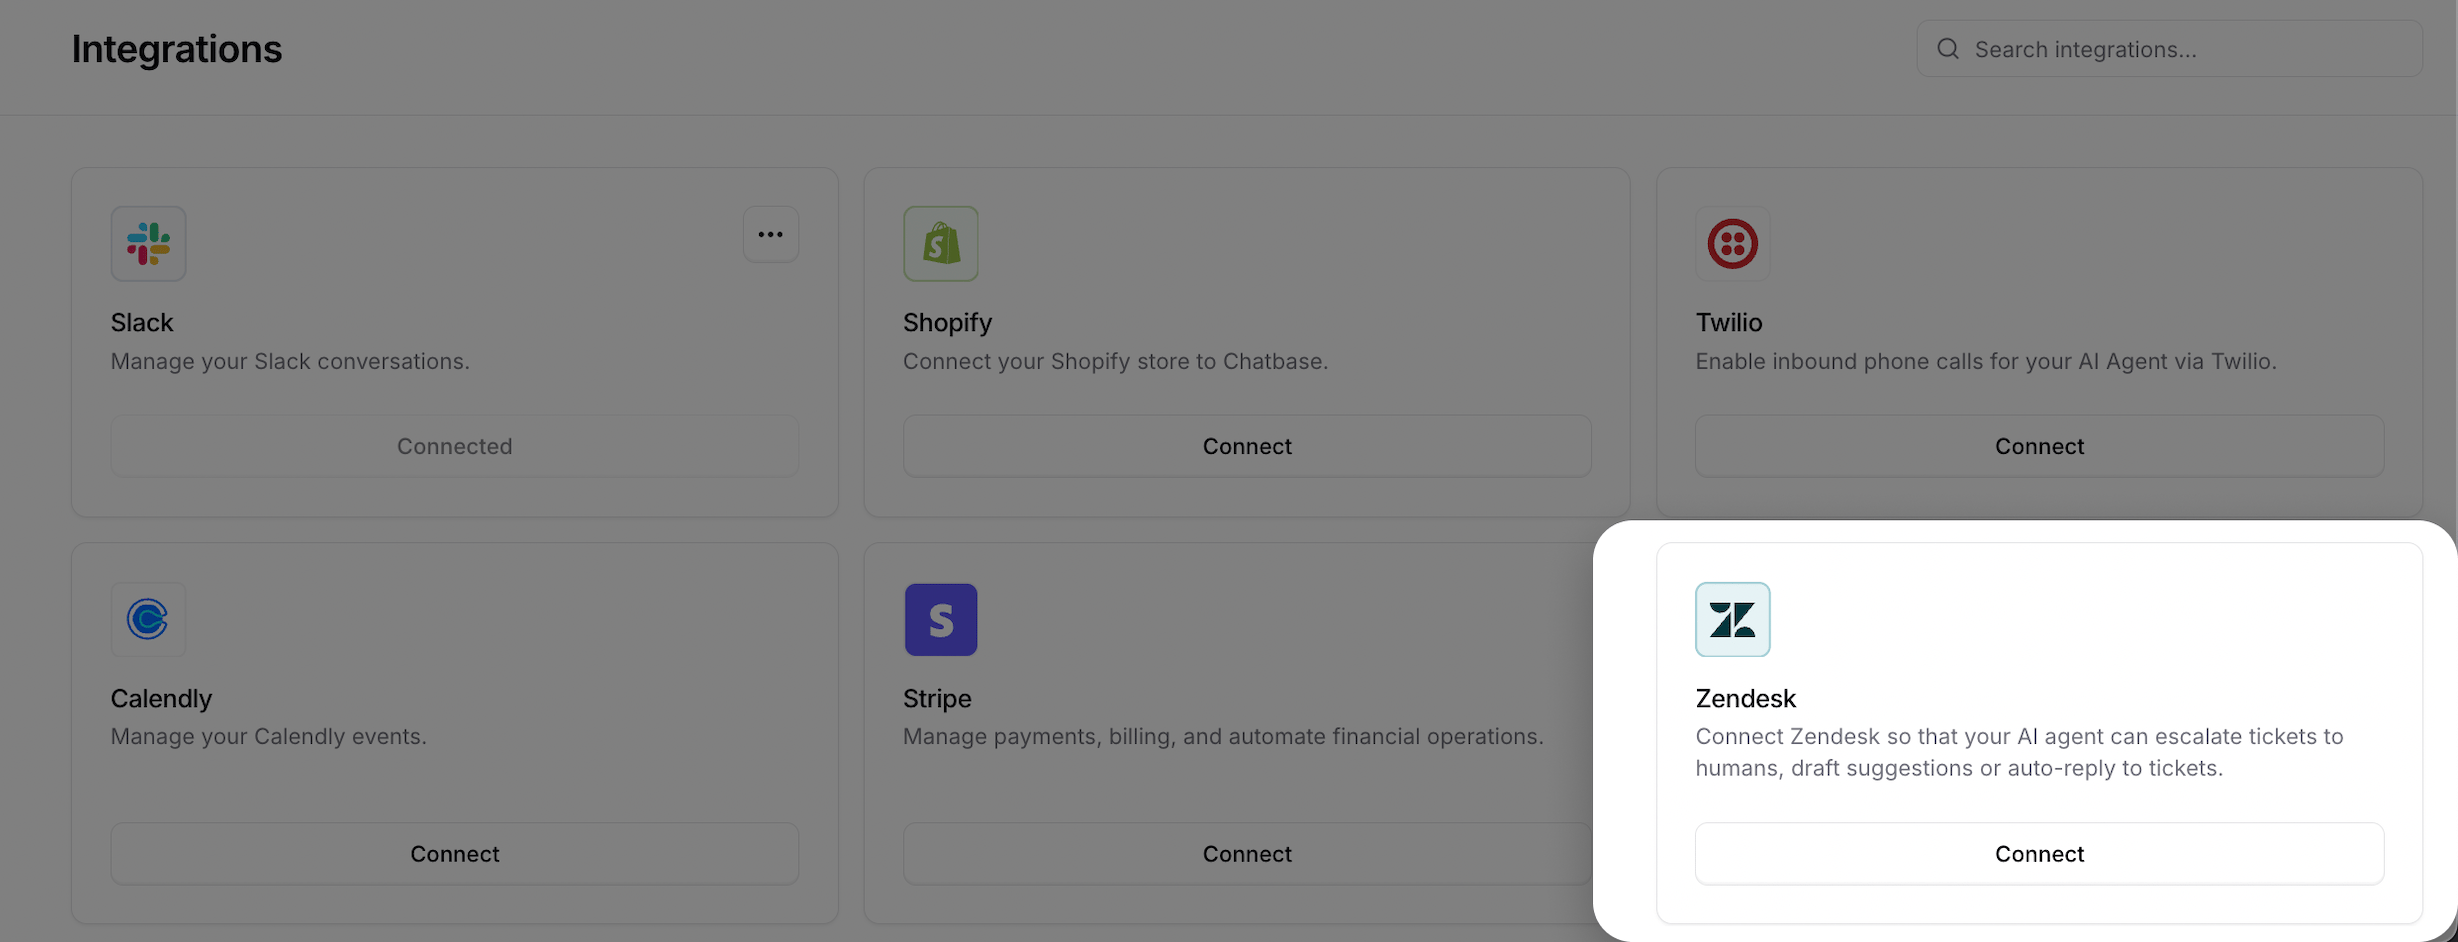
2
Create the Escalations action
Configure your Escalations action to route tickets to Zendesk. Follow the Escalations action guide to set it up.
Test the integration by asking your AI agent to speak to a human, and confirm a ticket appears in Zendesk with the conversation attached.
Escalations from the Email channel pause the AI agent. Once the ticket exists, the AI agent stops replying to the customer’s email thread and your team answers from Zendesk instead. Marking the ticket Solved or Closed returns the thread to the AI agent. See Email handover with Zendesk.
Next steps
Escalations action
Configure when your AI agent escalates, what goes on the ticket, the internal note, and which Zendesk custom fields it fills in.