Benefits of Client-Side Actions
Direct Integration
Integrate seamlessly with your existing frontend architecture and user systems
User Context Access
Access user-specific information and browser APIs not available on the server
Enhanced User Experience
Create interactive, responsive experiences with immediate feedback and smooth workflows
Frontend Control
Use your existing authentication, state management, and API integration patterns
How Client-Side Actions Work
When a user interacts with your chatbot and triggers a client-side action:- The Agent sends an event to your website window with action details
- Your registered tool function executes in the browser
- The result is sent back to the Agent
- The conversation continues with the action response
Setup Guide
Prerequisites
A website with the Chatbase embed script already installed and working.
New to Chatbase? Check out Your First Agent to get started with the embed script first.
Create Your Custom Action
Create a new custom action in your Chatbase dashboard: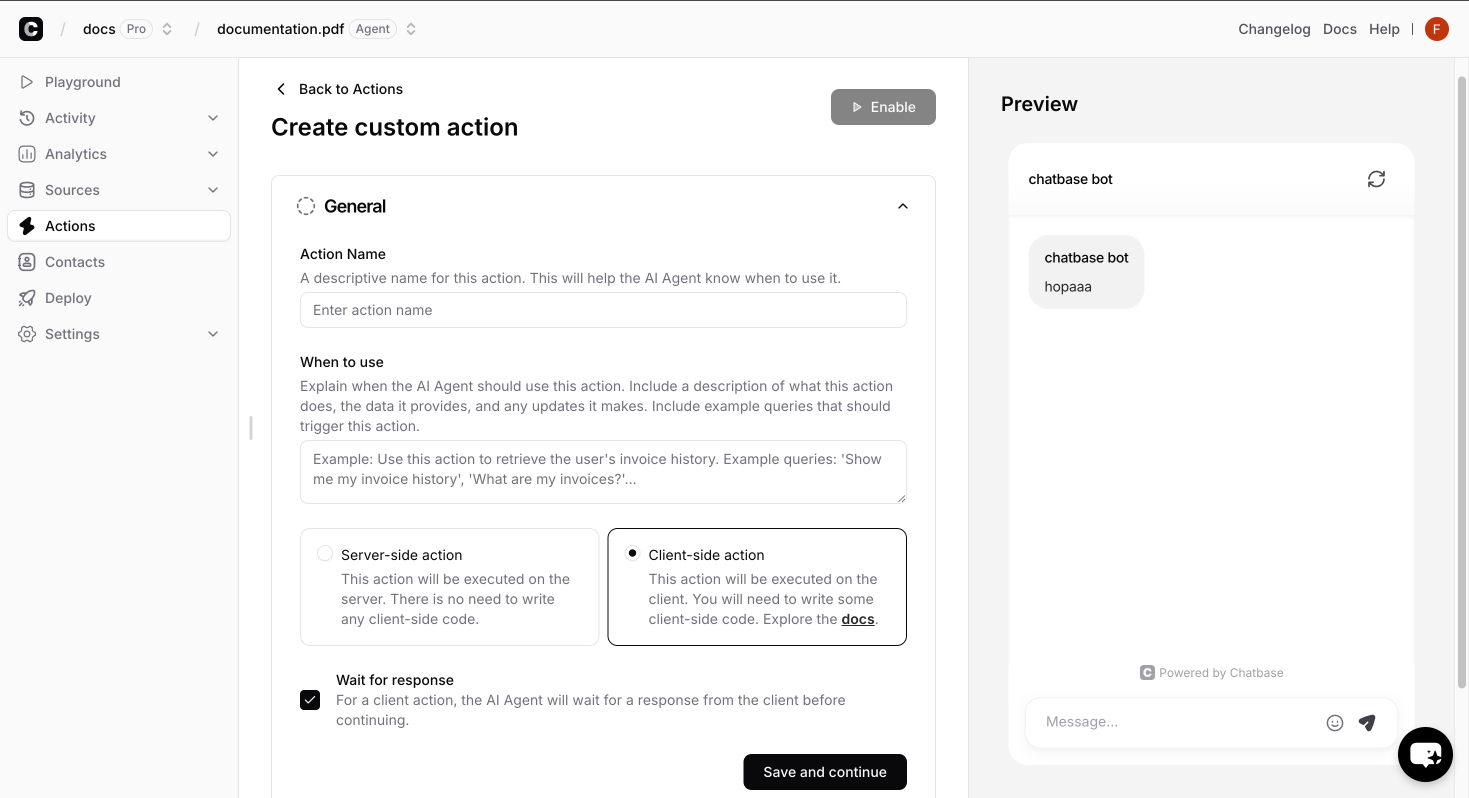
- Go to Chatbase dashboard dashboard page
- Select the agent you want to create the custom action for
- Navigate to Actions → Create action → Custom action
- Fill in the action details:
- Name: A unique identifier (e.g.,
get_weather) - Description: What the action does
- Parameters: Define any data needed to have the Agent collect from the user
- Name: A unique identifier (e.g.,
- Important: Select “Client” as the action type to enable client-side execution
- Click on the Save and Continue button and enable the action.
Function Parameters
Every client-side action function receives two parameters:Contains all the parameters defined in your custom action configuration. The structure matches exactly what you defined in the dashboard.
Contains user information that varies depending on your identity verification setup.
The anonymous IDs (
anon_user_id and chatbase_anon_id) are internal identifiers used by Chatbase and can be safely ignored in your custom form implementations.Response Format
Your action functions must return responses in a specific format:- Success Response
- Error Response
When your action succeeds, return both Examples:
status and data:Advanced Examples
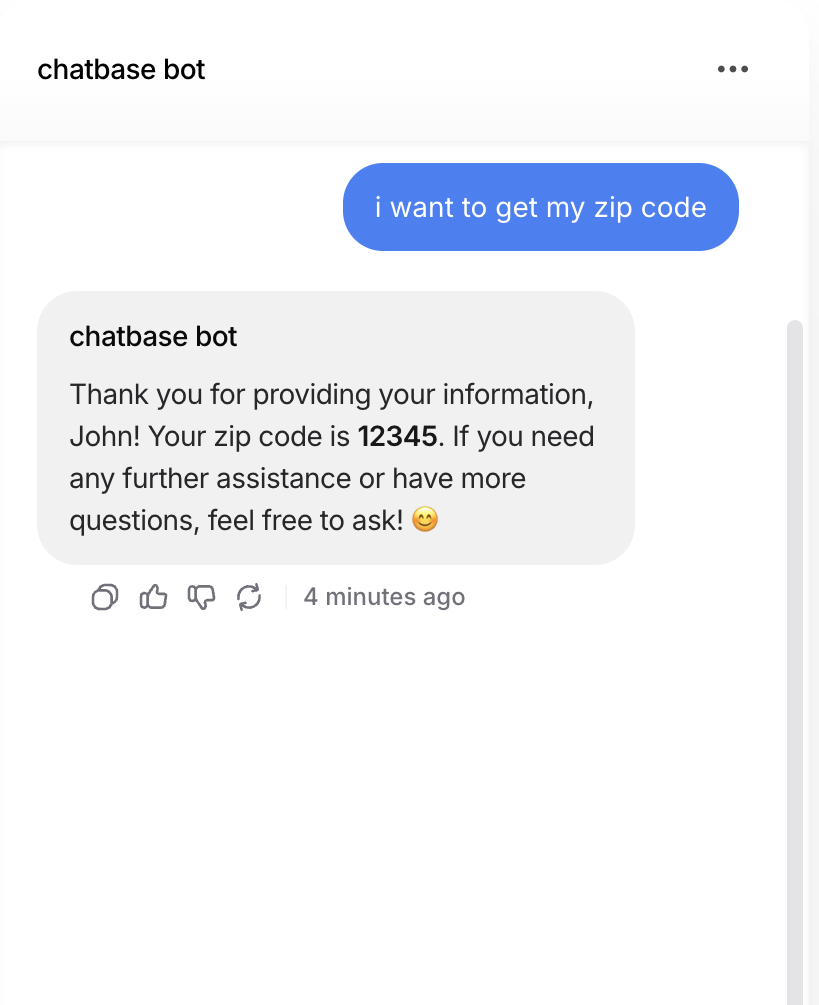
This example shows client-side actions utilizing the browser geolocation API to get the user’s zip code.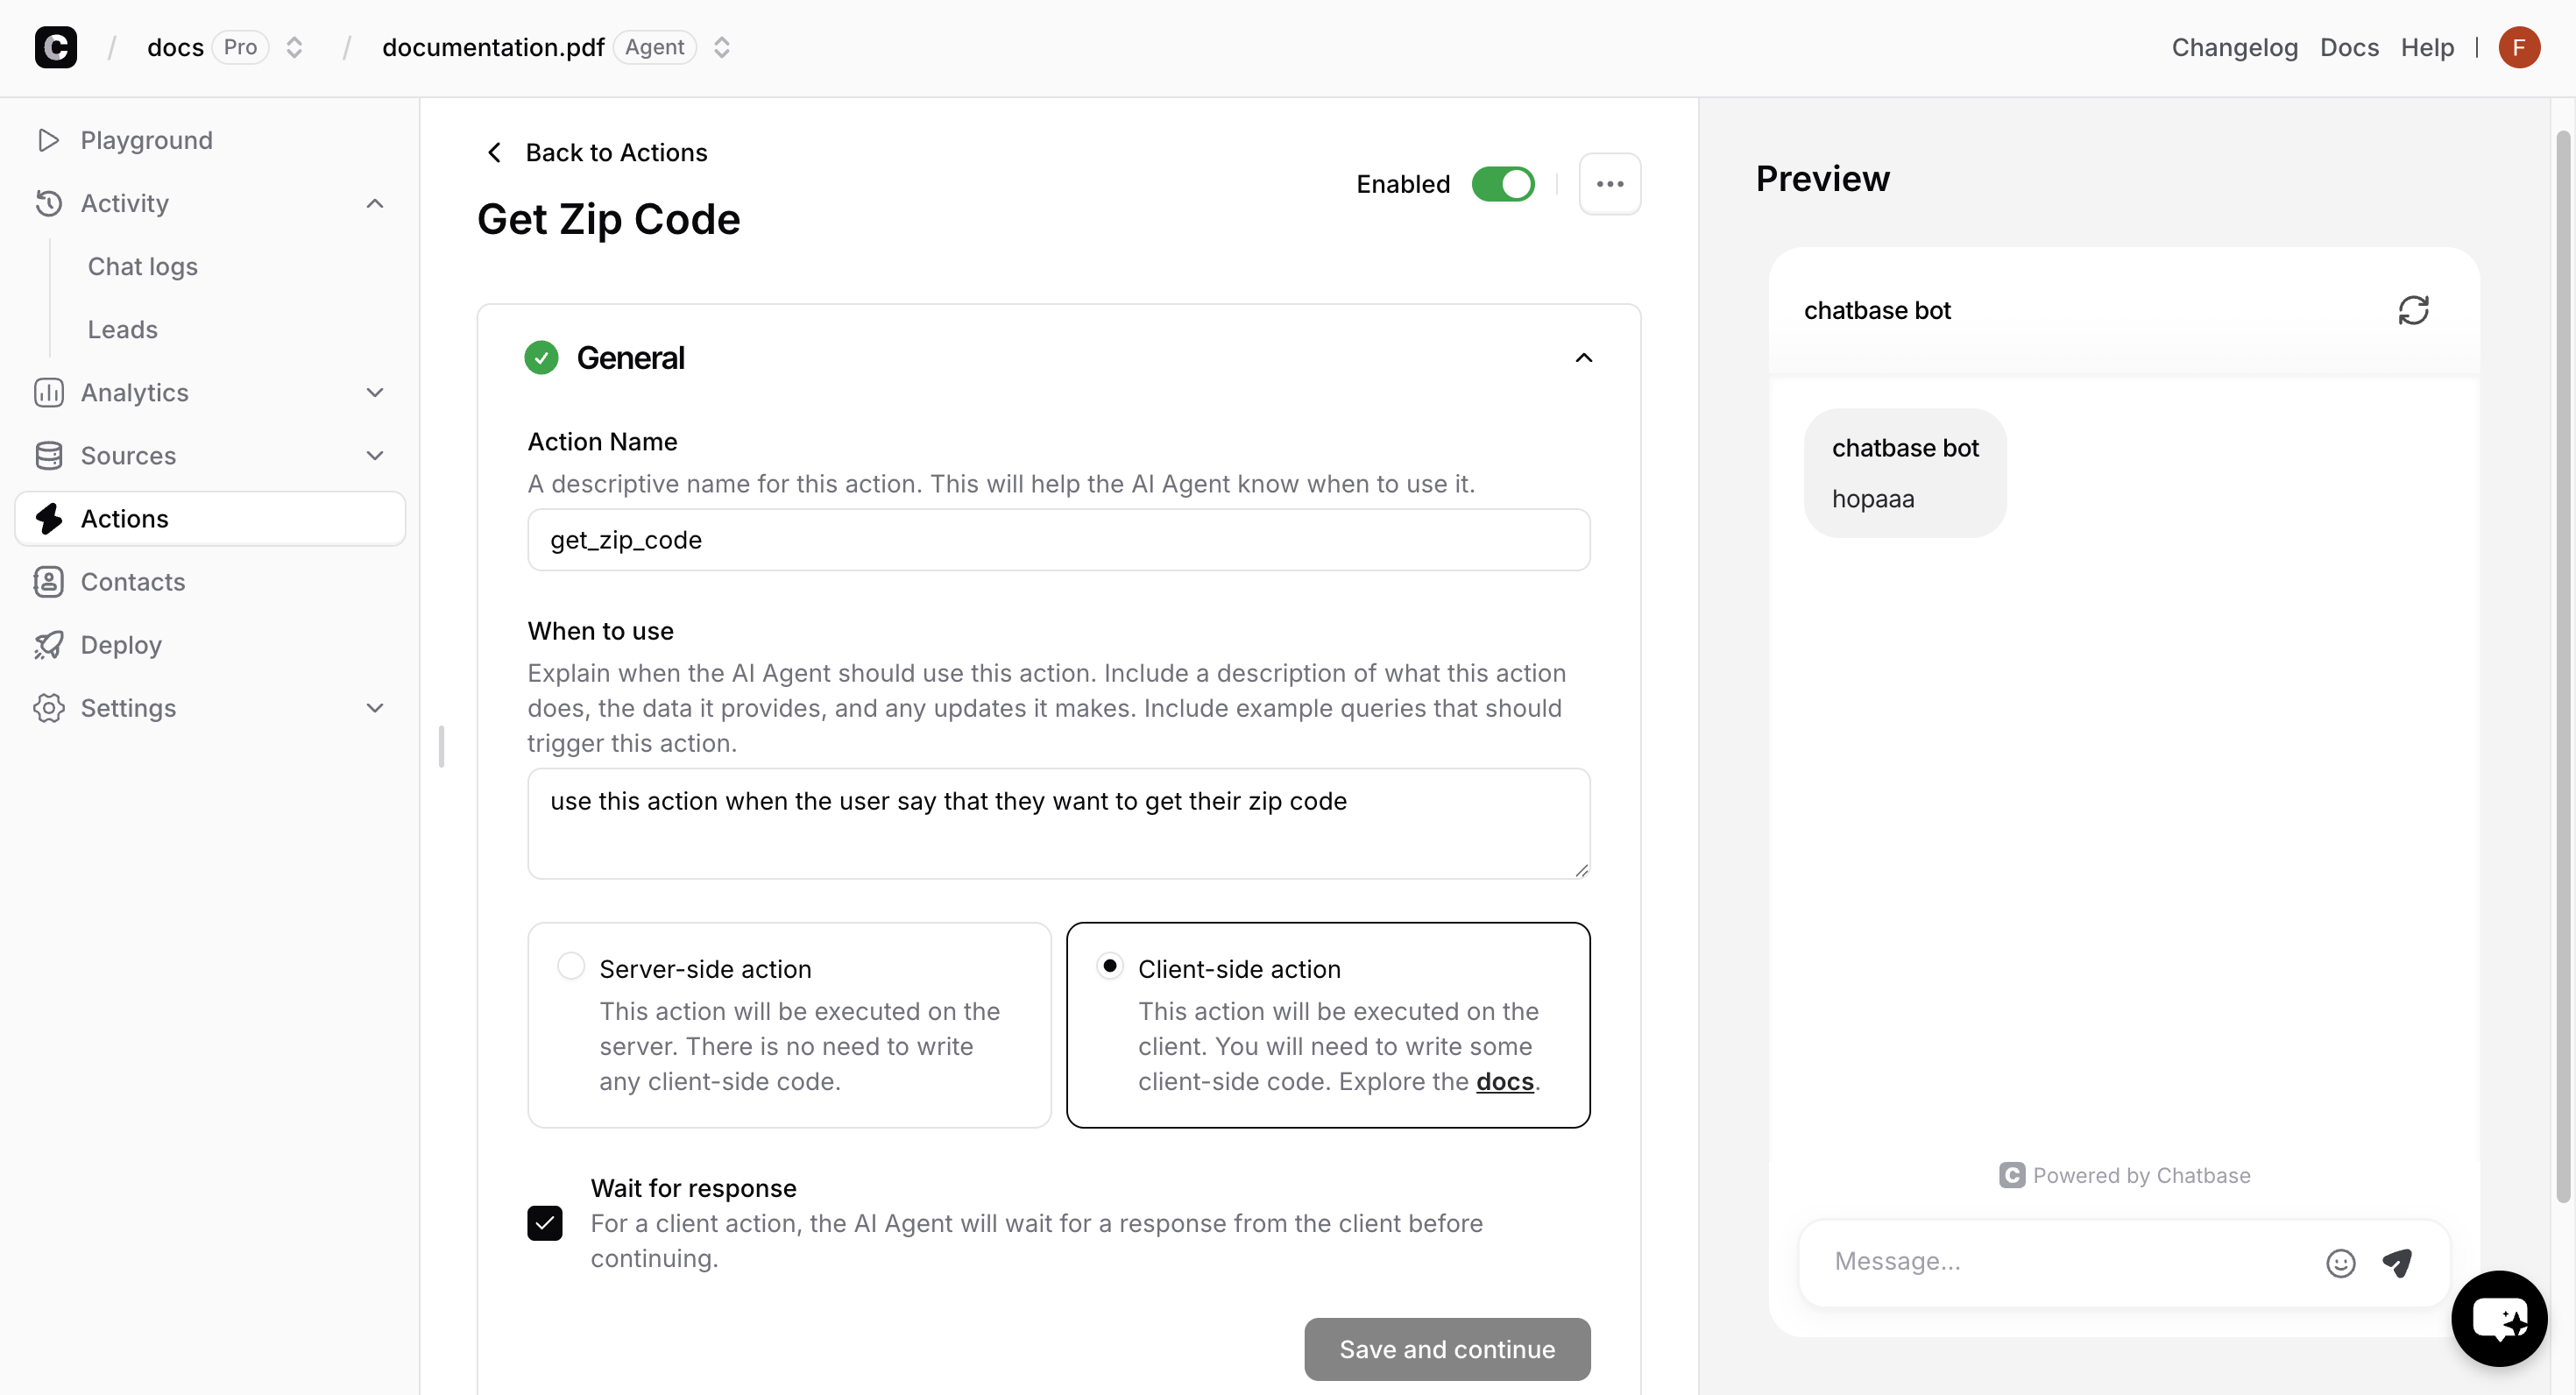
Best Practices
Error Handling
Error Handling
Always wrap your action logic in try-catch blocks and return meaningful error messages:
Input Validation
Input Validation
Always validate user inputs and handle edge cases:
Performance Optimization
Performance Optimization
- Cache frequently used data in browser storage
- Use appropriate timeouts for external API calls
- Minimize the size of returned data
Response Size Limits: Keep your response data under reasonable size limits to ensure good performance. Very large responses may be truncated or cause timeouts.
Troubleshooting
Action Not Found Error
Action Not Found Error
Problem: Console shows “Tool [name] not found”Solutions:
- Ensure action names match exactly between dashboard and
registerTools - Check that
registerToolsis called after the chatbot loads - Verify the action is marked as “client-side” in dashboard
No Response from Action
No Response from Action
Problem: Action executes but chatbot doesn’t receive responseSolutions:
- Check browser console for JavaScript errors
- Ensure you’re returning the correct response format
- Verify async functions are properly awaited
- Check for uncaught exceptions in your action code
User Context Issues
User Context Issues
Problem: User parameter is null when expectedSolutions:
- Verify identity verification is properly configured
- Test with and without authenticated users in your implementation
- Add fallback logic for when user context is unavailable
Next Steps
Client-Side Custom Forms
Add interactive forms and data collection to your chat
Widget Control
Programmatically control the chat interface
Event Listeners
Learn to listen for and respond to chat events in real-time
Custom Initial Messages
Create dynamic, personalized initial messages for users