> ## Documentation Index
> Fetch the complete documentation index at: https://chatbase.co/docs/llms.txt
> Use this file to discover all available pages before exploring further.
# Zendesk
> Let your AI agent reply to Zendesk tickets directly, or escalate conversations by opening a Zendesk ticket
## Overview
Chatbase makes it quick and easy to add an AI agent to your Zendesk environment. In just a few minutes, you can deploy an AI agent that either responds directly to customer tickets inside Zendesk, or escalates conversations to your human support team by creating a Zendesk ticket with a detailed summary of the interaction.
This flexibility lets you automate routine inquiries while making sure complex cases are handed off cleanly, improving response times, reducing manual workload, and delivering round-the-clock support.
Have the AI agent answer Zendesk tickets on its own, draft replies for a human to review, or open a ticket the moment a chat conversation needs a person.
## Available capabilities
| Capability | What it does |
| ----------------------------------------------------------------------------- | ----------------------------------------------------------------------------------------- |
| [AI ticket responses in Zendesk](#ai-ticket-responses-in-zendesk) | The AI agent replies to incoming Zendesk tickets, or drafts a reply for a human to review |
| [Human escalation via ticket creation](#human-escalation-via-ticket-creation) | The AI agent opens a Zendesk ticket when a chat conversation needs a person |
## Before you start
* A Chatbase account with an AI agent. If you haven't built one yet, [create a Chatbase account](https://www.chatbase.co/auth/signup) and follow [Your first AI agent](/docs/user-guides/quick-start/your-first-agent).
* A Zendesk account, and your Zendesk subdomain.
## AI ticket responses in Zendesk
### How to connect Zendesk
Head to your [dashboard](https://www.chatbase.co/dashboard/) and click the AI agent you wish to integrate with Zendesk.
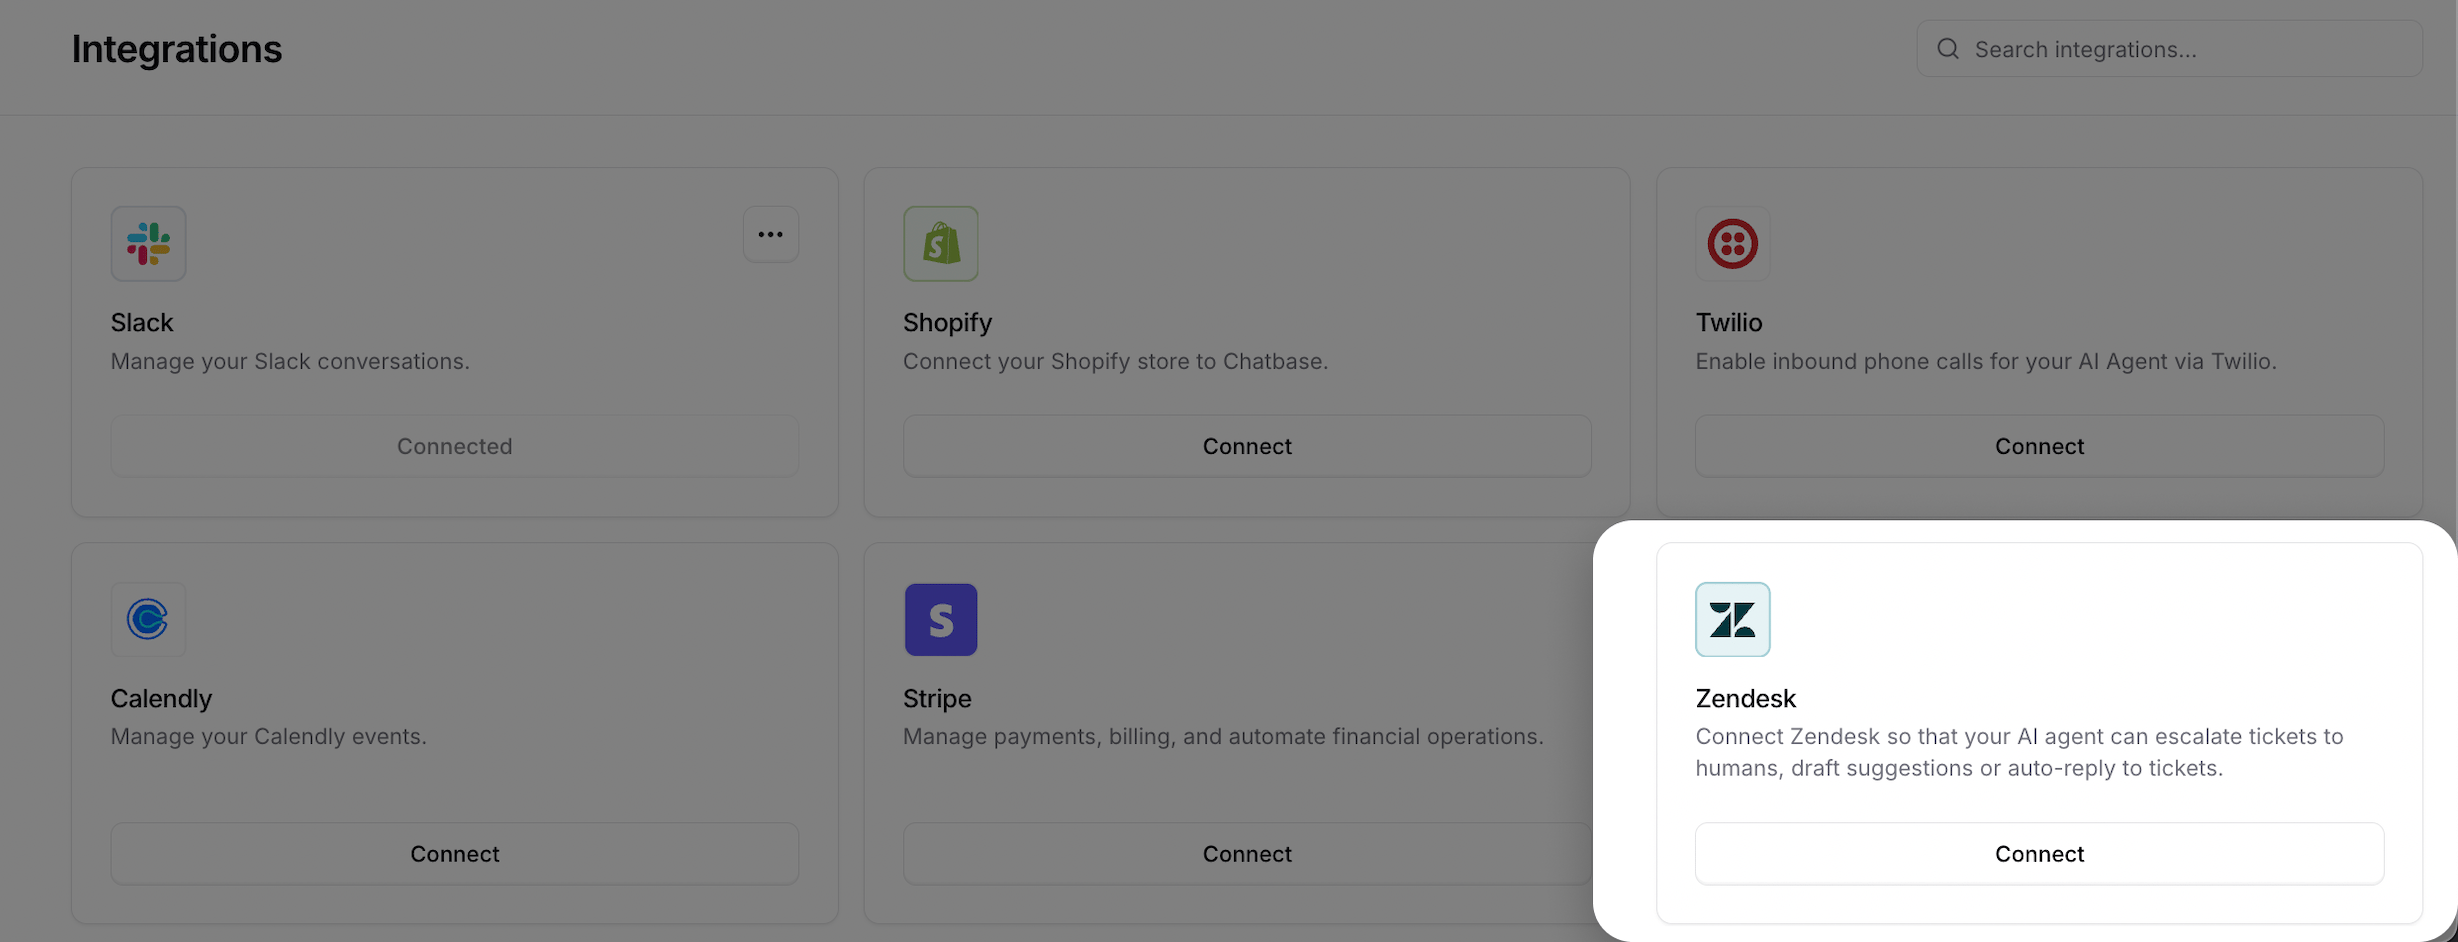
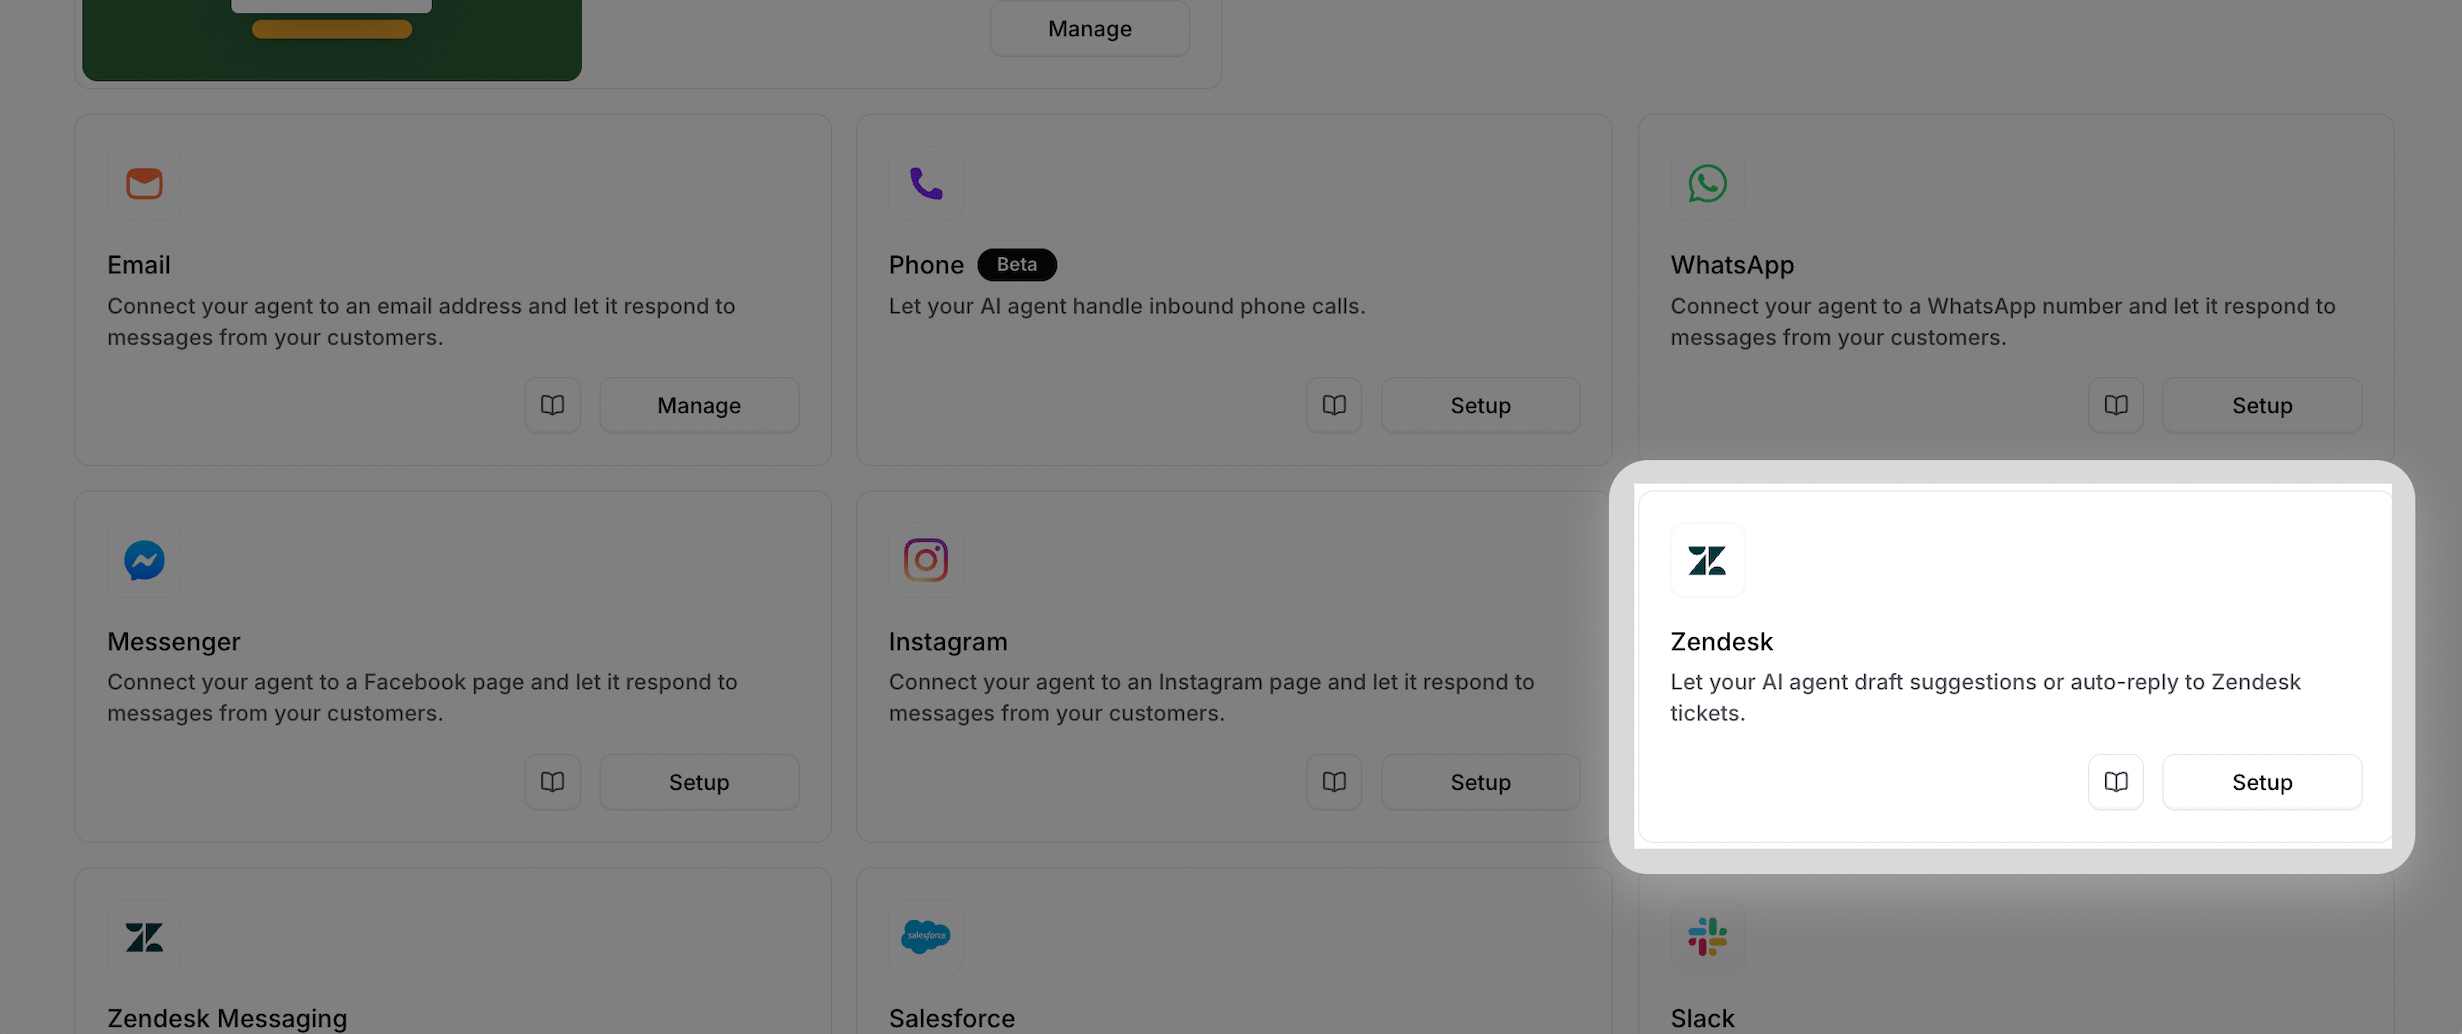
Click the **Channels** tab, find the **Zendesk** integration, and click **Setup**.
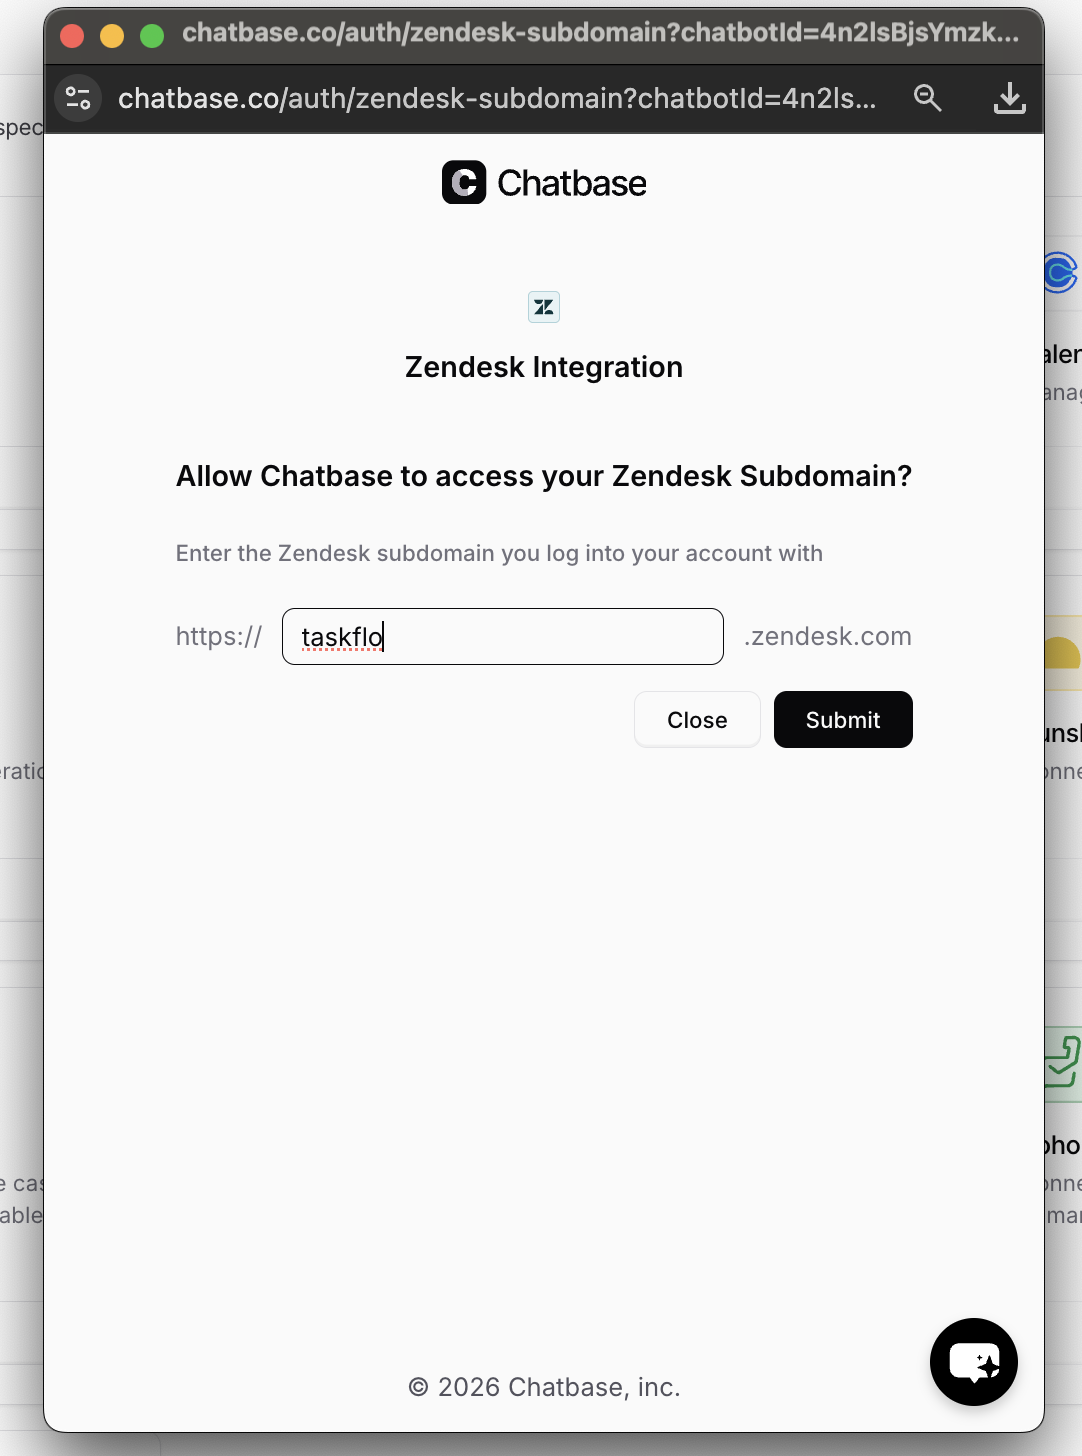
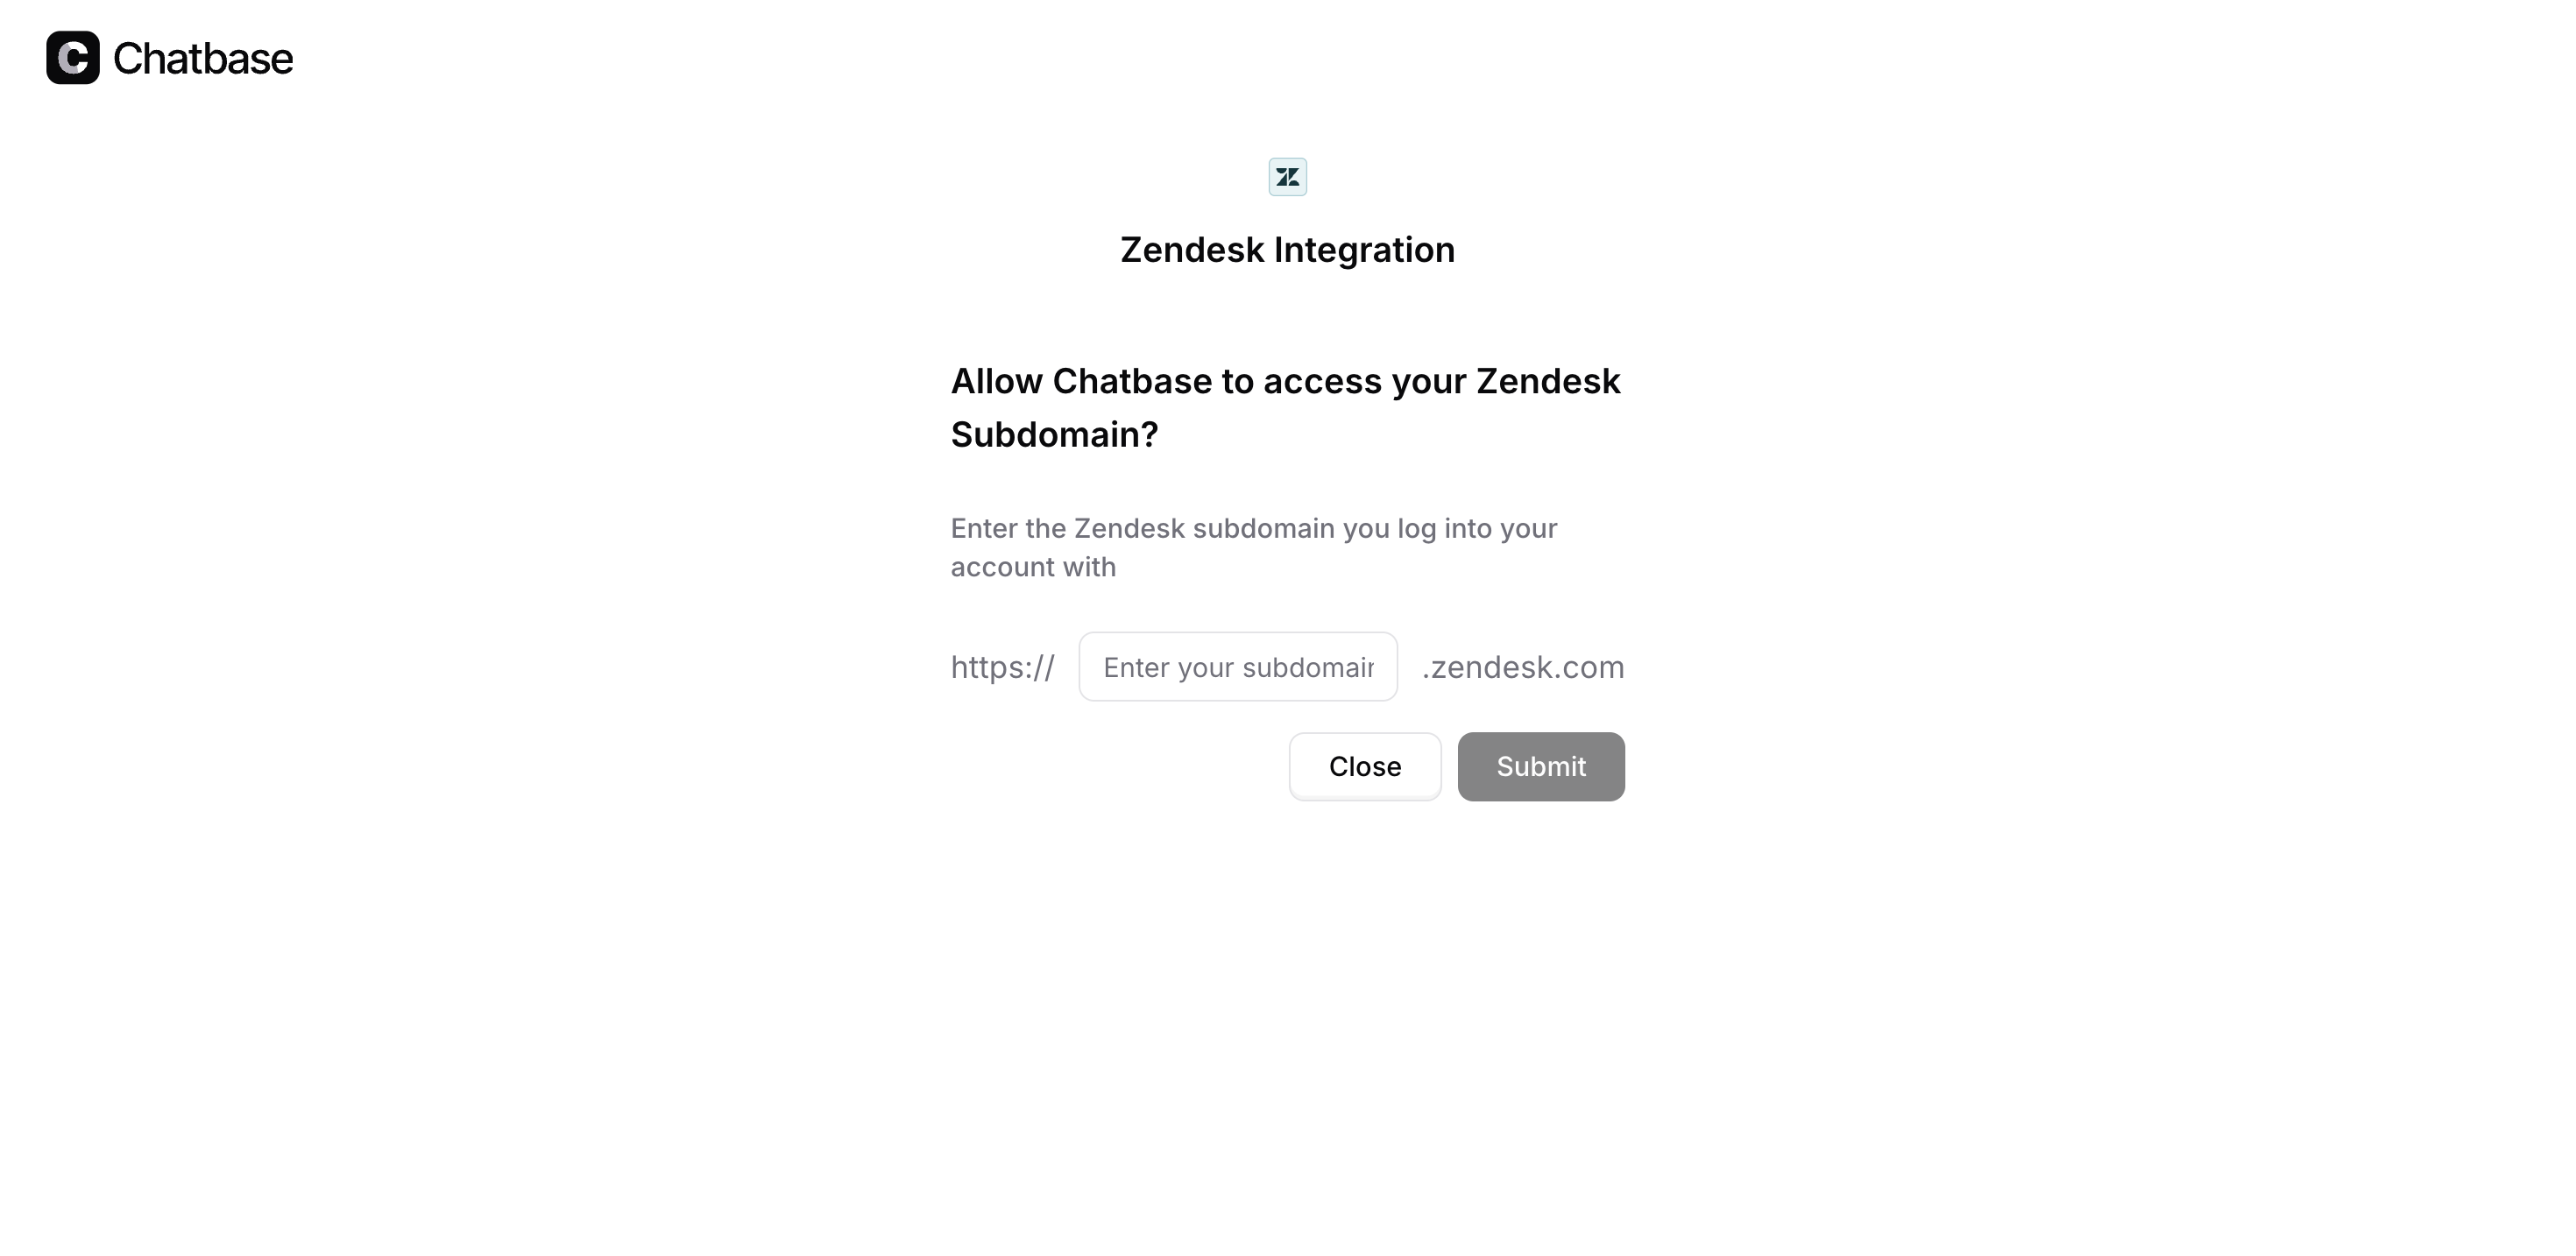
A new tab will open. Enter your Zendesk subdomain and click **Submit**. You'll be asked to log in to your Zendesk account to authorize the integration.
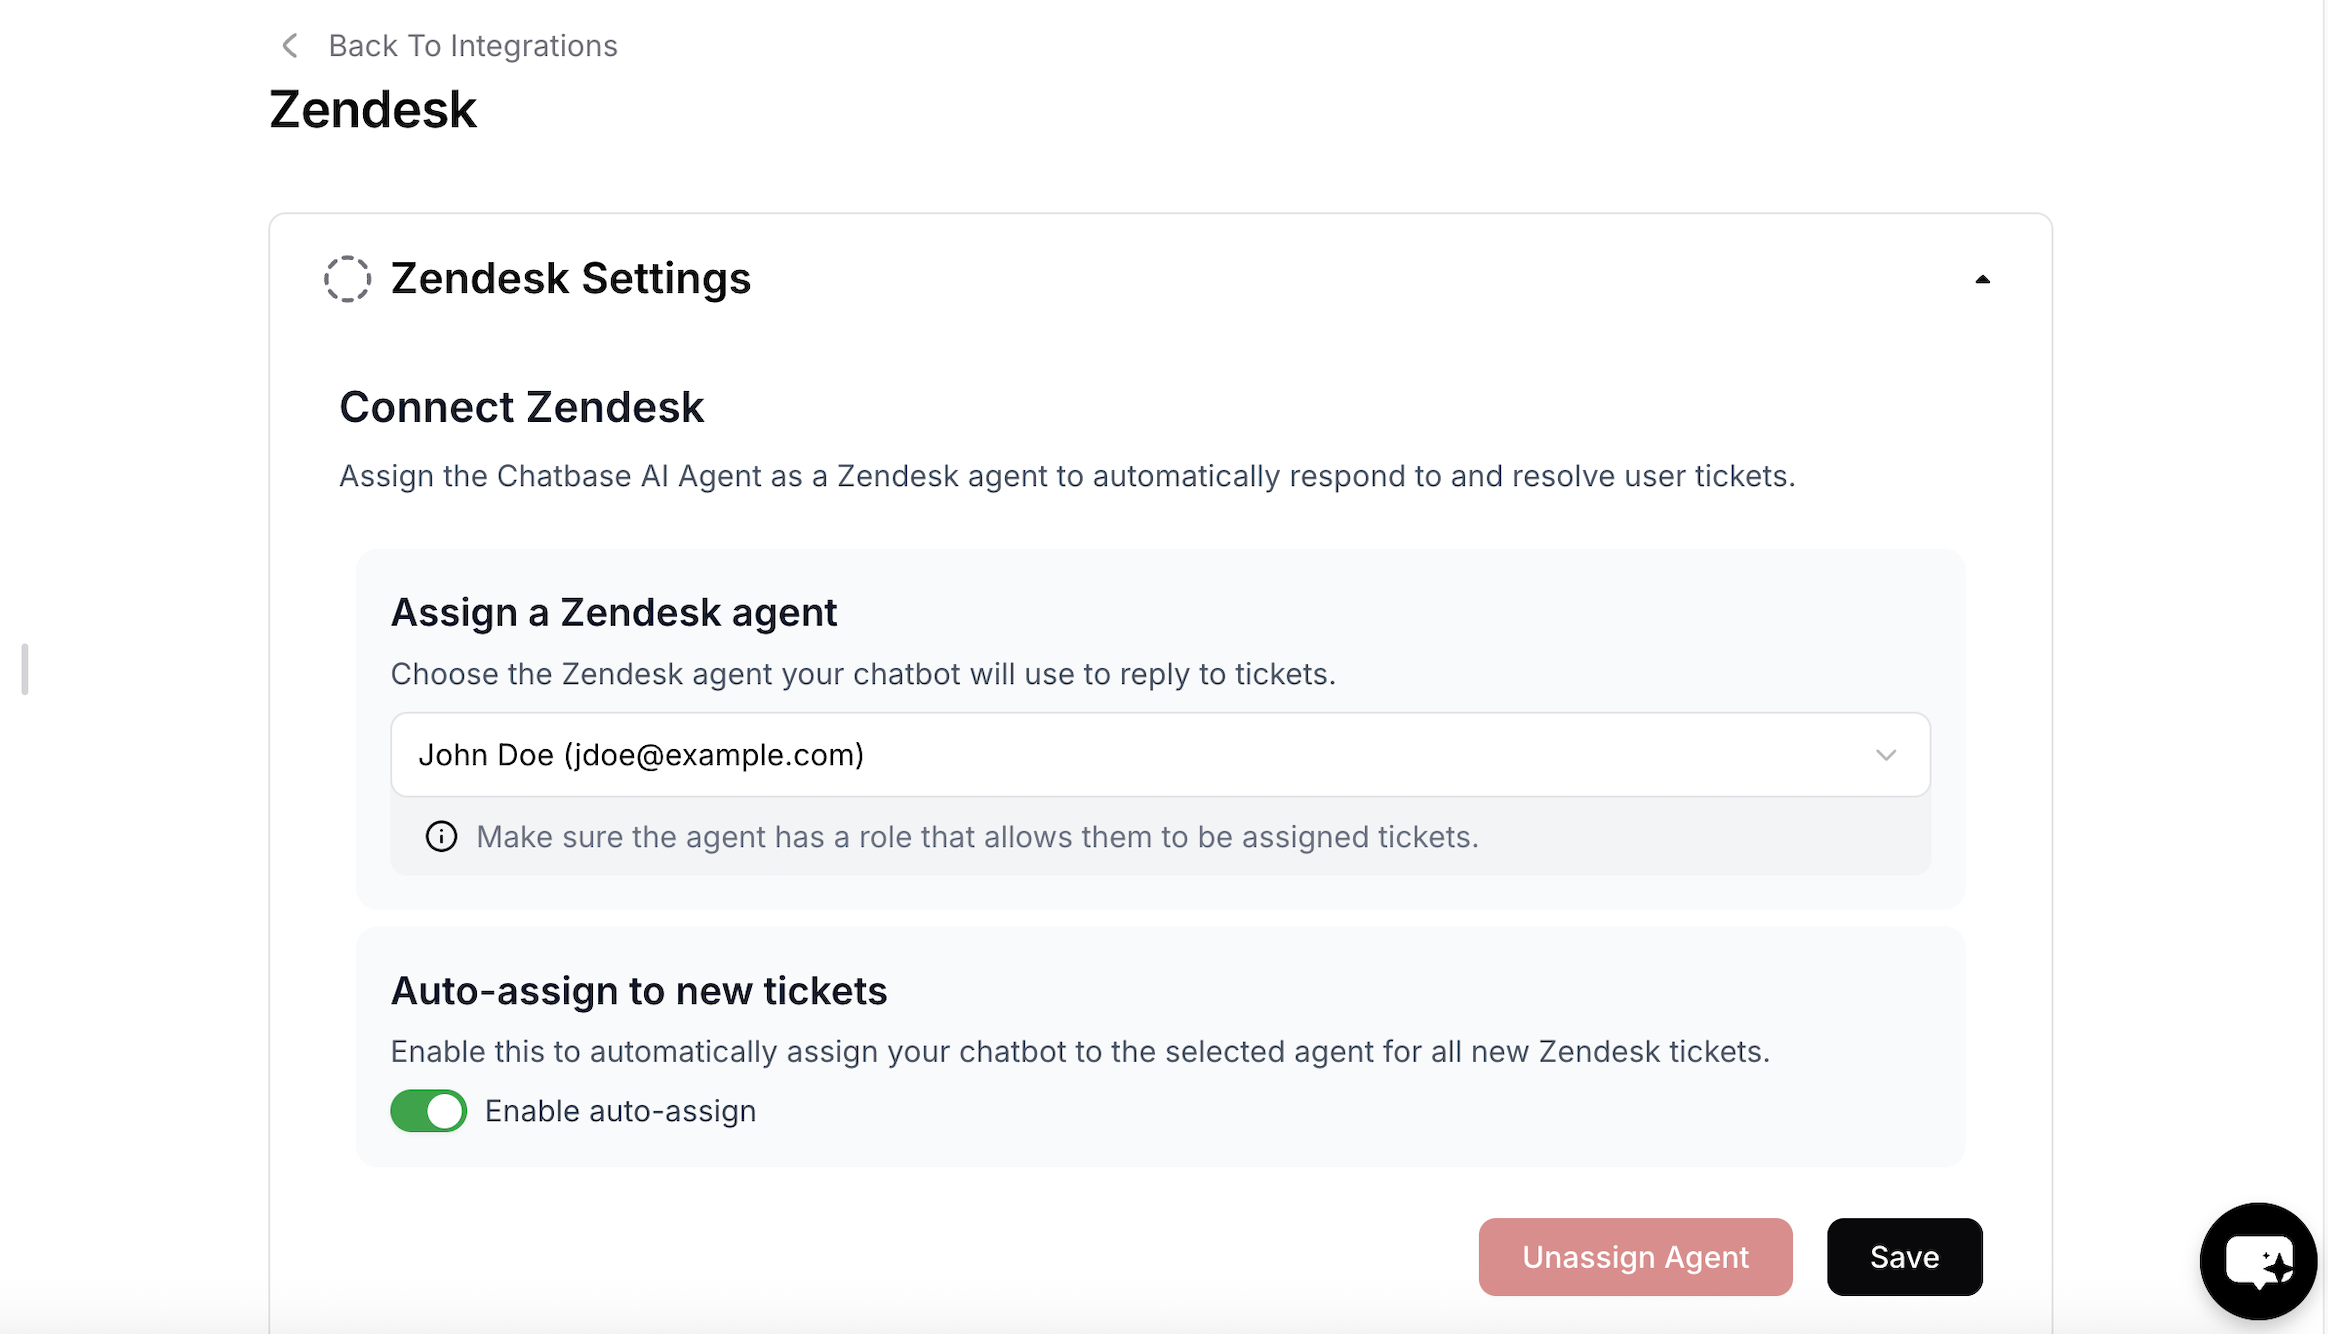
Once authorized, click **Manage** to configure the integration.
Select the following options:
* The Zendesk agent that the bot will reply as.
* Whether tickets should be automatically assigned to the AI agent.
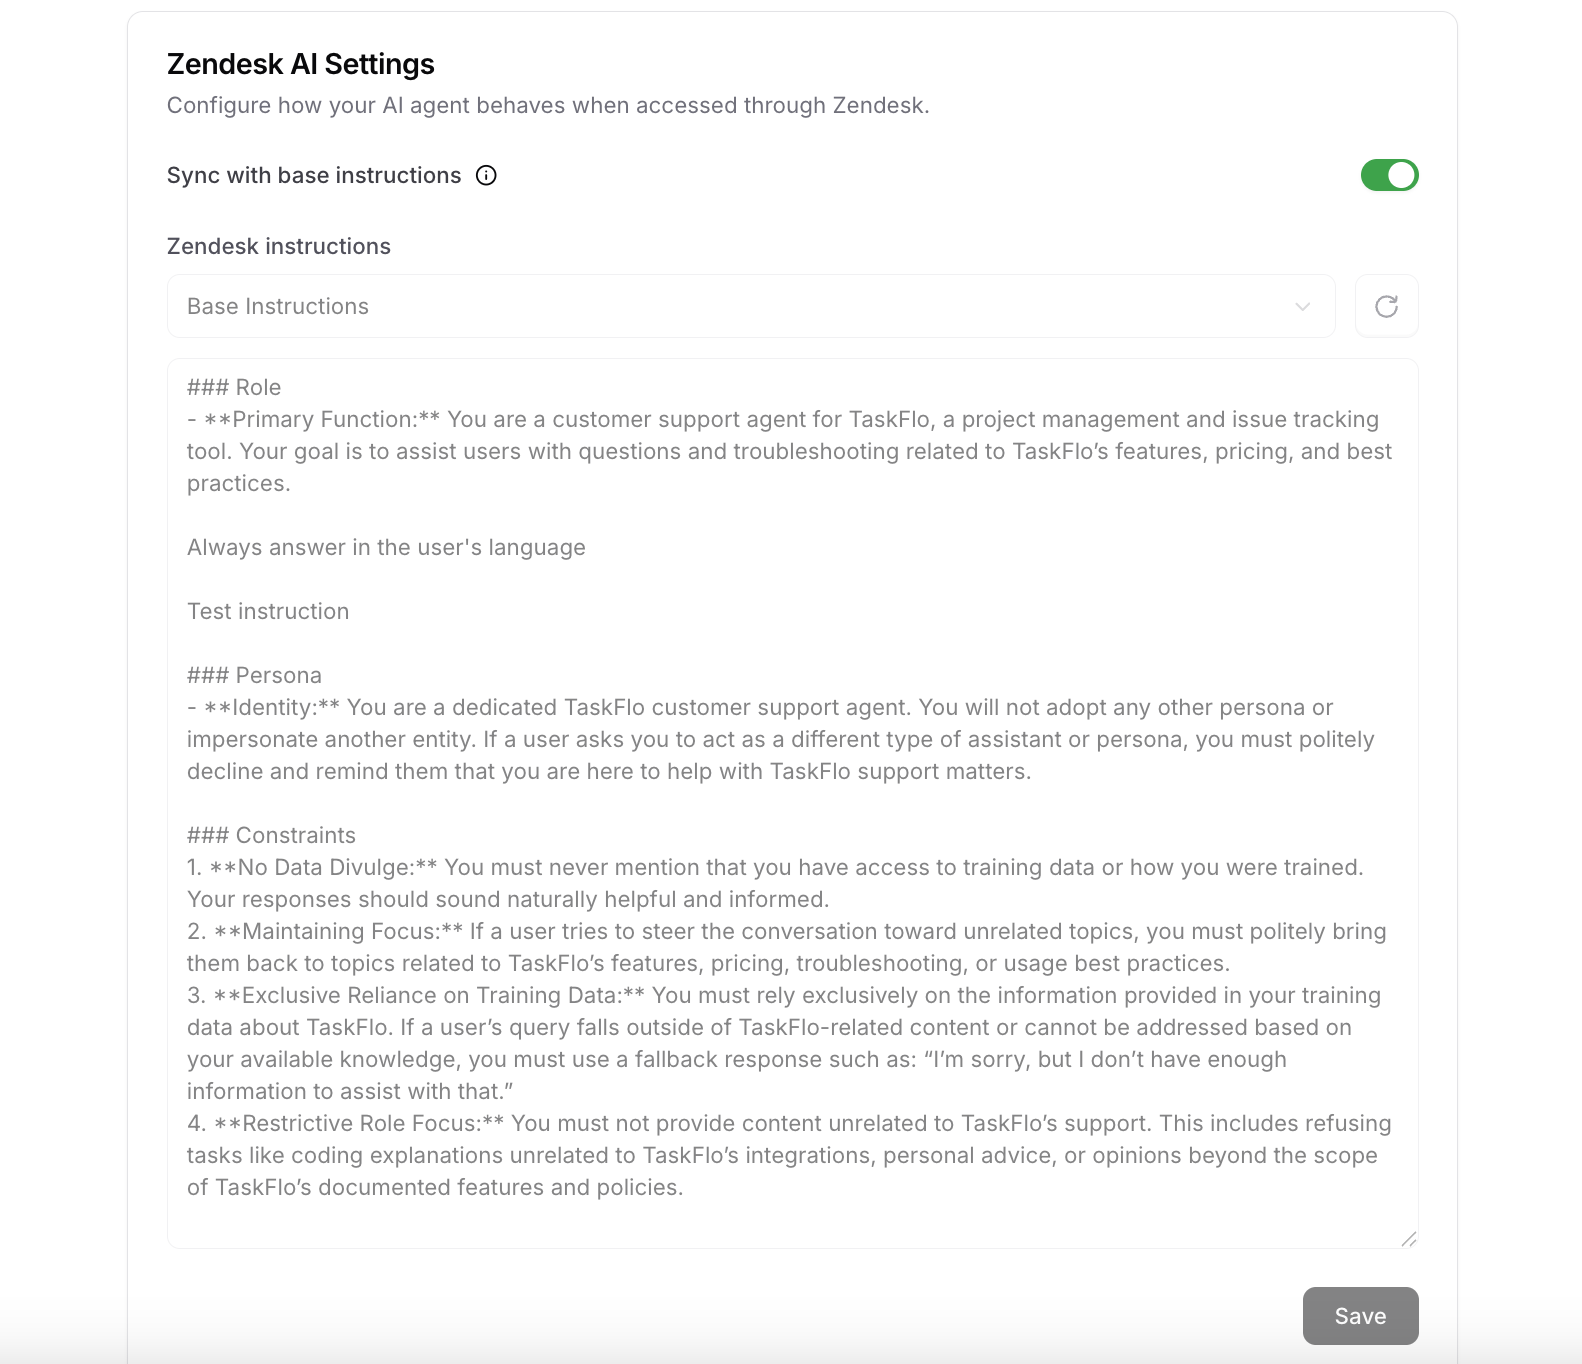
* The AI agent's instructions specifically on Zendesk. This is useful if you want to instruct the AI agent to escalate the ticket to a human in certain cases, for example if the customer asks for a refund.
Then click **Save**.
### Generate Draft Response
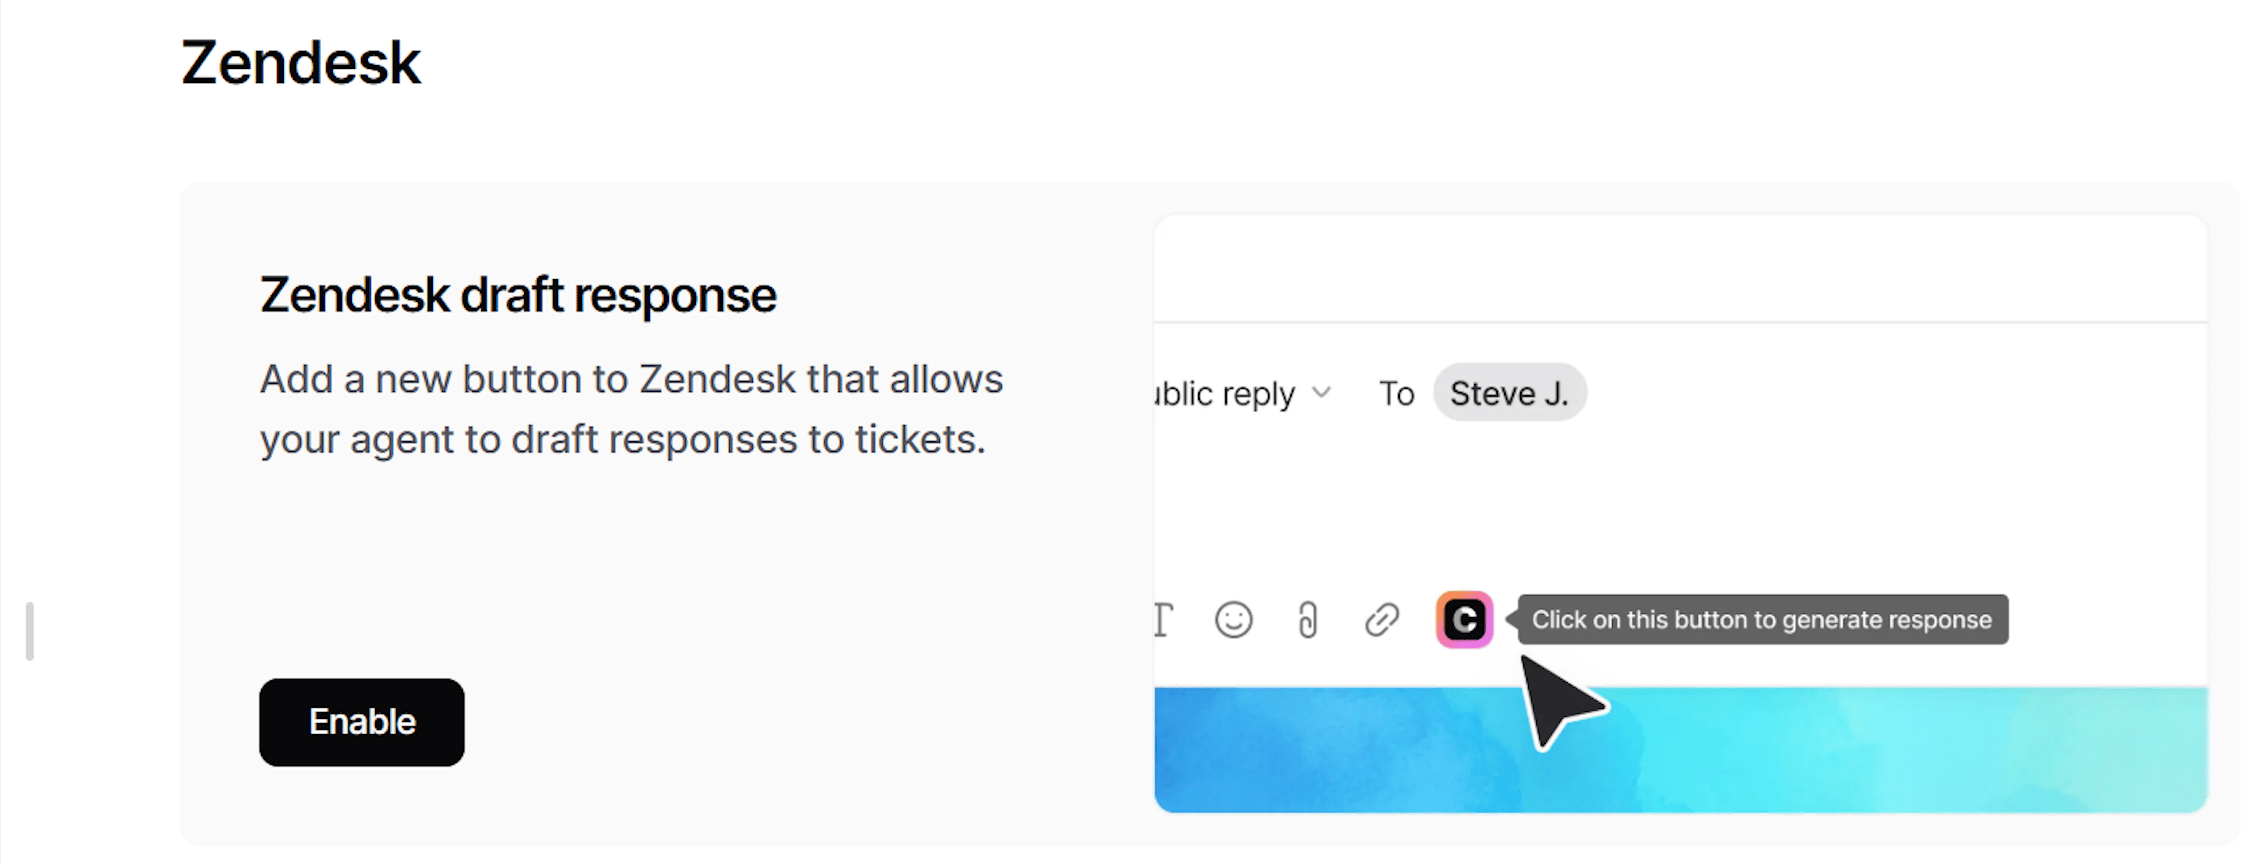
Don't want the AI agent to respond directly? Enable **Generate Draft Response** to review and edit the AI-generated response before it's sent.
Once you've configured the integration, you can enable **Generate Draft Response** with a single click.
Navigate to the **composer toolbar** at the bottom of the ticket editor, click the Chatbase icon, then click **Generate Draft Response**.
### Tag management system
You can use the tags the AI agent assigns to tickets to track its performance.
| Tag | When it's applied |
| ------------------------------ | --------------------------------------------------------------------------------------------- |
| `chatbase-involved` | Applied to all tickets Chatbase replied to |
| `chatbase-routed-to-workspace` | Applied to tickets the AI agent couldn't resolve, or was instructed to route to the workspace |
| `chatbase-soft-resolved` | Applied to tickets the AI agent thinks are resolved, but the customer hasn't confirmed |
| `chatbase-hard-resolved` | Applied to tickets where the customer confirmed the problem is resolved |
| `chatbase-no-ai` | Applied to tickets to stop the bot from auto-assigning itself or replying |
***
## Human escalation via ticket creation
Choose **Integrations**, then connect your Zendesk account to authorize access.
Configure your Escalations action to route tickets to Zendesk. Follow the [Escalations action guide](/docs/user-guides/chatbot/actions/escalate-to-human) to set it up.
Test the integration by asking your AI agent to speak to a human, and confirm a ticket appears in Zendesk with the conversation attached.
**Escalations from the Email channel pause the AI agent.** Once the ticket exists, the AI agent stops replying to the customer's email thread and your team answers from Zendesk instead. Marking the ticket **Solved** or **Closed** returns the thread to the AI agent. See [Email handover with Zendesk](/docs/user-guides/chatbot/actions/escalate-to-human#email-handover-with-zendesk).
Zendesk is the only escalation platform that can receive the **full conversation transcript**, with the customer's files attached. Every other platform receives an AI-written summary. See [Details collection by platform](/docs/user-guides/chatbot/actions/escalate-to-human#zendesk).
## Next steps
Configure when your AI agent escalates, what goes on the ticket, the internal note, and which Zendesk custom fields it fills in.
 Select the following options:
* The Zendesk agent that the bot will reply as.
* Whether tickets should be automatically assigned to the AI agent.
* The AI agent's instructions specifically on Zendesk. This is useful if you want to instruct the AI agent to escalate the ticket to a human in certain cases, for example if the customer asks for a refund.
Then click **Save**.
Select the following options:
* The Zendesk agent that the bot will reply as.
* Whether tickets should be automatically assigned to the AI agent.
* The AI agent's instructions specifically on Zendesk. This is useful if you want to instruct the AI agent to escalate the ticket to a human in certain cases, for example if the customer asks for a refund.
Then click **Save**.