> ## Documentation Index
> Fetch the complete documentation index at: https://chatbase.co/docs/llms.txt
> Use this file to discover all available pages before exploring further.
# viaSocket
> Connect your AI agent to viaSocket with webhooks to automate tasks across your apps, with no code
## Overview
Integrating Chatbase with viaSocket connects your AI agent to your favorite apps and tools with no code. Drag and drop to automate tasks across them. This guide walks through one complete example: receiving leads from your AI agent and automatically adding them to a Google Docs document.
Send what your AI agent captures into any app viaSocket supports, triggered by a Chatbase webhook the moment it happens.
## Before you start
* A Chatbase account with an AI agent. If you haven't built one yet, follow [Your first AI agent](/docs/user-guides/quick-start/your-first-agent).
* A viaSocket account.
## What you can automate
| Automation | How it works |
| ---------------------------- | ------------------------------------------------------------------------------------------------------------- |
| **Lead generation** | Capture leads through form submissions and add them to your CRM, such as HubSpot or Salesforce, for follow-up |
| **Customer support** | Trigger support tickets in systems like Zendesk or Freshdesk when your AI agent receives a customer inquiry |
| **Email campaigns** | Add contacts from your AI agent to Mailchimp or ActiveCampaign, then send personalized follow-up emails |
| **Multi-platform support** | Deploy AI agents across websites, mobile apps, and messaging services to reach users wherever they are |
| **Social media management** | Trigger social media updates or create posts based on customer interactions with your AI agent |
| **E-commerce notifications** | Automate stock updates, order confirmations, or promotional notifications based on customer interactions |
## How to connect viaSocket
1. Sign in to your viaSocket account.
2. Click **Create New Flow** in the top-left corner of the viaSocket homepage.
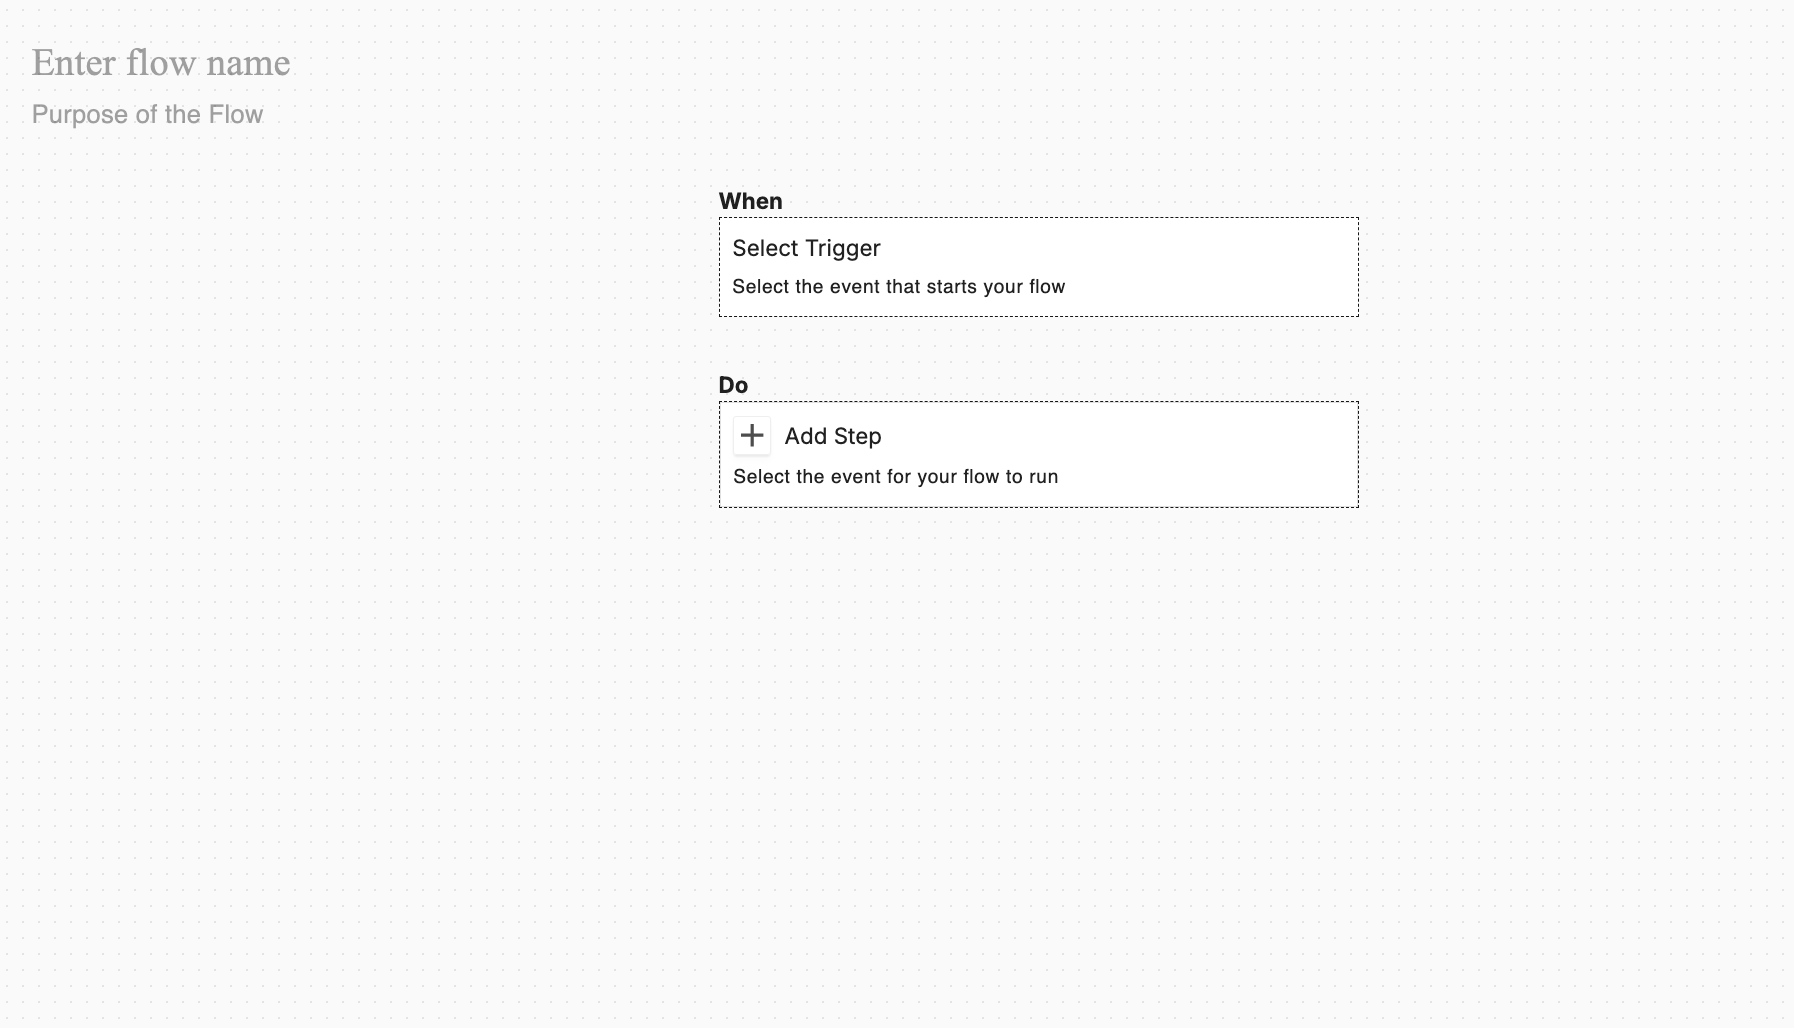
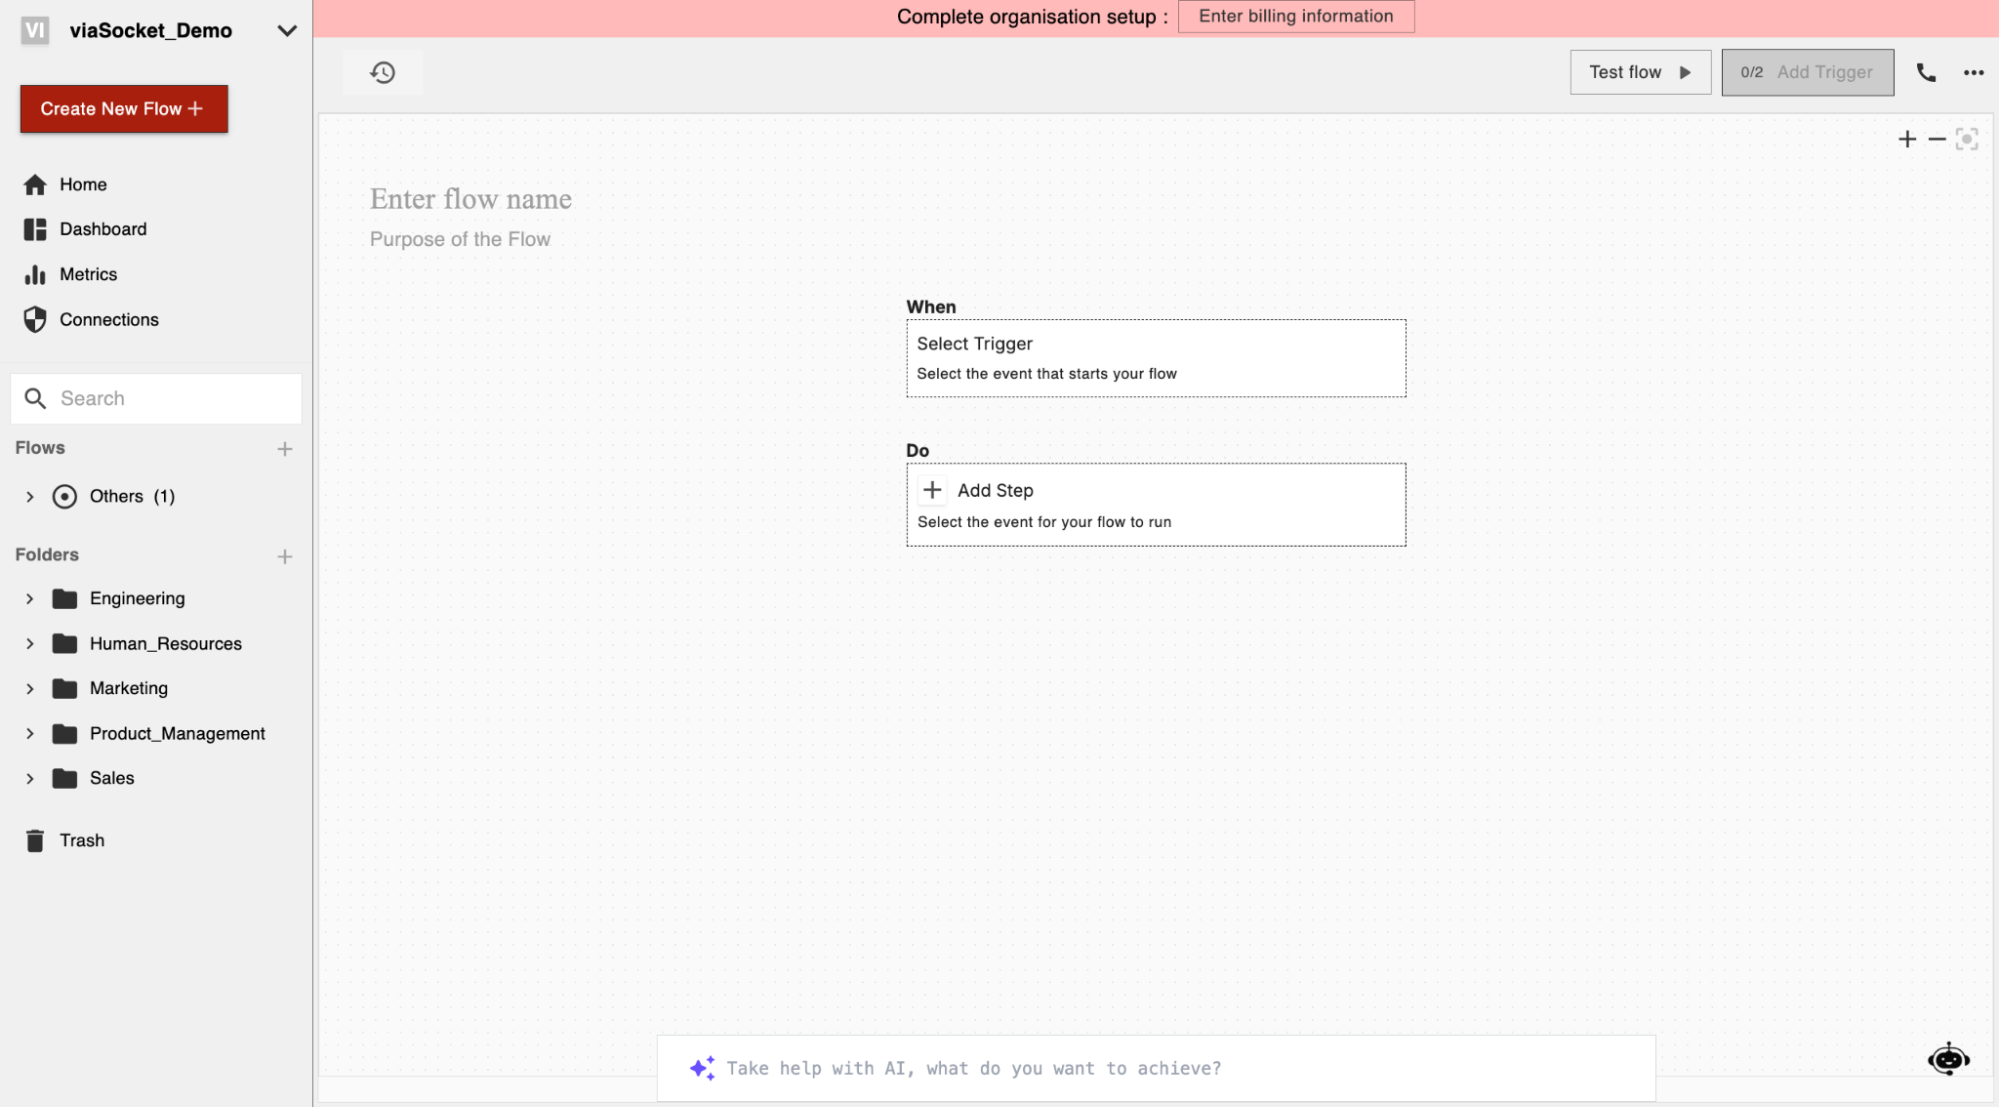 3. In the Flow editor, click **Select Trigger**.
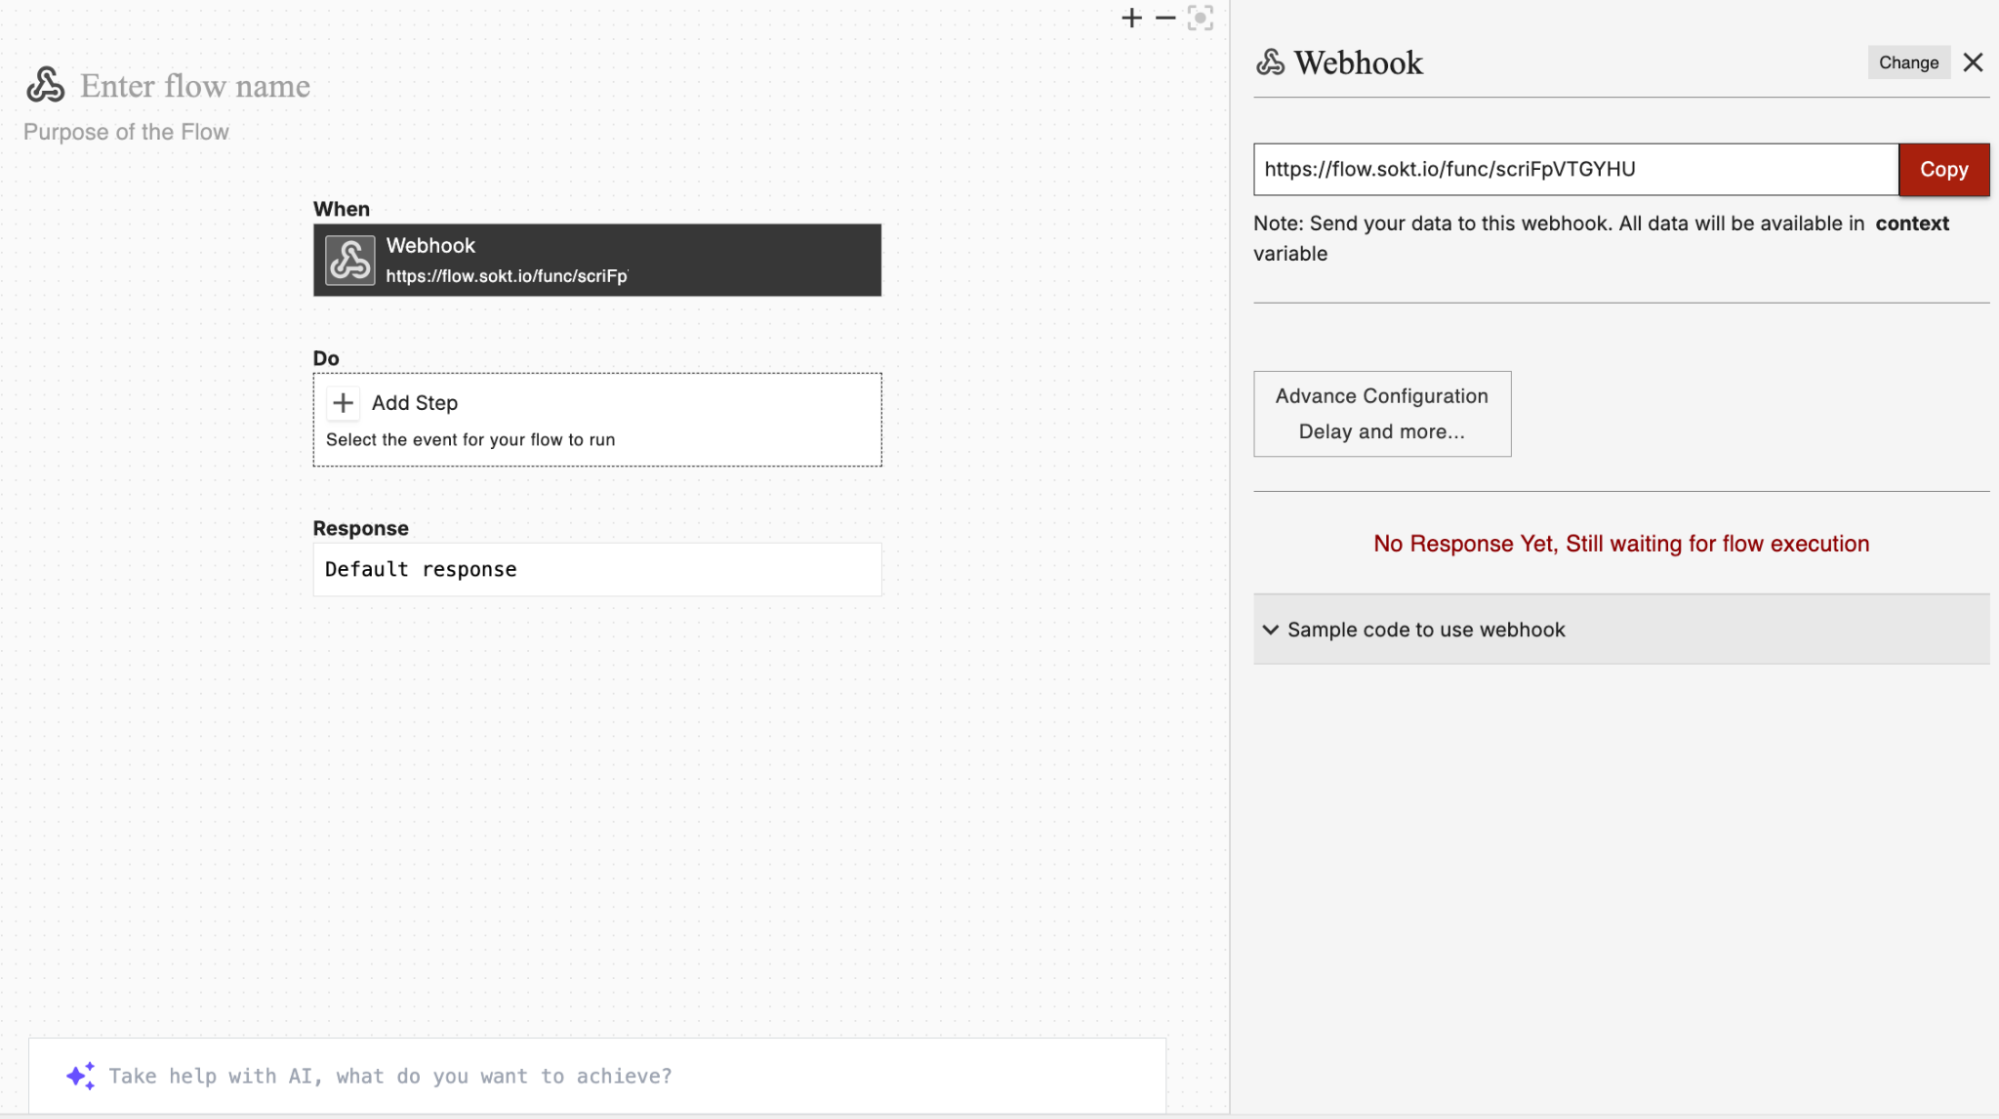
 4. Select **Webhook** as the trigger, then copy the generated Webhook URL.
 1. Navigate to your Chatbase [dashboard](https://www.chatbase.co/dashboard/).
2. Click the AI agent you wish to integrate with viaSocket.
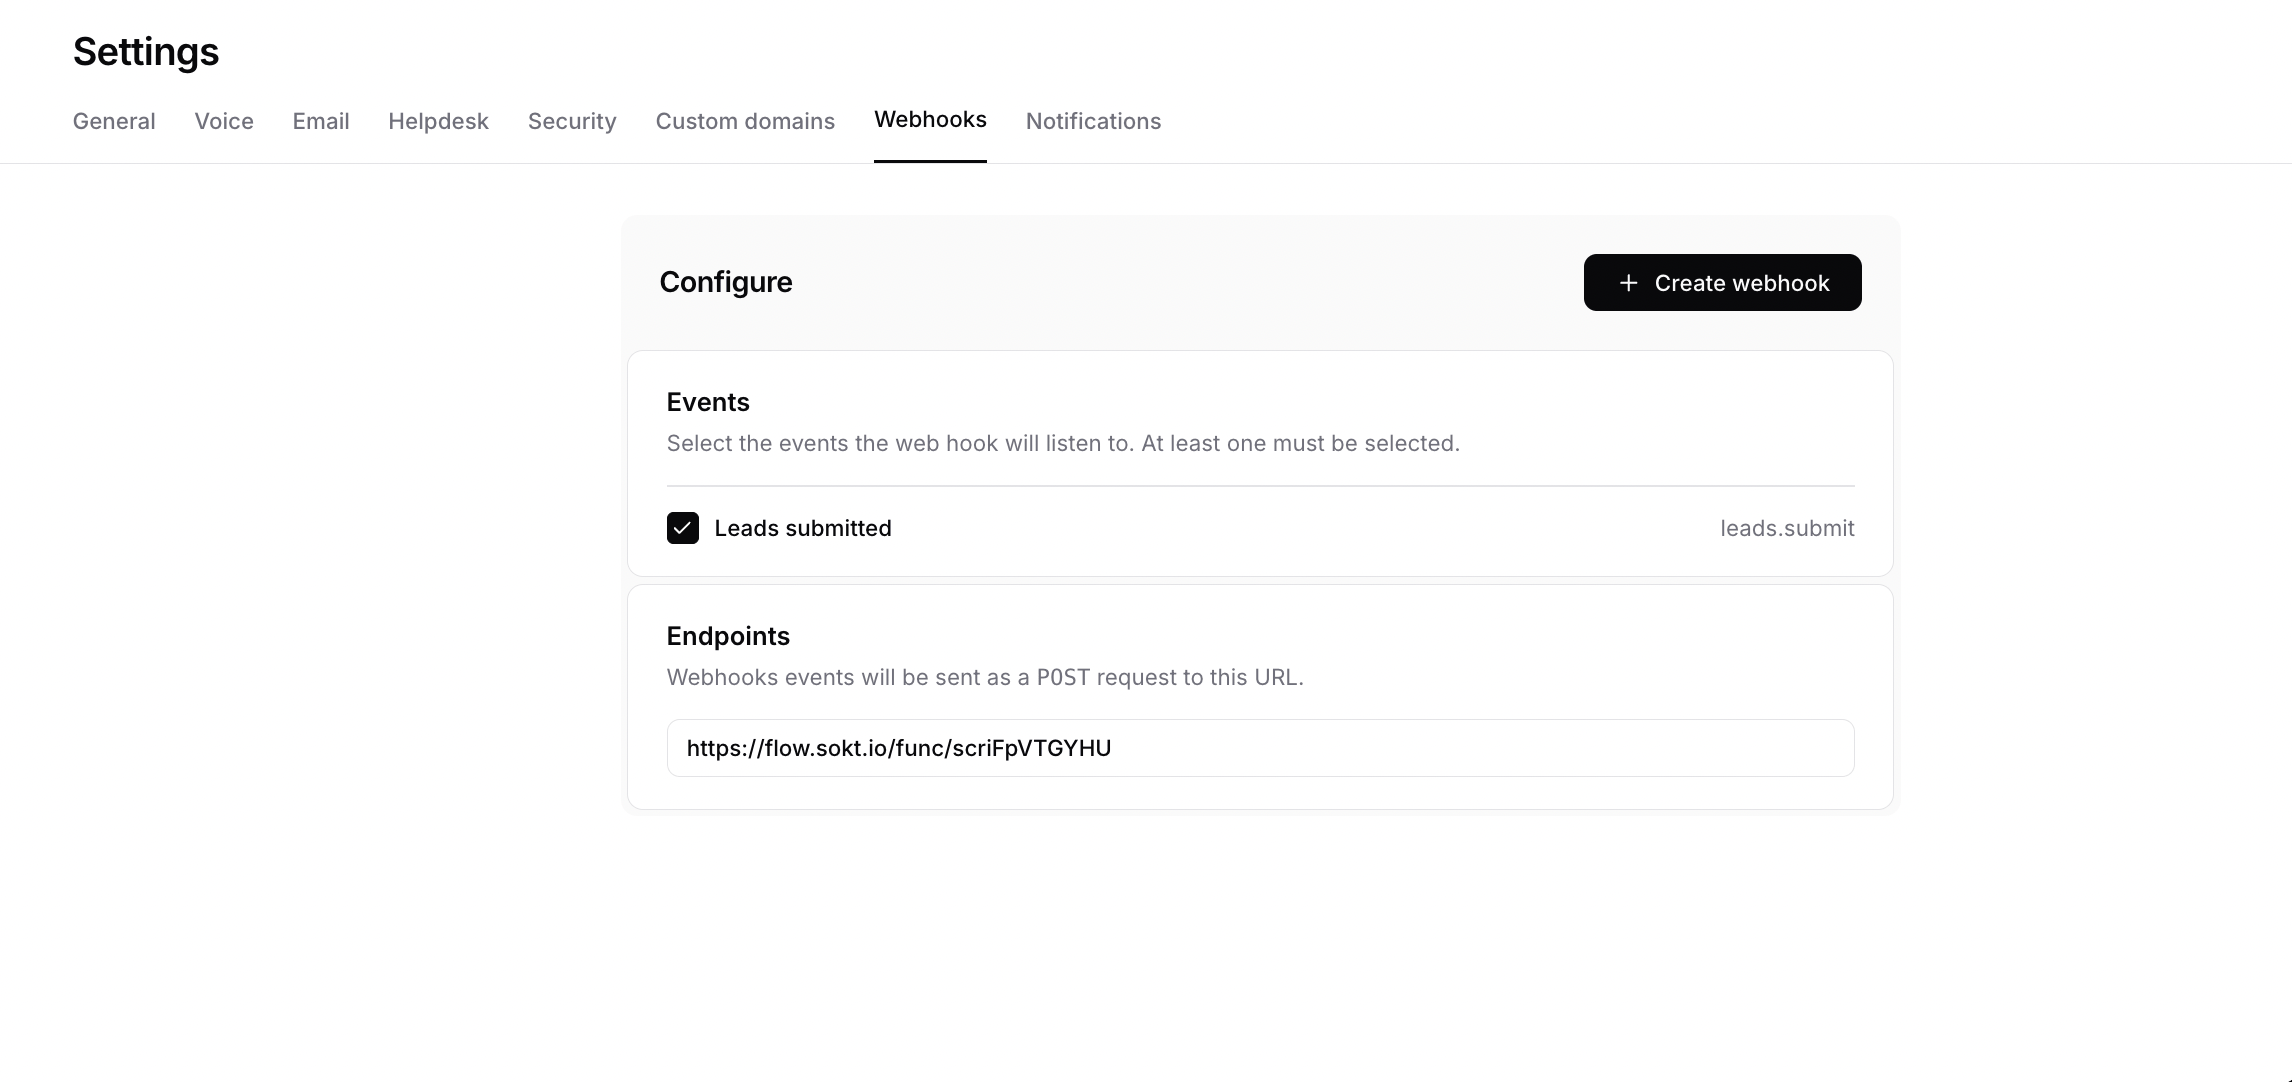
3. Click **Settings** and select **Webhooks**.
4. Select the events you want to trigger, paste the copied Webhook URL into the **Endpoint** field, then click **Create Webhook**.
1. Navigate to your Chatbase [dashboard](https://www.chatbase.co/dashboard/).
2. Click the AI agent you wish to integrate with viaSocket.
3. Click **Settings** and select **Webhooks**.
4. Select the events you want to trigger, paste the copied Webhook URL into the **Endpoint** field, then click **Create Webhook**.
 1. Go back to the viaSocket Flow Builder and click **Select Action**.
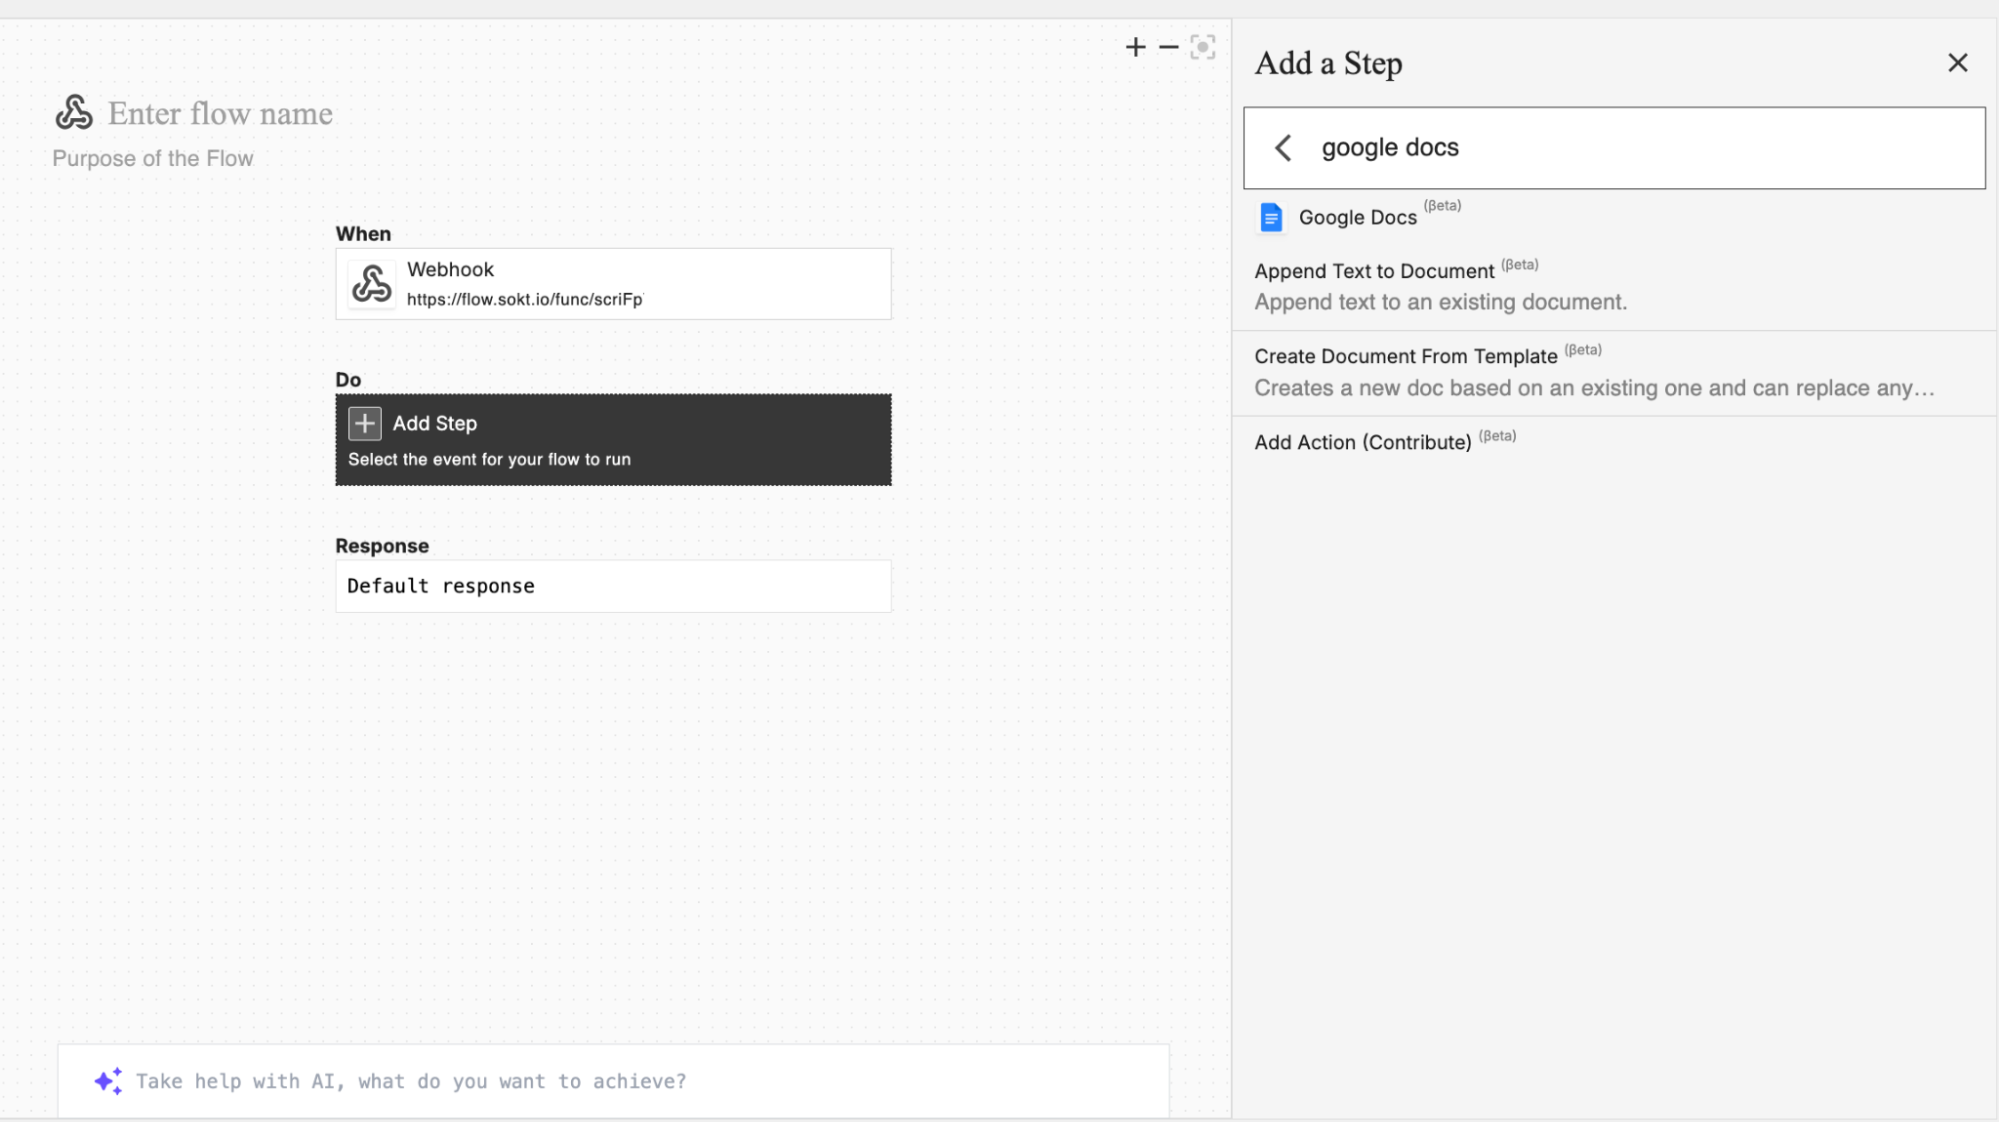
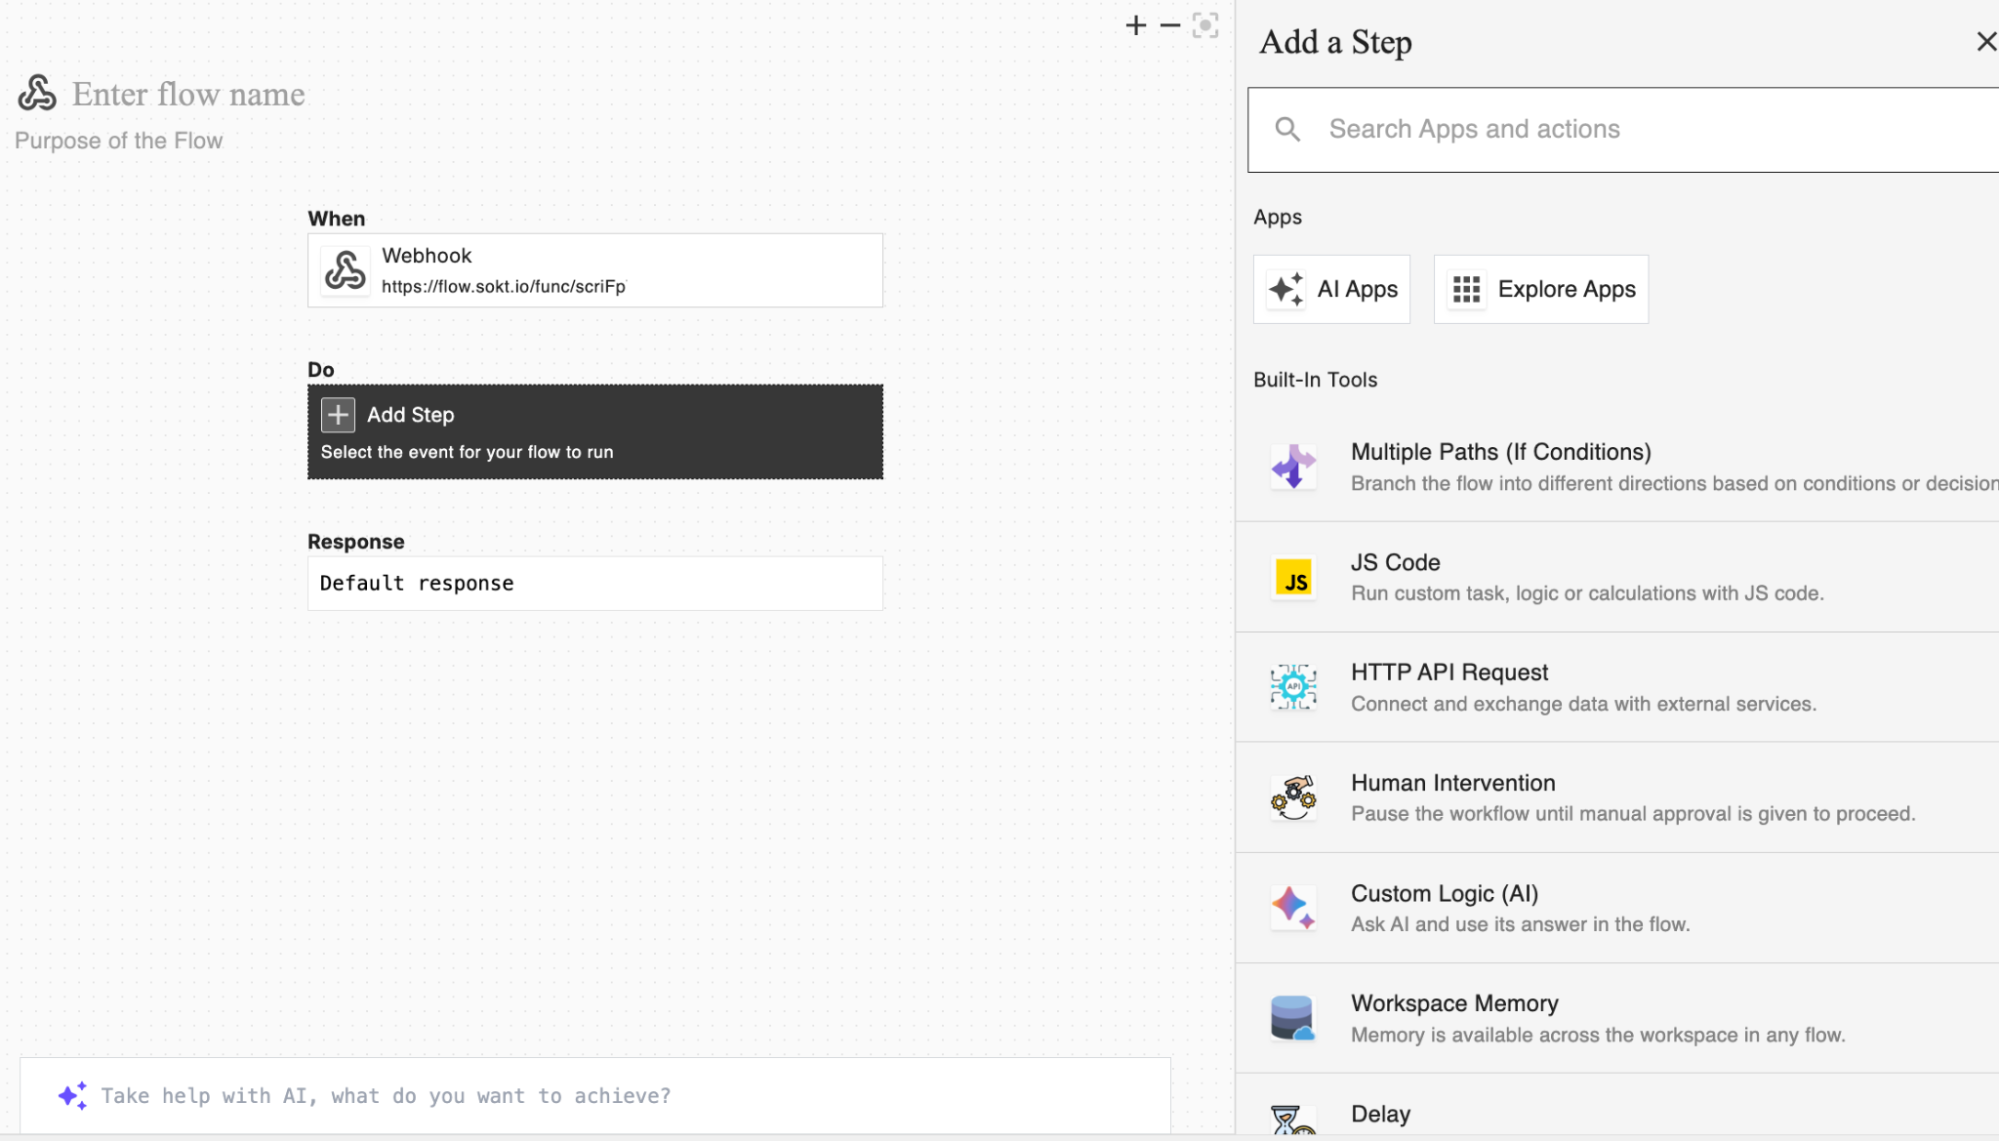 2. Choose the **Google Docs** action: *Append Text to Document*.
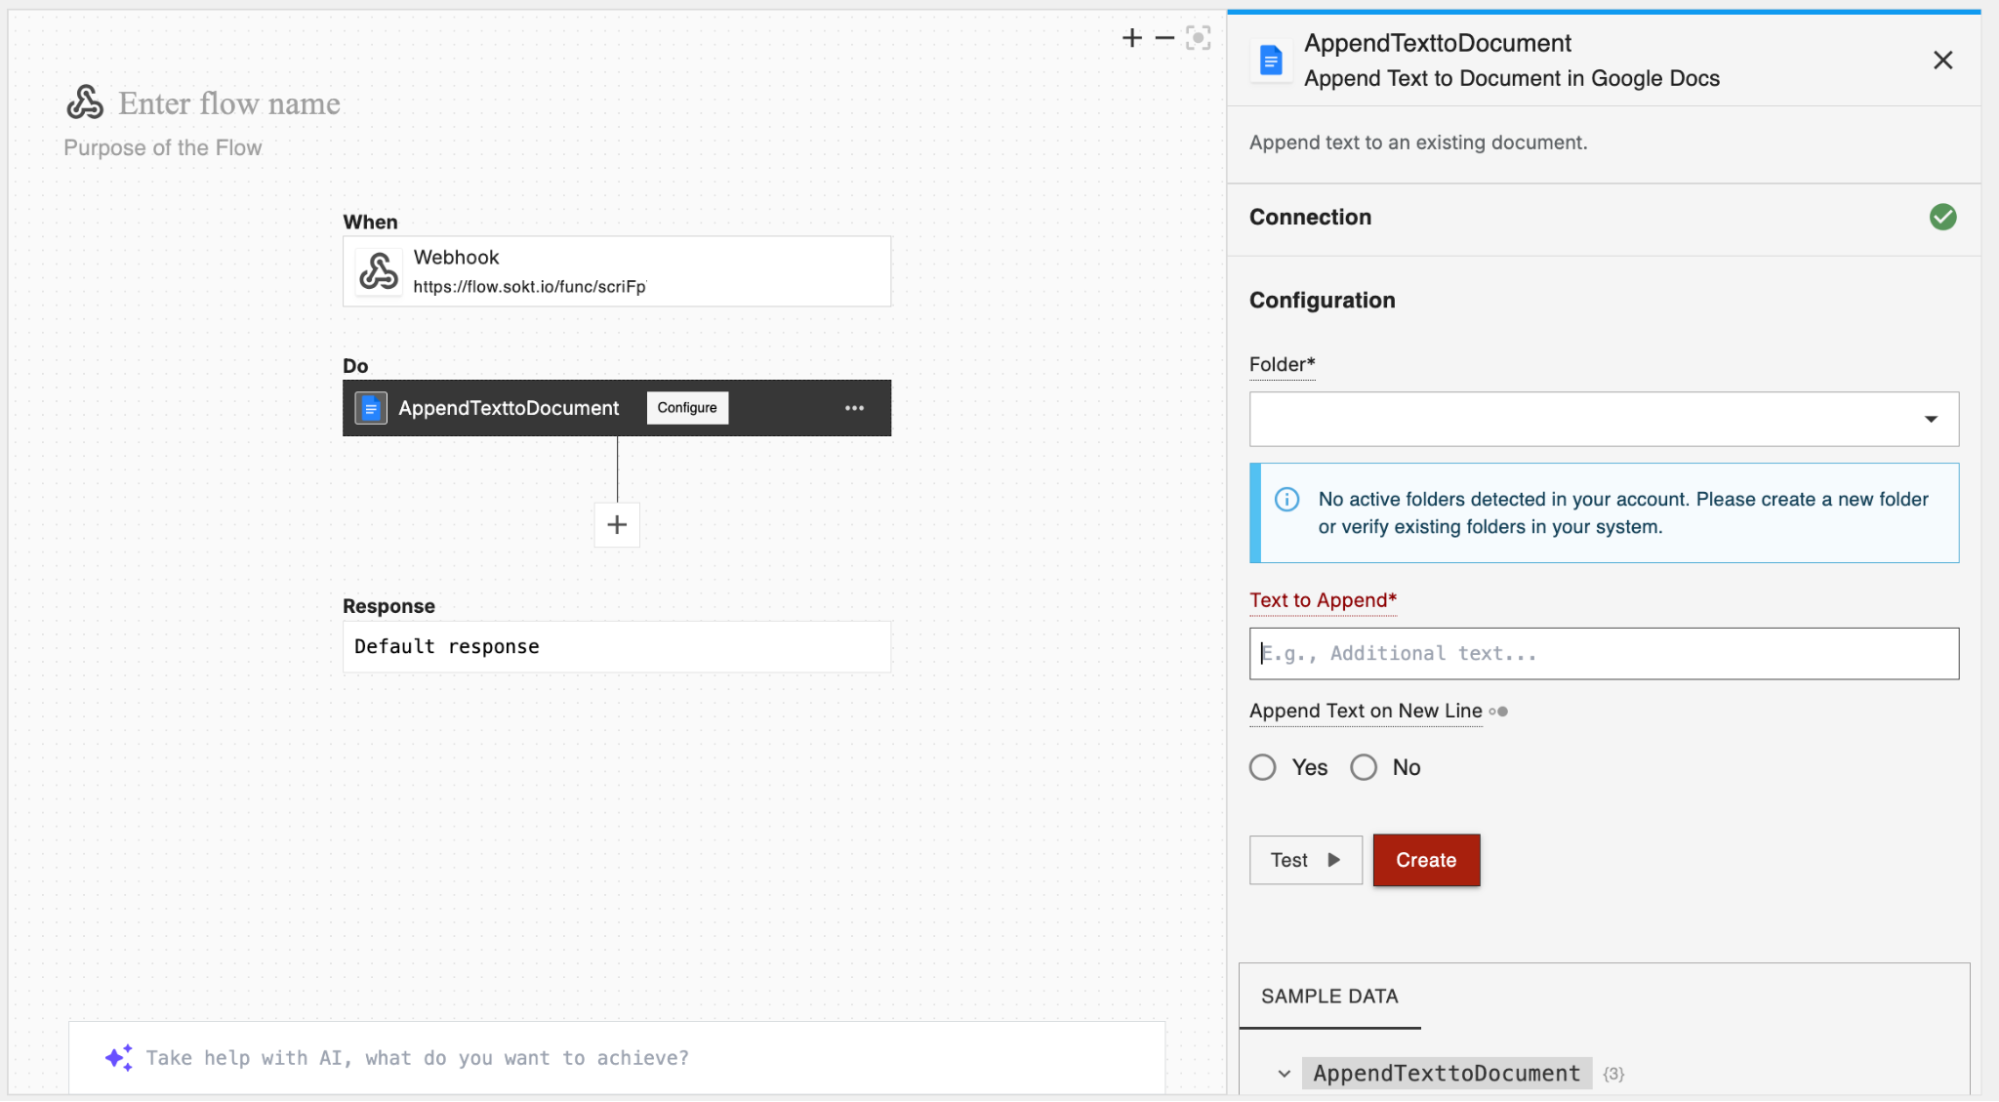
 3. Establish a connection and configure your action with the required details.
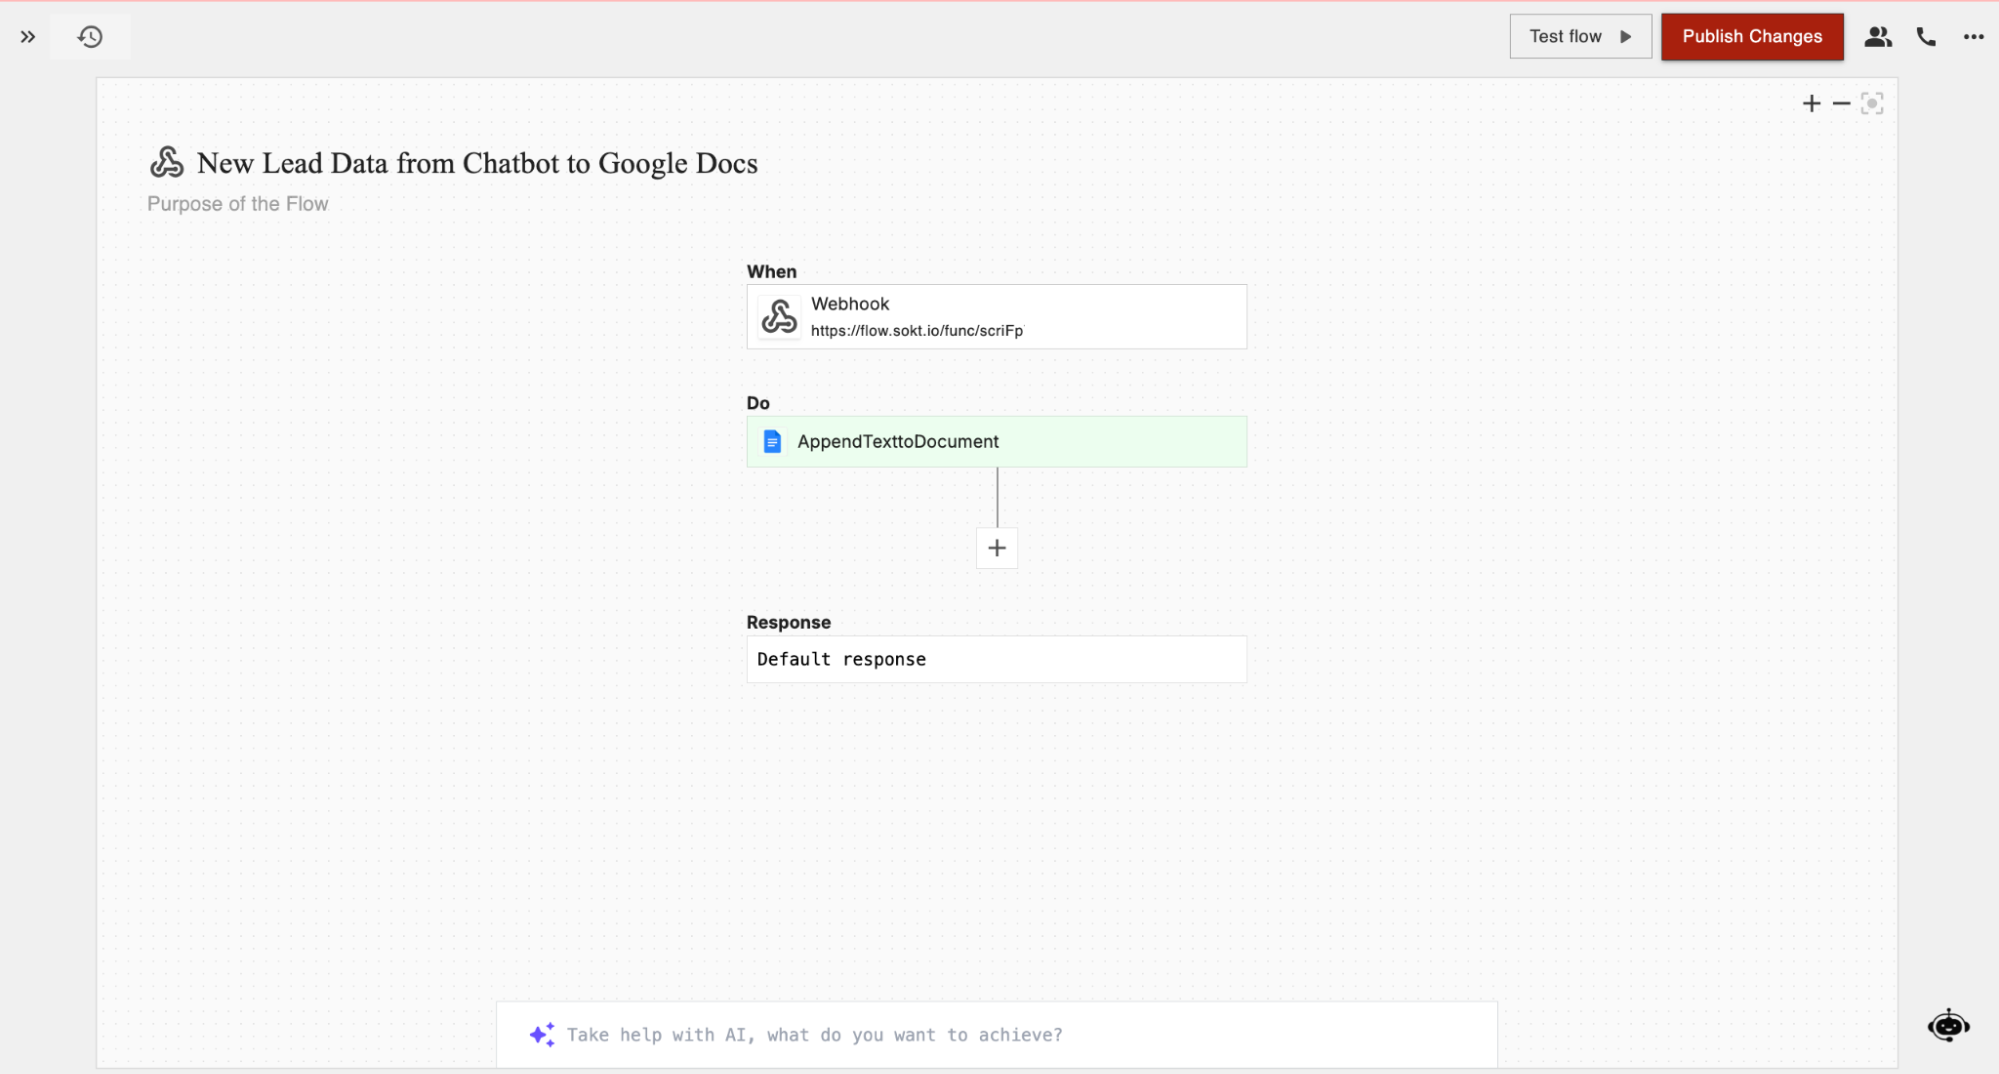 Trigger a lead capture on your site and confirm it's added to your designated Google Docs file.
## Next steps
See every event Chatbase can send, and what each payload contains.
An alternative no-code automation platform, with a native Chatbase app.
Trigger a lead capture on your site and confirm it's added to your designated Google Docs file.
## Next steps
See every event Chatbase can send, and what each payload contains.
An alternative no-code automation platform, with a native Chatbase app.